The DIY & Crafts Blog
Building Custom Wooden Wall Panels for a Modern Look
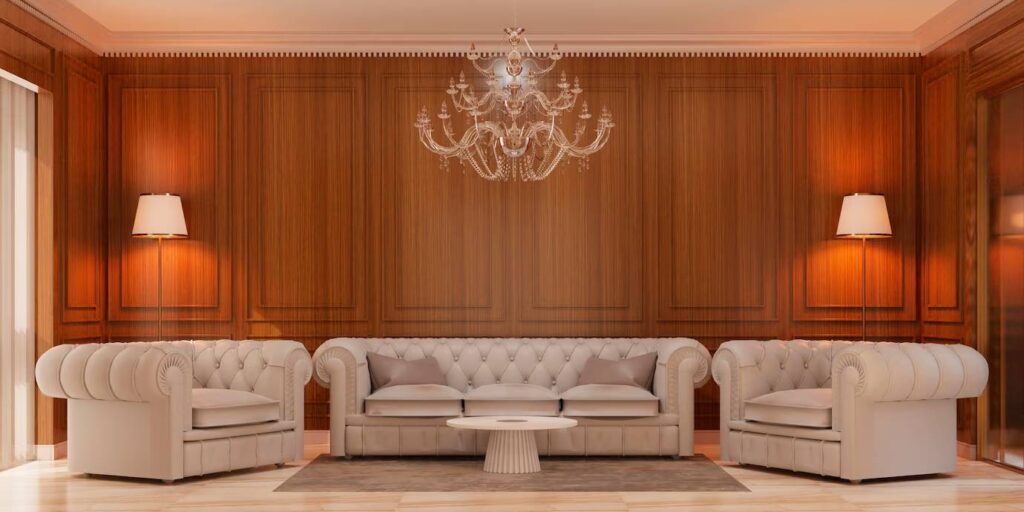
Elevating Interior Spaces with Wooden Wall Panels
Modern interior design is all about blending functionality with aesthetic appeal. One timeless element making a bold comeback is wooden wall panelling. From rustic charm to contemporary elegance, these versatile installations add depth, texture, and warmth to any room. Whether you’re refreshing a living room, bedroom, or hallway, custom wooden wall panels can dramatically transform your space without a full-scale renovation.
This guide is tailored for home improvement enthusiasts eager to tackle their own home improvement DIY projects. We’ll walk you through the process of designing and building your own wood panels, covering materials, techniques, styles, and tips to ensure your wall becomes a true statement feature.
Why Choose Wooden Wall Panels?
Wood panels aren’t just trendy—they offer practical and aesthetic benefits:
- Visual texture: Adds depth and richness to plain walls.
- Insulation: Provides extra thermal and sound insulation.
- Versatility: Works with various design styles—from modern minimalist to classic and rustic.
- Customisation: Can be tailored to any space, finish, or colour palette.
Planning Your Custom Wood Panelling Project
Assess Your Space
Start by choosing a room or feature wall. Take precise measurements of the wall’s height and width, and note any sockets, switches, or irregularities that need accommodating.
Define Your Style
Different panel designs suit different aesthetics:
- Shaker or board-and-batten: Clean, symmetrical lines perfect for modern homes.
- Slatted panels: Offer a minimalist Scandinavian look.
- Geometric or herringbone layouts: Add bold visual interest.
- Traditional raised panels: Best for classic or vintage-inspired interiors.
Collect design inspirations from interior magazines, Pinterest, or showrooms to help visualise your final look.
Choose the Right Timber
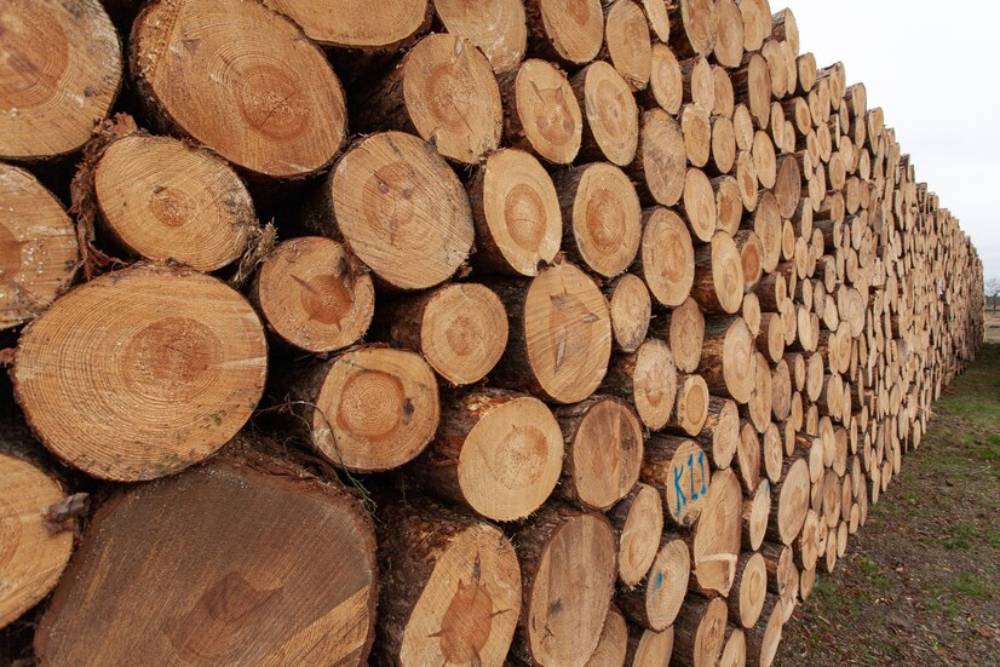
Selecting the right type of wood is essential:
- MDF: Budget-friendly and smooth for painting.
- Pine or poplar: Easy to work with and widely available.
- Oak or walnut: Richer finishes for high-end projects.
- Reclaimed wood: Eco-conscious and adds rustic charm.
Also, decide on the panel finish—will you be painting, staining, or sealing it in natural wood tones?
Tools and Materials Checklist
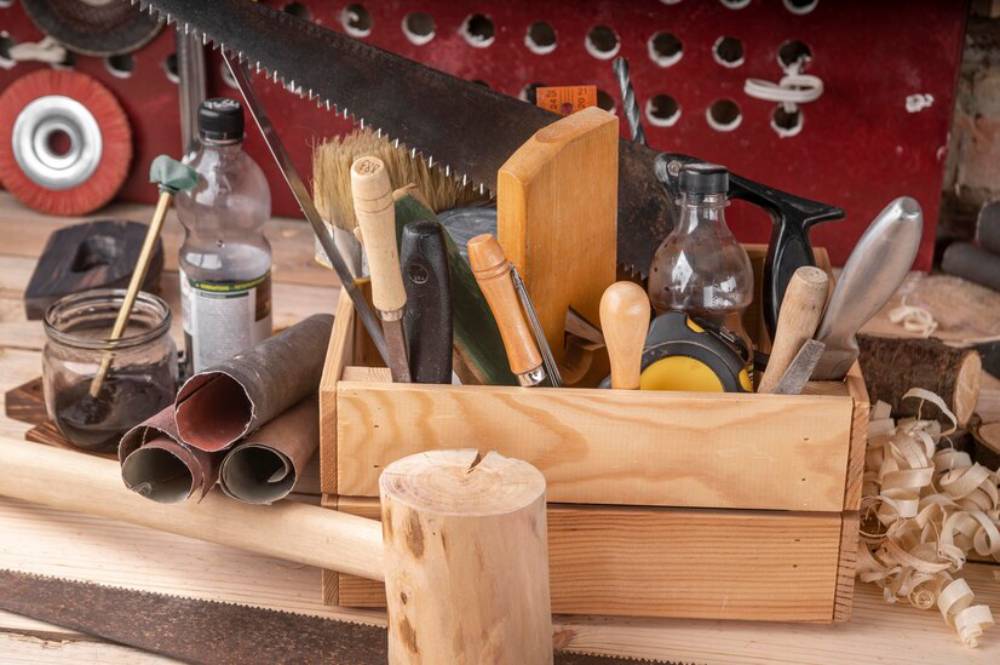
Before starting, gather the following tools and materials:
Tools:
- Mitre saw, or hand saw
- Tape measure and level
- Nail gun or hammer and nails
- Caulking gun
- Spirit level
- Sandpaper or orbital sander
- Paintbrushes or rollers
Materials:
- Timber or MDF boards
- Wood glue
- Nails or adhesive strips
- Wood filler
- Primer and paint or stain
- Masking tape
Build Your Wooden Wall Panels
Sketch and Mark Your Layout
Draw out your panel design to scale. Mark measurements on your wall using a pencil and level to keep everything aligned.
Cut Timber to Size
Use a mitre saw for precision. Label each piece to match your sketch so installation runs smoothly.
Attach the Framework
Start with the outer frame. Use adhesive and a nail gun to secure vertical and horizontal strips. Check alignment frequently with your level.
Fill Gaps and Sand Surfaces
Apply wood filler to seams and nail holes. Once dry, sand the entire surface to ensure smoothness for finishing.
Prime and Paint
Use a primer suitable for your wood type. Follow with your chosen paint or wood stain. Apply multiple coats for an even finish, allowing adequate drying time between coats.
Final Touches
Peel off the masking tape, clean up edges, and touch up any imperfections. Stand back and admire your work!
Design Ideas for Modern Wooden Panels
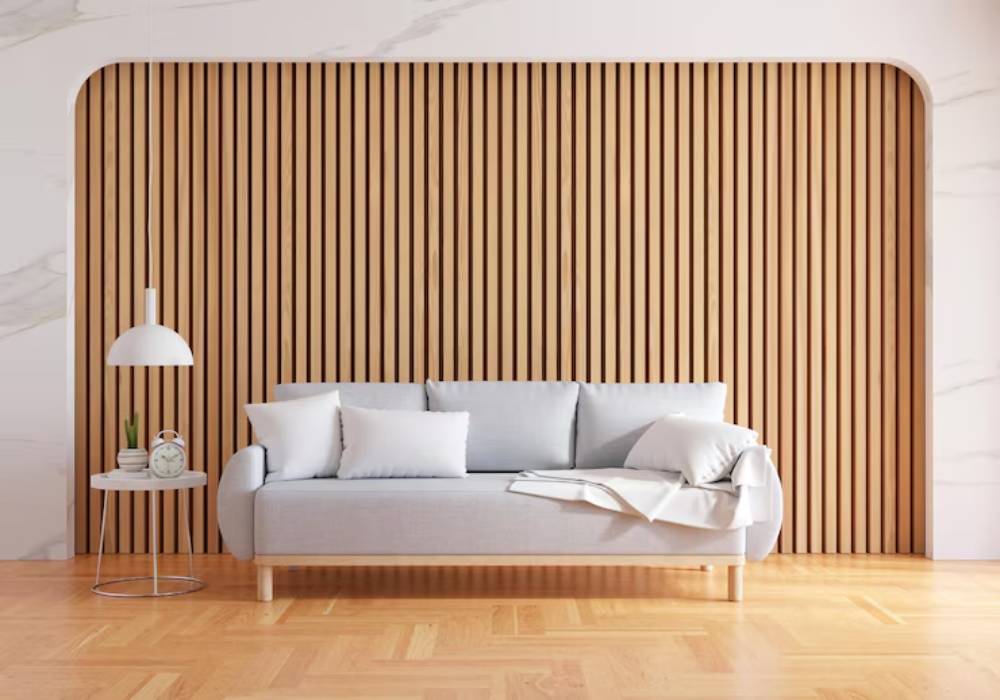
Vertical Slats for a Nordic Feel
- Thin, evenly spaced wooden slats create a calming, minimalist aesthetic.
- Use light-coloured woods like ash or pine.
- Perfect for headboards or hallway features.
Painted Geometric Panels
- Combine bold paint colours with angled wooden trims.
- Adds visual intrigue in lounges or creative spaces.
Two-Tone Textures
- Use contrasting stains or paint colours between panel segments.
- Ideal for breaking up large walls or defining zones in open-plan spaces.
Integrated Shelving or Lighting
- Add functionality with floating shelves built into the panels.
- LED strip lighting between slats adds ambience.
Common Mistakes and How to Avoid Them
- Skipping prep work: Always sand and clean your wall for proper adhesion.
- Wrong wood for the environment: Use treated wood for humid spaces like bathrooms.
- Not accounting for wall imperfections: Uneven walls require shims or backer boards.
- Poor alignment: Use a laser level to ensure straight lines and symmetry.
Maintenance and Longevity Tips
- Dust panels regularly using a soft cloth.
- Use wood-safe cleaners to prevent residue build-up.
- Touch up scuffs with matching paint or stain.
- Re-seal natural wood finishes every few years to preserve grain and colour.
Sustainability Considerations
Choosing sustainable materials helps reduce your project’s environmental impact:
- Opt for FSC-certified wood.
- Reuse or reclaimed wood from other projects.
- Use low-VOC paints and adhesives.
Real-Life Inspiration: Reader Showcase
Project: Statement Wall in Living Room “We built a full-panel feature wall using walnut veneer and integrated our TV. It transformed the room instantly and made it feel like a boutique hotel lounge!” — Jasmine M., Manchester
Project: Bedroom Makeover with Classic Panelling “I installed MDF board-and-batten panels, painted them deep blue and added brass wall lights. The room feels like a luxury retreat now!” — Liam P., Bristol.
Project: Hallway Upgrade with Slatted Wood “We used vertical oak slats with black spacers to create a focal point in our narrow hallway. It’s now the most talked-about part of our home!” — Priya K., London
Conclusion: Elevate Your Space with a Personal Touch
Building your own wooden wall panels isn’t just a creative project—it’s an investment in your home’s style and character. Whether you prefer sleek modern designs or something more traditional, the possibilities are endless with a little imagination and effort.
With careful planning, the right materials, and a dash of DIY spirit, your blank wall can become a centrepiece. So, roll up your sleeves and bring that modern makeover to life.
Ready to start your next home improvement DIY? Share your project photos with us or tag your creations on social media—let’s inspire each other!


YOU MAY LIKE


