The DIY & Crafts Blog
Choosing the Perfect Wood Finish for Durability and Style
Why the Right Wood Finish Matters
Wood is a timeless material that brings warmth, texture, and character into any space, from rustic cabins to modern homes. But to preserve its beauty and enhance its durability, choosing the right wood finish is absolutely crucial. Whether you’re restoring a vintage chair, finishing a handmade table, or sealing new flooring, the right product doesn’t just protect your piece—it can elevate its appearance, bring out the grain, and ensure it lasts for generations.
In this comprehensive guide, we’ll explore everything you need to know about wood finishes: the types available, how to choose the best one for your project, tips for application, and how to maintain that finish long-term. So, if you’ve ever found yourself overwhelmed in the paint aisle or unsure if your table needs oil or varnish, you’re in the right place.
Understanding the Basics of Wood Finishing
What is a Wood Finish?
A wood finish is a protective coating applied to wood surfaces to enhance appearance and provide resistance to moisture, scratches, and UV damage. Finishes can range from subtle matte effects to high-gloss sheens, and they influence not only how your project looks but also how it performs over time.
Why Wood Finish is Essential
- Protection from wear and tear
- Moisture resistance to prevent warping or rot
- Enhanced appearance by deepening colour and highlighting the grain
- Longevity through UV protection and scratch resistance
Types of Wood Finishes: Pros and Cons
Oil-Based Finishes
Oil finishes penetrate the wood to provide a natural look while enhancing grain patterns. They are ideal for pieces that need a soft, hand-rubbed appearance.
Popular oils:
- Tung oil – Water-resistant and durable
- Linseed oil – Deep penetration but slower drying
- Danish oil – Blend of oil and varnish for a balanced result
Pros:
- Easy to apply
- Great for enhancing grain
- Repairable
Cons:
- Requires reapplication over time
- Can take days to dry fully
Water-Based Finishes
These are fast-drying, low-odour options often used for indoor furniture.
Pros:
- Quick drying
- Low VOC (environmentally friendly)
- Clearer finish that doesn’t yellow over time
Cons:
- Can raise wood grain
- Less durable than oil-based for high-traffic areas
Varnish
A resin-based finish that forms a hard, protective layer on top of the wood. Excellent for exterior furniture or high-use pieces.
Pros:
- Tough and long-lasting
- UV and moisture-resistant
Cons:
- Can be difficult to apply it evenly
- Requires good ventilation during application
Lacquer
Known for its high-gloss finish, lacquer is a favourite among woodworkers who want a sleek, professional appearance.
Pros:
- Dries quickly
- Builds up layers beautifully
Cons:
- Can be toxic without proper ventilation
- Less flexible, can crack over time
Shellac
Derived from natural resins, shellac offers a warm glow and is often used in antique restoration.
Pros:
- Natural and non-toxic
- Easy to repair
Cons:
- Not water-resistant
- Less durable under heat or alcohol exposure
Matching Finish to Function and Style
Indoor vs Outdoor Use
Outdoor wood projects—like decking, planters, or patio furniture—require finishes with excellent moisture and UV resistance. Look for spar varnish or exterior-grade oils.
Indoor projects have more flexibility. For high-touch surfaces like tables, a durable polyurethane or hard wax oil is a good choice.
Appearance Goals
Do you want a rustic, hand-rubbed finish or a sleek, glossy, modern look?
Consider:
- Matte or satin oils for a soft, natural feel
- Gloss lacquer or polyurethane for a refined, durable shine
- Tints and stains if you want to alter the colour while keeping grain visible
Durability Needs
High-traffic areas (floors, tables): Polyurethane, varnish
Decorative pieces (frames, shelves): Shellac, oils
Kitchen and bathroom woodwork: Water-resistant, sealed finishes
Preparing the Wood Surface
Before you even open a can of finish, surface preparation is vital.
Step-by-Step Surface Prep
- Sanding – Start with coarse grit and move up to a fine 220 grit for a smooth base.
- Dust removal – Use tack cloths or a vacuum to clear sanding dust.
- Conditioning (for softwoods) – Apply a wood conditioner to prevent blotching when staining.
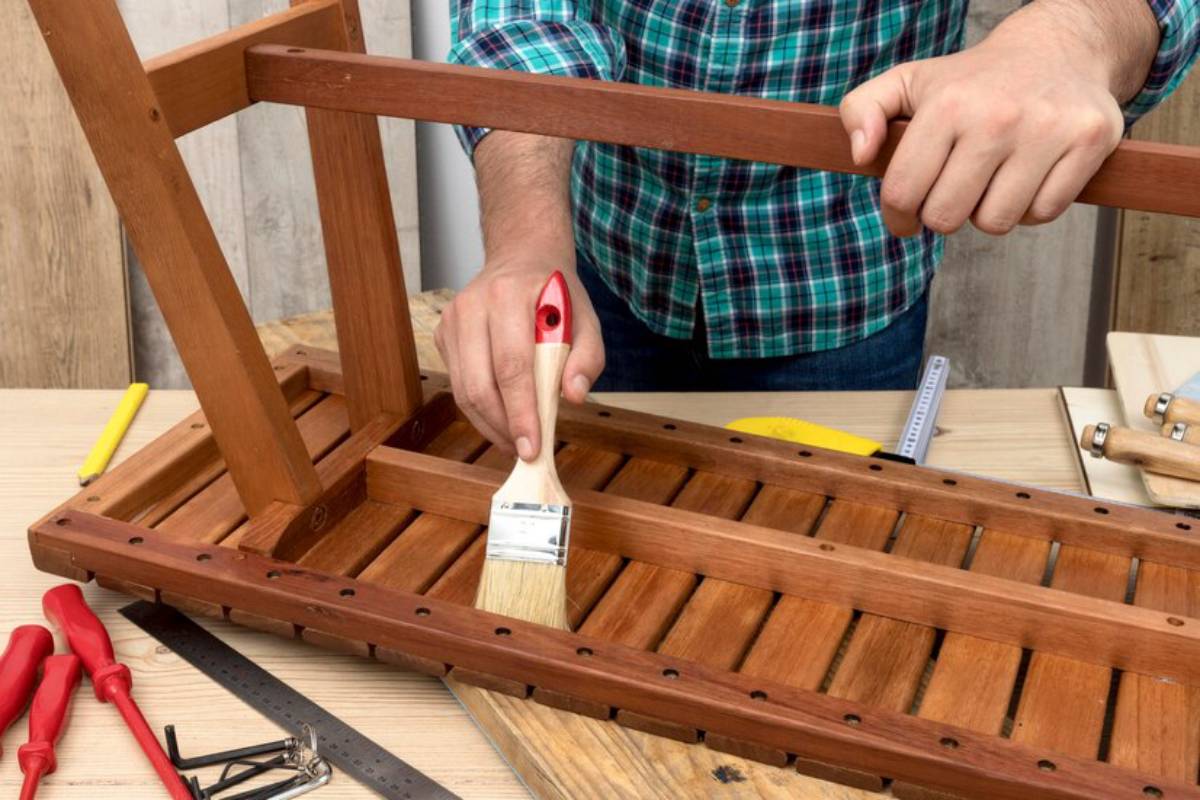
Applying Your Finish: Techniques for Success
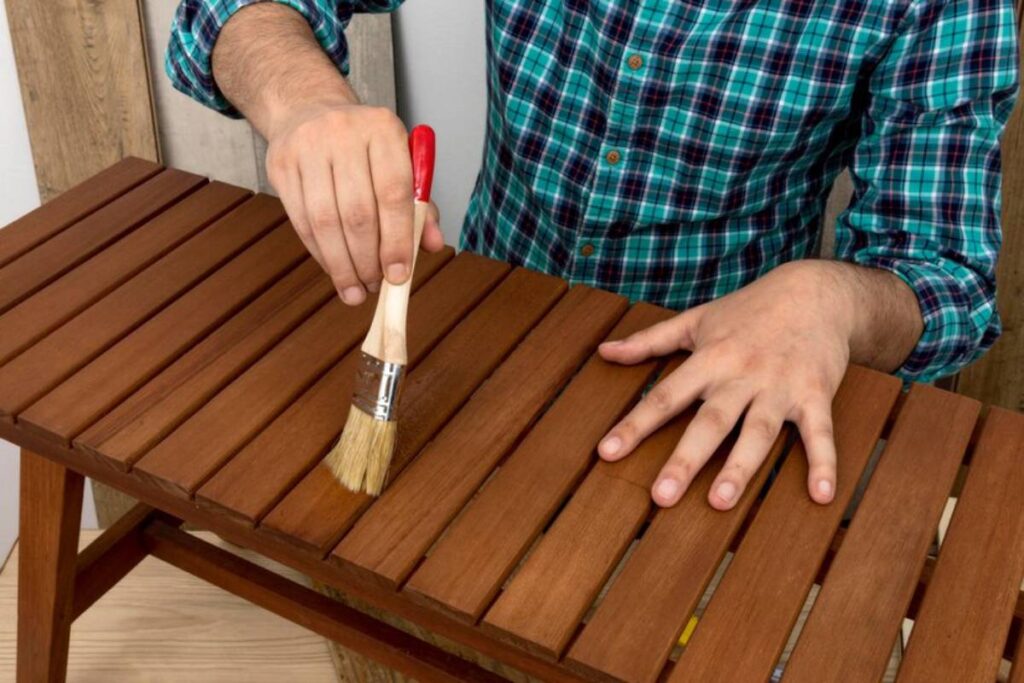
Brushing
Common for varnish and polyurethane. Use a high-quality brush and apply it in long, even strokes.
Spraying
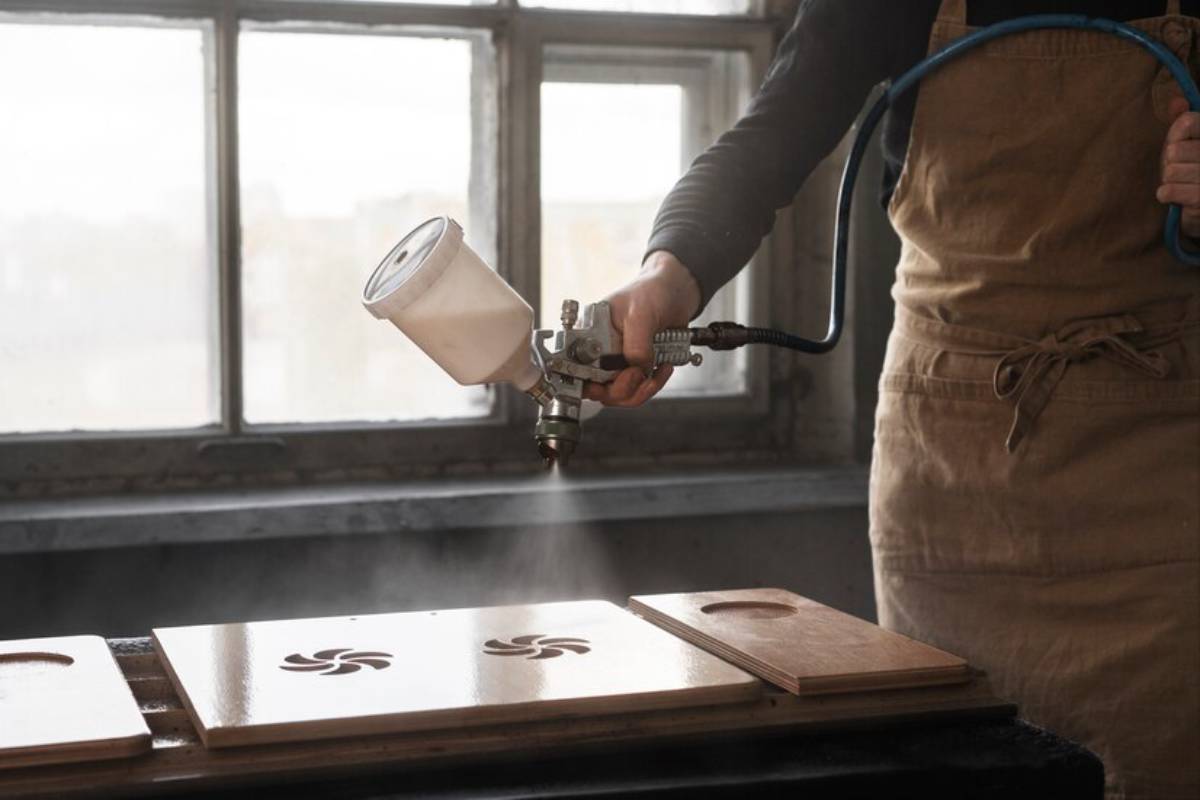
Best for lacquer or complex shapes. Provides an ultra-smooth finish but requires good ventilation and masking.
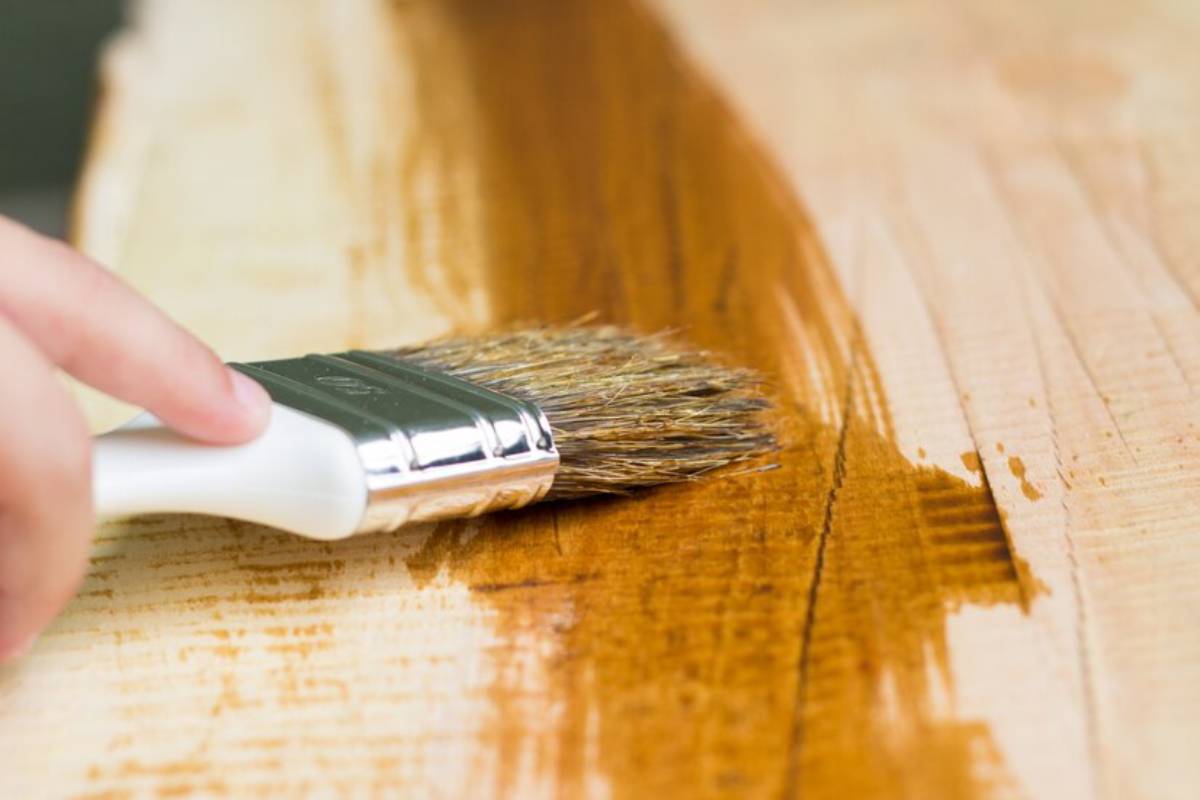
Wiping
Oil and shellac are often applied with a cloth. Great for a hand-rubbed look and is easy to control.
Key Tips:
- Always apply in a dust-free environment
- Follow drying and curing times on the label
- Sand lightly between coats with 320-400 grit
Adding Colour with Wood Stains
Wood stain can dramatically change the appearance of a piece without hiding the grain.
Types of Stains
- Oil-based stains – Rich colour, longer working time
- Water-based stains – Fast-drying, easier cleanup
- Gel stains – Thick consistency, ideal for vertical surfaces
Staining Tips
- Test on a scrap piece first
- Apply evenly with a cloth or brush
- Wipe excess before drying
Creative Wood Finishing Ideas
Two-Tone Finishes
Combine different stains for contrast—e.g., a dark top and light base on tables.
Distressing and Antiquing
Use steel wool or a chain to create a weathered effect, then seal with wax or shellac.
Whitewashing or Pickling
Great for beachy or cottage styles, white stains allow the grain to peek through a pale tint.
Burnishing
Rub the final coat with a brown paper bag or fine steel wool for a silky-smooth finish.
Common Wood Finishing Mistakes to Avoid
- Skipping the sanding process
- Not cleaning off dust before finishing
- Applying thick coats instead of multiple thin ones
- Rushing the drying time between coats
- Ignoring temperature/humidity conditions
Maintaining Your Wood Finish Over Time
Even the best finish needs maintenance. Keep your piece looking pristine by:
- Dusting regularly with a microfibre cloth
- Using coasters and placemats
- Reapplying oil finishes annually
- Avoiding harsh chemicals when cleaning
Quick Fixes for Damage:
- Scratches: Buff with wax or a matching touch-up pen
- Water rings: Rub gently with a baking soda paste
- Faded areas: Re-oil or re-stain depending on the finish
Conclusion: Finishing Strong
The right wood finish is more than just a protective layer—it’s the final flourish that brings your project to life. Whether you’re leaning toward a hand-rubbed oil for a rustic charm or a high-gloss lacquer for a showpiece, understanding your options helps you make informed, confident choices.
With the tips and techniques in this guide, you’re ready to take on any wood-finishing project with confidence. Remember: preparation is everything, thin layers build the best results, and good maintenance extends the life of your work.
Ready to get started? Browse your local hardware shop or favourite woodworking supplier and experiment with sample finishes. The perfect combination of durability and style is just a few brush strokes away.


YOU MAY LIKE


