The DIY & Crafts Blog
How to Make a Simple Wooden Shelf
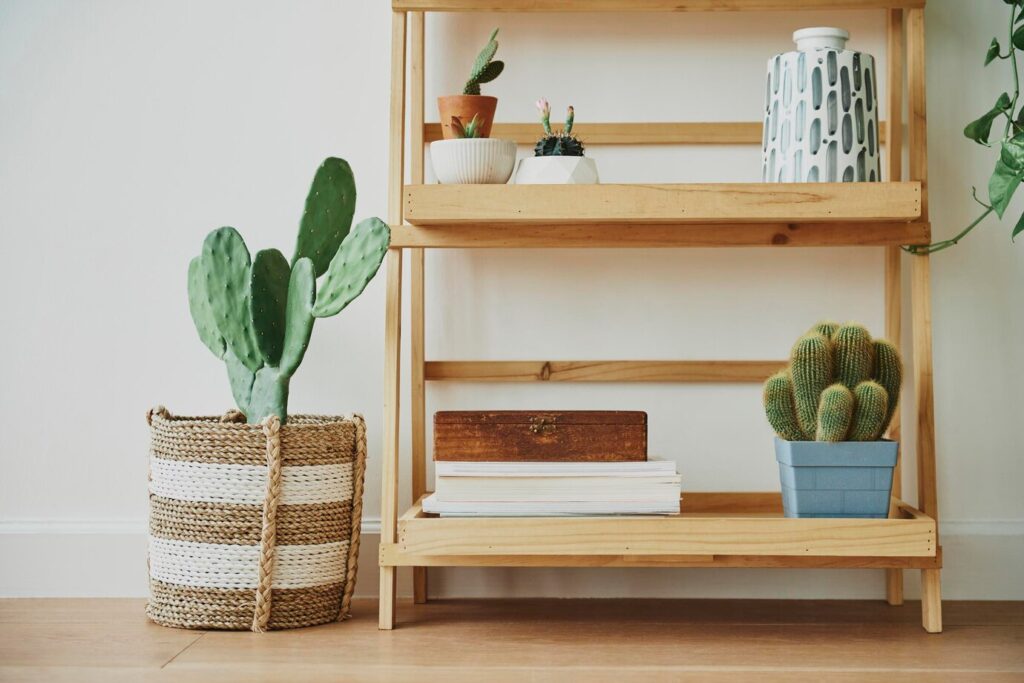
Crafting a DIY wooden shelf is the perfect project for budding artisans. It’s a chance to marry storage with style, elevating any room’s aesthetic. A good shelf can turn plain walls into functional art. You can use it to display cherished books, colourful plants, or striking decor. Using simple wall shelf techniques, you can create a bookshelf that reflects your style. Plus, you’ll improve your woodworking skills along the way.
In this guide, we’ll take you on a step-by-step journey through the art of shelf building. From choosing the finest materials to the final installation, we cover it all. No matter if you’ve used a hammer before or are new to tools, this project offers a fun challenge. By the end of this tutorial, you will create a strong, stylish wooden shelf. It will enhance your space and showcase your style.
Pro Tip: Always measure your fragrance oil accurately. Too much can cause poor burning, while too little results in a weak scent. The ideal ratio is about 6-10% fragrance oil per pound of wax for a strong yet balanced aroma.
Quick Guide to DIY Candle Making
- Gather Supplies – Choose soy, beeswax, or coconut wax, and get fragrance oils, wicks, and jars.
- Prepare Jars & Wicks – Clean containers, secure wicks, and preheat jars slightly.
- Melt the Wax – Use a double boiler and monitor the temperature to prevent burning.
- Add Fragrance & Colour – Stir in fragrance oil at the right temperature (130-140°F/54-60°C).
- Pour & Set – Pour the wax slowly, let it cool for a smooth finish, and trim the wick before burning.
Important Tip: Let your candles cure for at least 24-48 hours before lighting them. This enhances scent throw and ensures an even burn.
Materials and Tools Needed
Before starting, gather the necessary materials and tools. Quality materials ensure durability, while the right tools make the process more efficient.
Materials:
- Wood plank (pine, oak, or plywood) – Pick a strong wood with a smooth finish. Think about the weight of the items you’ll put on it.
- Wall brackets – Metal or wooden brackets provide the necessary support and stability.
- Wood screws – Secure the shelf and brackets firmly to prevent wobbling or damage.
- Wall anchors (if mounting on drywall) – Helps distribute weight evenly and prevent damage to the wall.
- Wood stain or paint – Enhances the shelf’s appearance and adds a protective layer.
- Sandpaper (120-220 grit) – It smooths rough edges. This prepares the surface for staining or painting.
- Wood glue (optional) – Provides additional reinforcement for a sturdy build.
Tools:
- Measuring tape – Ensures accurate dimensions for a balanced look.
- Pencil and level – Helps mark accurate placements for brackets and shelf alignment.
- Drill and screwdriver – Essential for securing brackets and mounting the shelf.
- Saw – Cuts the wood plank to the required size; a handsaw or circular saw works well.
- Clamps – Holds pieces in place while working, ensuring precise assembly.
- Brush or cloth – For applying stain or paint, creating a smooth, professional finish.
Step-by-Step Guide to Building a DIY Wooden Shelf

Step 1: Plan and Measure
Before making any cuts, determine the size and placement of your shelf. Consider:
- The wall space available
- The intended function of the shelf (books, decorations, storage, etc.)
- The weight it will need to support
A standard shelf size ranges from 24 to 48 inches in length and 8 to 12 inches in depth. Use a measuring tape to mark the dimensions on your chosen wood plank, ensuring it fits your space perfectly.
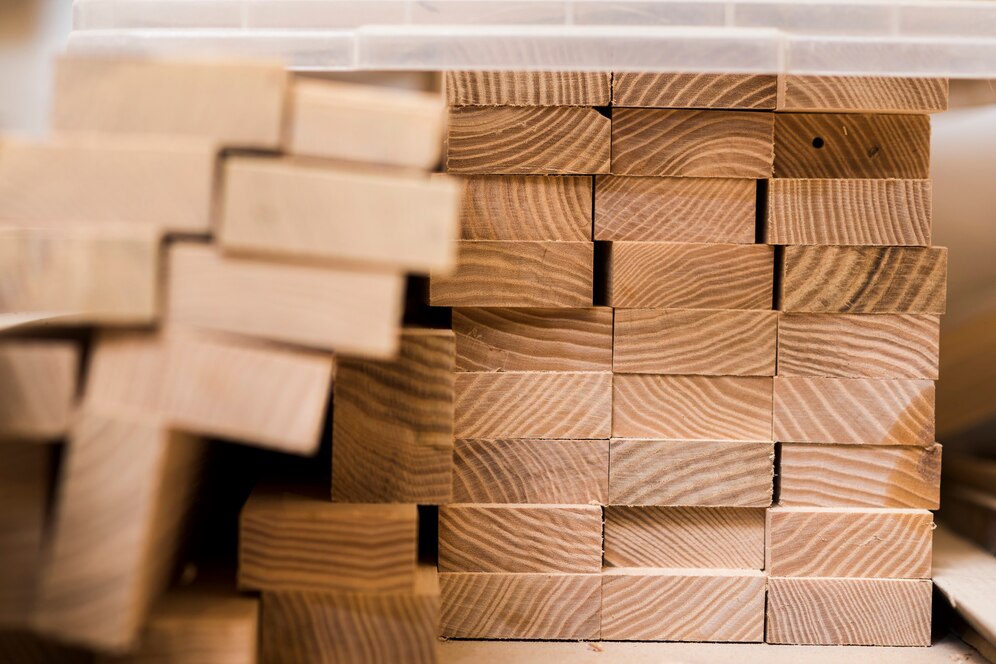
Step 2: Cut and Sand the Wood
Using a saw, carefully cut the wood plank to the desired length. If you don’t have access to a saw, most hardware stores offer cutting services. Once cut, use sandpaper (starting with 120 grit and finishing with 220 grit) to smooth out rough edges and surfaces. This will ensure the shelf looks professional and prevents splinters.
Step 3: Apply Finish
Finishing your wooden shelf not only improves its appearance but also protects it from moisture and wear. Choose between:
- Wood stain: Enhances the natural grain while adding depth and warmth.
- Paint: Allows for colour customisation to match your décor.
- Clear varnish: Provides a polished look while preserving the natural wood tone.
Apply the chosen finish with a brush or cloth, working in the direction of the wood grain. Allow it to dry for at least 24 hours before handling.
Step 4: Install the Brackets
Proper installation of brackets is essential for a stable and secure shelf. Follow these steps:
- Mark bracket positions: Use a level to mark where the brackets will be installed. Keep them evenly spaced for balanced support.
- Drill pilot holes: If mounting on drywall, insert wall anchors to prevent the screws from pulling out.
- Secure the brackets: Use a drill or screwdriver to fasten the brackets tightly to the wall. Ensure they are firm before proceeding.
Step 5: Mount the Shelf
With the brackets installed, place the wooden shelf on top and align it properly. Secure the shelf by:
- Screwing the wood plank onto the brackets.
- Use wood glue for additional reinforcement if needed.
- Checking the shelf’s stability by gently pressing down on it.
Double-check that the shelf is level before fully tightening the screws.
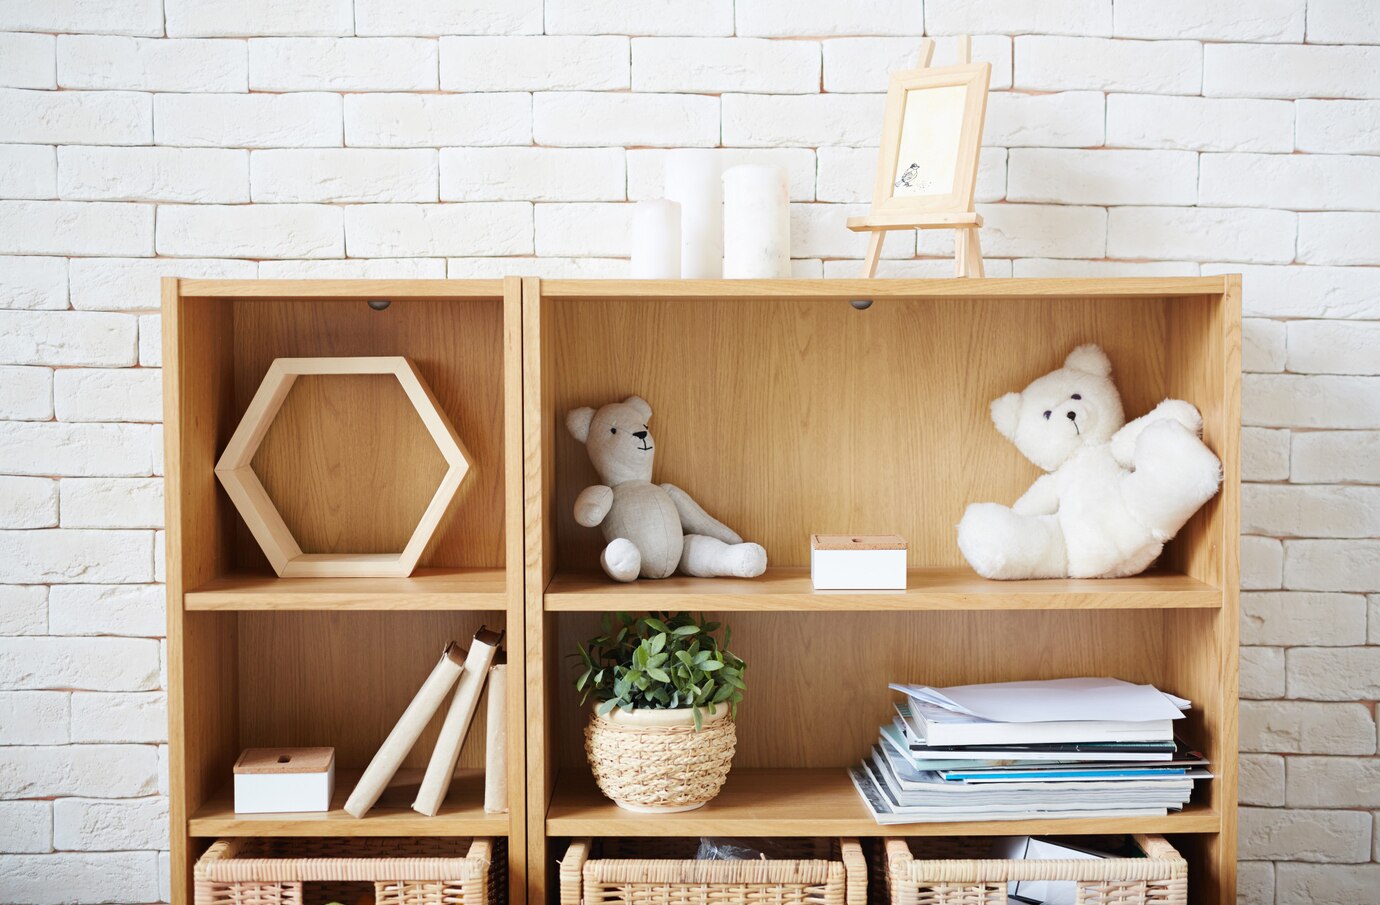
Tips for Customising Your Shelf
- Add a Back Panel: Attach a back panel. This gives a polished look and adds stability, especially for bookshelves.
- Use Decorative Brackets: Choose fancy or industrial-style brackets to match your décor.
- Floating Shelves: Tuck the brackets inside the shelf for a clean, modern look.
- Install Multiple Shelves: Stack shelves up to save space and make a nice display.
- Use Reclaimed Wood: Add a rustic or vintage feel to your shelf with old wood.
- Adjustable Shelves: Use shelf tracks so you can move shelves to fit your storage needs.
Common Mistakes to Avoid
Building a DIY wooden shelf is simple, but beginners often make these mistakes:
- Not using a level results in a crooked shelf, which can cause items to slide off.
- Skipping wall anchors, If mounting on drywall, failing to use anchors can lead to instability.
- Using the wrong wood type can be a mistake. Softwoods, like pine, work well for lightweight shelves. But for heavy-duty storage, you need hardwoods like oak or maple.
- Every shelf has a weight limit; exceeding it can lead to damage or collapse.
- Not sanding and finishing can lead to rough edges and splinters. This also shortens the shelf’s lifespan.
FAQs
1. What type of wood is best for making a shelf?
Pine is great for light to medium loads and is easy to work with. For heavier items, consider hardwoods like oak, maple, or walnut for added strength and durability.
2. How much weight can a DIY wooden shelf hold?
It depends on the wood type, bracket strength, and wall anchors used. On average, a properly installed shelf can support 20–50 pounds. Always check the weight limits of your brackets.
3. Do I need to seal or finish the wood?
Yes. Applying wood stain, paint, or clear varnish protects the shelf from moisture and wear while enhancing its look.
4. Can I install a wooden shelf on plaster or brick walls?
Yes, but you’ll need suitable wall anchors or masonry screws. Use a masonry drill bit for brick or appropriate fixings for plaster walls.
5. What’s the difference between a floating shelf and one with visible brackets?
A floating shelf hides the supports for a minimalist look, while bracketed shelves show the hardware, which can be a decorative element in your design.
Build It Yourself: Create Stylish Storage with a Simple Wooden Shelf
Crafting your own DIY wooden shelf is a delightful journey into creativity. It’s a simple, satisfying project that spruces up both organisation and style. With just a few tools and a bit of elbow grease, you’ll conjure up easy wall shelves perfectly suited to your taste and space. Need extra storage or a chic showcase? This project is your ticket to honing those woodworking skills.
So, why wait? Now that you know how to build a bookshelf, embark on your adventure today! Gather your materials, follow these steps, and relish the joy of creating a stunning and functional wooden shelf.
Have you tried making a wooden shelf before? Share your experience and any tips in the comments!


YOU MAY LIKE


