The DIY & Crafts Blog
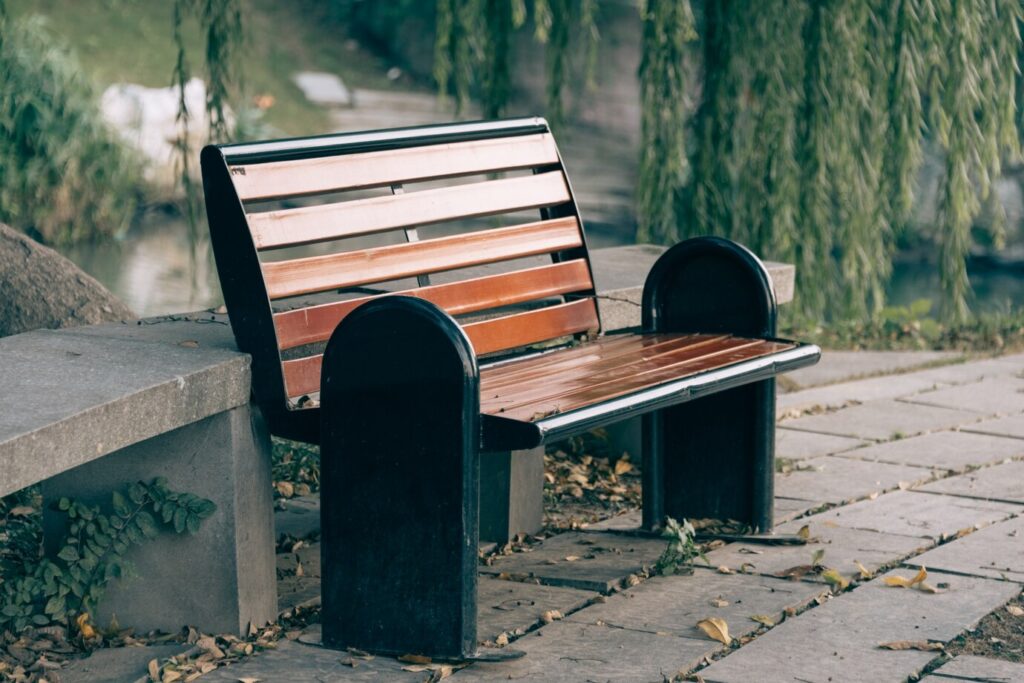
How to Make a Simple Wooden Bench
Crafting a DIY wooden bench is a splendid venture for all wood lovers. This charming project adds extra seating if you wish to spruce up your home, patio, or garden. You can build a stylish and sturdy bench with just a handful of tools and materials. A touch of creativity can turn your space into a tranquil retreat. This guide shows you every step. First, choose the right wood. Then, assemble and finish your project. This way, your masterpiece will last.
1. Planning Your DIY Wooden Bench
Before you start building, it’s important to consider the design, size, and materials for your wooden bench. Here are some key points to keep in mind:
1.1 Purpose and Placement
- Will the bench be used indoors, on a patio, or in a garden? Outdoor benches require weather-resistant wood and finishes.
- If placing the bench in a garden, consider a design with drainage gaps to prevent water accumulation.
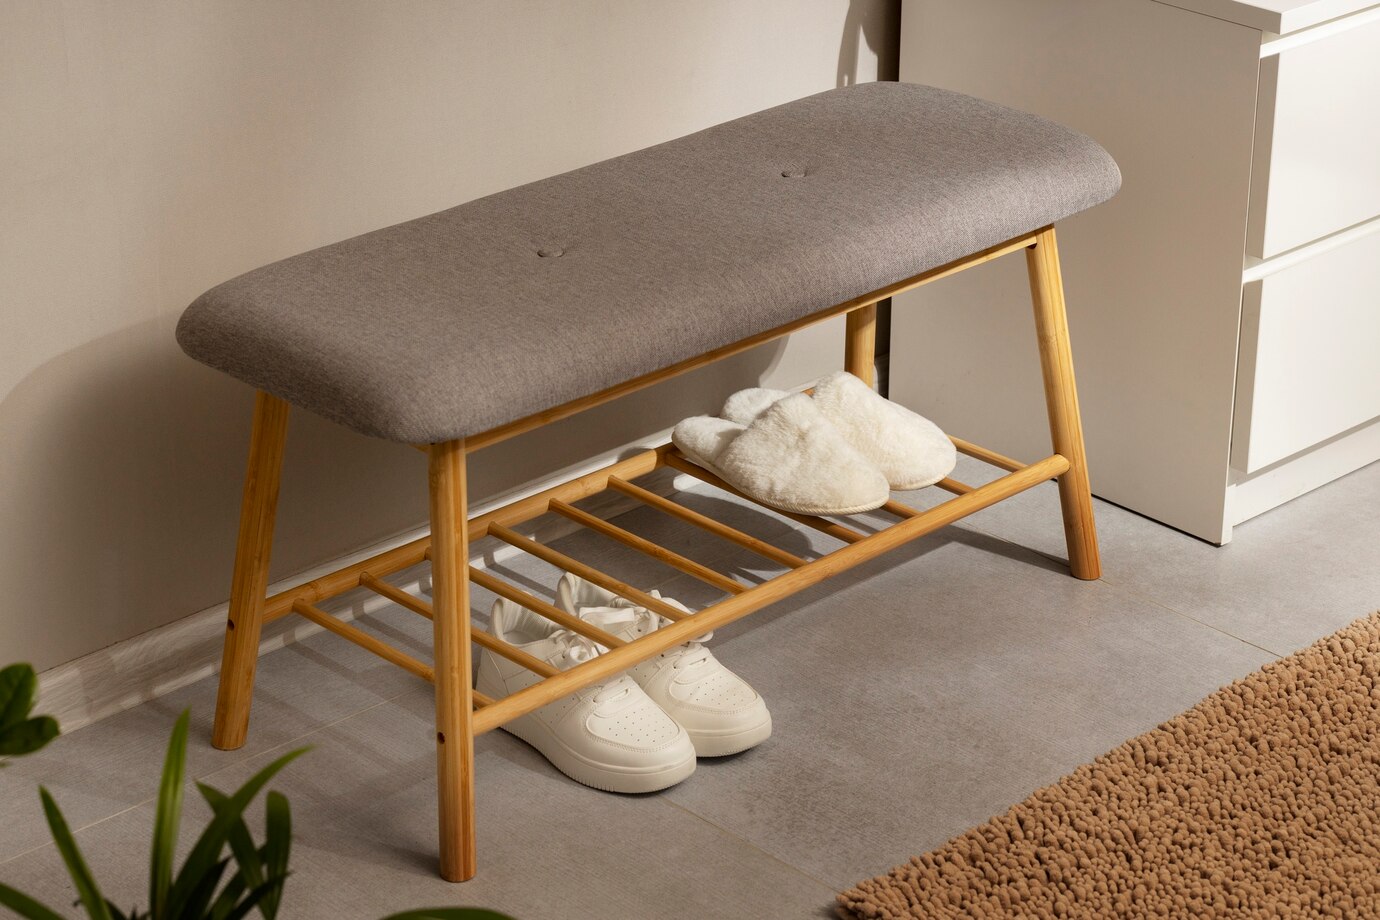
- For an indoor bench, choose a style that complements your home’s decor.
- Think about mobility do you need a lightweight bench that’s easy to move or a more permanent fixture?
1.2 Size and Design
- A standard bench height is around 45 cm, while the length ranges from 90 cm to 150 cm, depending on seating needs.
- Consider adding a backrest for additional comfort and aesthetic appeal.
- Choose between a traditional, rustic, or modern style to suit your aesthetic preferences.
- If you plan to use the bench for dining, ensure the dimensions match the height of your table for ergonomic seating.
1.3 Wood Selection
- Hardwoods (oak, cedar, teak) are great for outdoor use due to their durability and resistance to rot.
- Softwoods (pine, fir, spruce) are budget-friendly and ideal for indoor use but may require extra sealing for longevity.
- Reclaimed wood is an eco-friendly option that adds character to your DIY wooden bench.
- Pressure-treated wood is another option for outdoor benches, as it is highly resistant to moisture and pests.
Sketching out a simple plan with measurements will help you visualise the final product before you begin cutting and assembling.
2. Gathering Tools and Materials
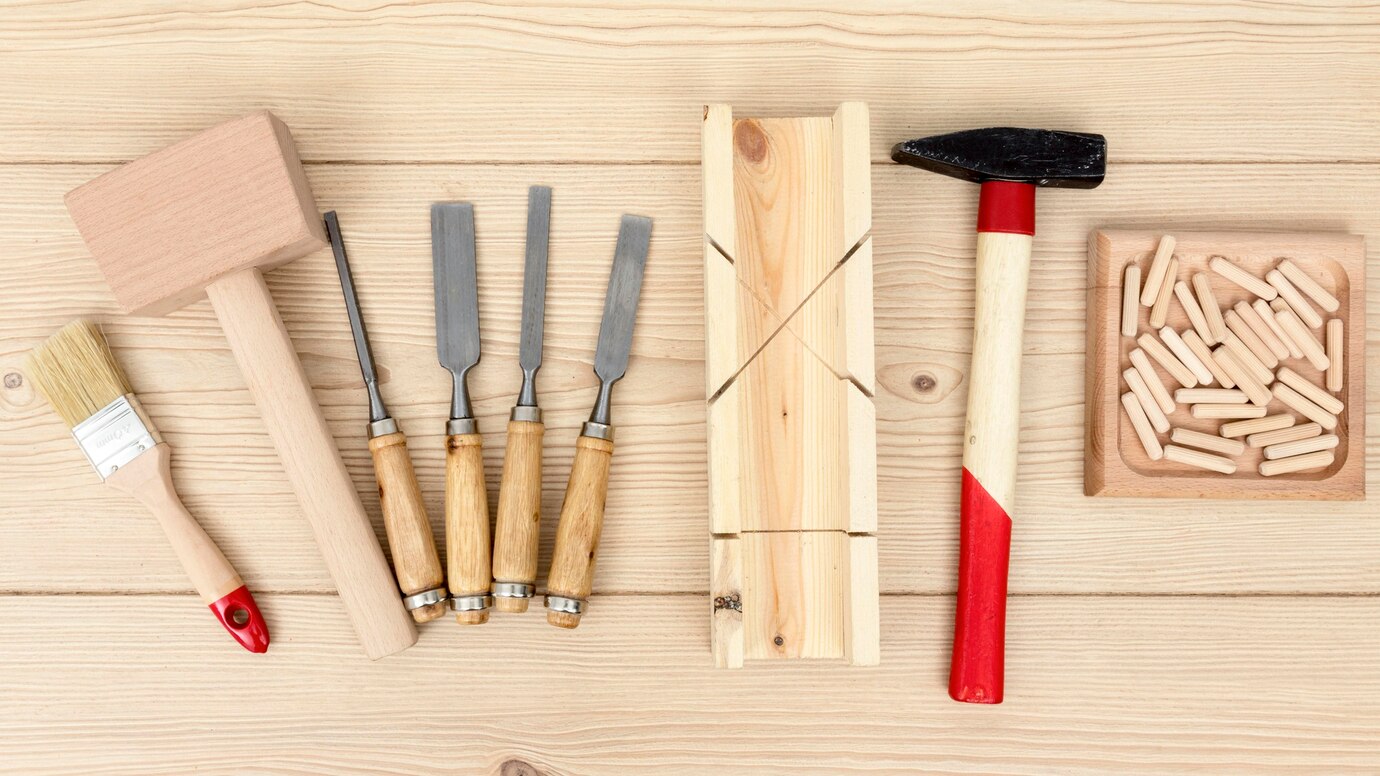
2.1 Essential Tools
To complete this easy furniture project, you’ll need the following tools:
- Saw (circular saw, miter saw, or hand saw)
- Measuring tape and pencil
- Carpenter’s square for precision
- Sandpaper or electric sander for smoothing surfaces
- Drill with bits for pilot holes and screw installation
- Screws and wood glue for securing joints
- Clamps to hold pieces in place during assembly
- Safety gear (gloves, goggles, dust mask) to protect yourself
2.2 Materials Needed
- Wood planks (for the seat, legs, and supports)
- Wood screws (at least 2-inch screws for sturdy assembly)
- Wood glue (for added stability)
- Wood stain or paint (for finishing)
- Weatherproof sealant (for outdoor benches)
- Metal brackets (optional for added support and durability)
3. Cutting and Preparing the Wood
3.1 Measuring and Cutting the Planks
- Cut the seat plank to your desired length (90-150 cm).
- Cut two identical legs, typically around 40-45 cm tall.
- Cut two support braces that will connect the legs and reinforce the bench.
- If adding a backrest, cut an additional plank to serve as the back support.
- For a more decorative look, round off the edges of the seat or legs with a jigsaw.
3.2 Sanding the Wood
- Smooth all edges using medium-grit (120-150) sandpaper, then finish with fine-grit (220).
- Round off sharp edges for a more comfortable feel.
- If working with reclaimed wood, check for and remove old nails or debris.
- Ensure surfaces are free from splinters, as these can cause discomfort when sitting.
4. Assembling the Bench
4.1 Attaching the Legs
- Position the legs at each end of the seat plank.
- Apply wood glue to the joint before securing it with screws.
- Use clamps to hold the legs in place while drilling pilot holes to prevent splitting.
- For additional stability, attach metal brackets inside the corners.
4.2 Adding Support Braces
- Attach the support braces between the legs to prevent wobbling.
- Secure with screws and double-check alignment with a carpenter’s square.
- If adding a backrest, attach it securely with screws or wooden dowels.
4.3 Strengthening the Structure
- If building a garden bench, consider cross-bracing the legs for added stability.
- For heavier benches, opt for thicker wooden planks to support more weight.
- If your bench will be used on uneven ground, consider adding adjustable feet to level it.
5. Finishing Touches
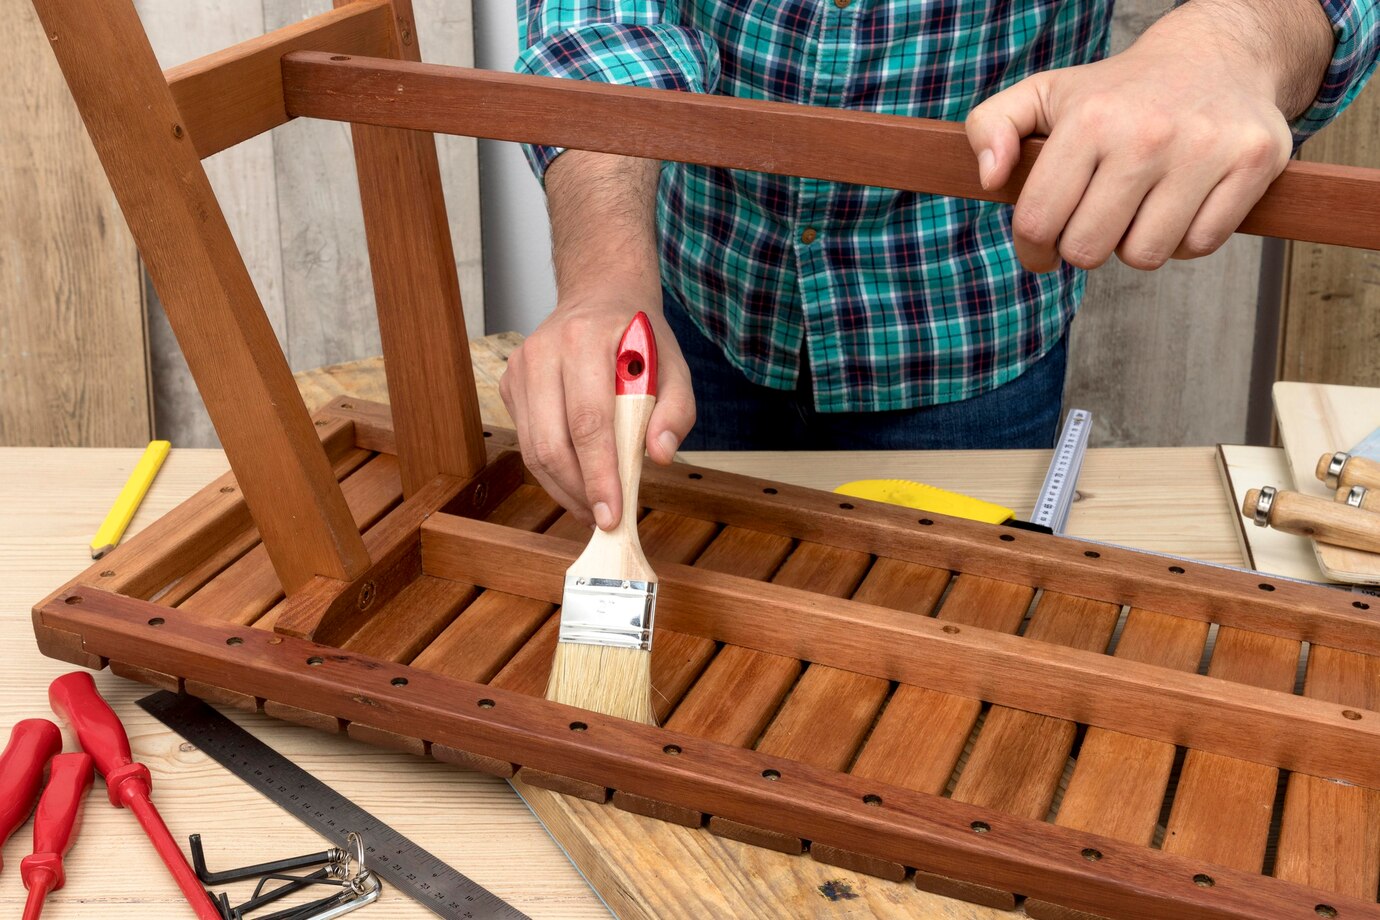
5.1 Staining or Painting
- Apply a wood stain to enhance the natural grain, or choose a paint colour to match your décor.
- Use a brush or cloth to apply the finish evenly, following the direction of the wood grain.
- Allow the stain or paint to dry fully before applying a second coat if needed.
5.2 Sealing and Protecting
- For outdoor benches, use a weatherproof sealant. This keeps them safe from moisture and UV damage.
- Choose a polyurethane or outdoor-rated wood sealant for maximum protection.
- Let the finish cure completely before using the bench.
- If you use the bench outside, think about adding a protective coat each year. This keeps it looking good and lasting longer.
6. Final Maintenance Tips
- Check screws and joints often. This keeps things stable, especially with changing weather.
- Reapply sealant annually if the bench is placed outdoors.
- Clean the surface with a damp cloth to prevent dirt buildup and maintain its appearance.
- Keep the bench inside or cover it during severe weather to help it last longer.
- Check for wear over time. Fix small issues before they turn into big problems.
Conclusion
Crafting a garden bench is a delightful project, weaving charm into any space. Whether you’re envisioning a cosy corner or an outdoor oasis, this DIY wooden bench will shine. Follow these simple steps for a sturdy and stunning finish. With thoughtful planning, premium materials, and meticulous attention to detail, your bench will offer years of comfort and elegance.
This approachable project is a perfect opportunity to refine your woodworking skills, creating a piece that is both functional and aesthetically pleasing.
. So, gather your tools, choose your wood, and start building a garden bench that you can enjoy for years to come!


YOU MAY LIKE


