The DIY & Crafts Blog
DIY Wooden Planter Box: A Step-by-Step Guide
Creating a DIY wooden pergola is a fantastic way to add charm to your garden, patio, or balcony. This guide walks you through everything—from selecting materials to assembling and maintaining your planter box for long-term durability.
Pro Tip:When assembling your planter, pre-drill holes before inserting screws. This prevents wood from splitting and ensures a sturdier construction.
Quick Guide: Step-by-Step Summary
- Plan & Measure: Determine the dimensions and design of your planter box.
- Gather Tools & Materials: Collect the necessary wood, screws, tools, and finishing products.
- Cut the Wood: Measure and cut the wooden panels to size.
- Assemble the Planter: Attach the side panels, secure the bottom, and reinforce corners.
- Add Drainage & Lining: Drill drainage holes and line the box with landscape fabric.
- Apply Finish: Use a weather-resistant stain or sealant to protect the wood.
- Fill with Soil & Plant: Add high-quality potting soil and choose plants suitable for your space.
Important Tip:If you plan to grow edible plants, avoid using pressure-treated wood, as it may contain chemicals that can leach into the soil. Opt for natural, untreated wood instead.
Materials and Tools Needed
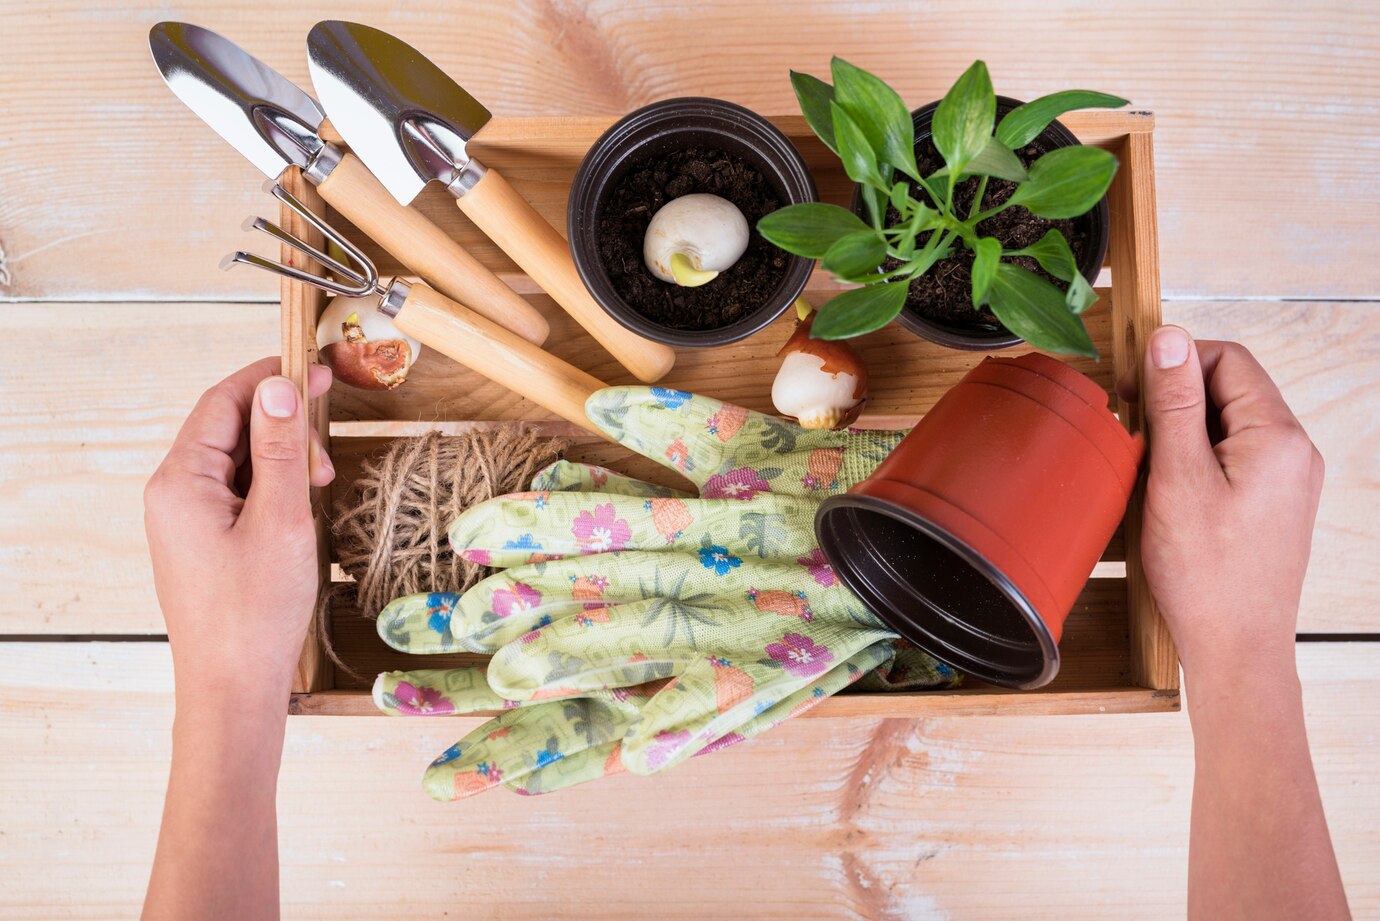
Materials:
- Wooden boards: Cedar, redwood, or pressure-treated lumber
- Galvanized screws or nails: Rust-resistant for outdoor use
- Wood glue (optional): Adds extra strength
- Landscape fabric: Prevents soil leakage while allowing drainage
- Exterior wood stain or sealant: Enhances durability
- Potting soil and plants: Choose plants based on climate
- Corner brackets (optional): Provides additional structural support
Tools:
- Saw (circular or hand saw): For cutting wood panels
- Drill with screwdriver bit: For securing panels together
- Measuring tape: Ensures precise cuts and alignment
- Sandpaper or sander: To smooth rough edges
- Paintbrush: For applying stain or sealant
- Clamps (optional): Helps hold pieces in place during assembly
Step-by-Step Guide to Building Your Wooden Planter Box
Step 1: Planning and Measuring
Decide on the size and shape of your planter box. A common size is 36 inches long, 18 inches wide, and 12 inches deep, but you can customize it to fit your space.
Step 2: Cutting the Wood
Cut the wooden boards into:
- 2 long side panels
- 2 short side panels
- 1 bottom panel
Smooth the edges with sandpaper to remove splinters.
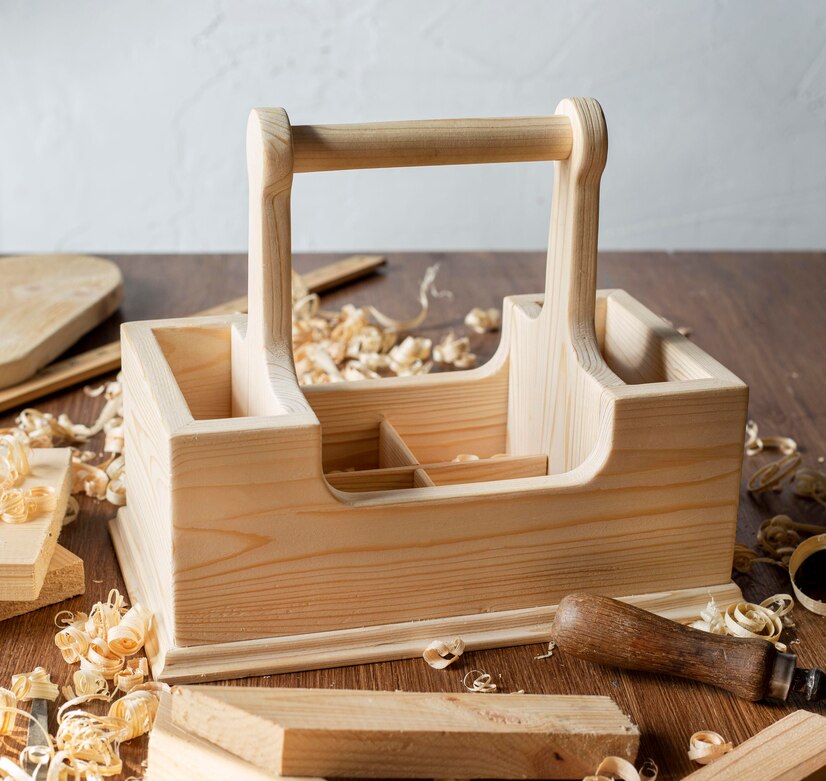
Step 3: Assembling the Planter Box
- Attach the side panels to the bottom panel using screws or nails.
- Use clamps for stability while assembling.
- Reinforce the corners with brackets for extra durability.
Step 4: Adding Drainage Holes
Drill multiple small holes in the bottom panel to allow excess water to drain and prevent root rot.
Step 5: Lining with Landscape Fabric
Staple landscape fabric inside the planter to prevent soil leakage while allowing proper drainage.
Step 6: Applying Sealant or Paint
Protect your planter from weather damage by applying an exterior wood stain or sealant. Allow it to dry completely before adding soil.
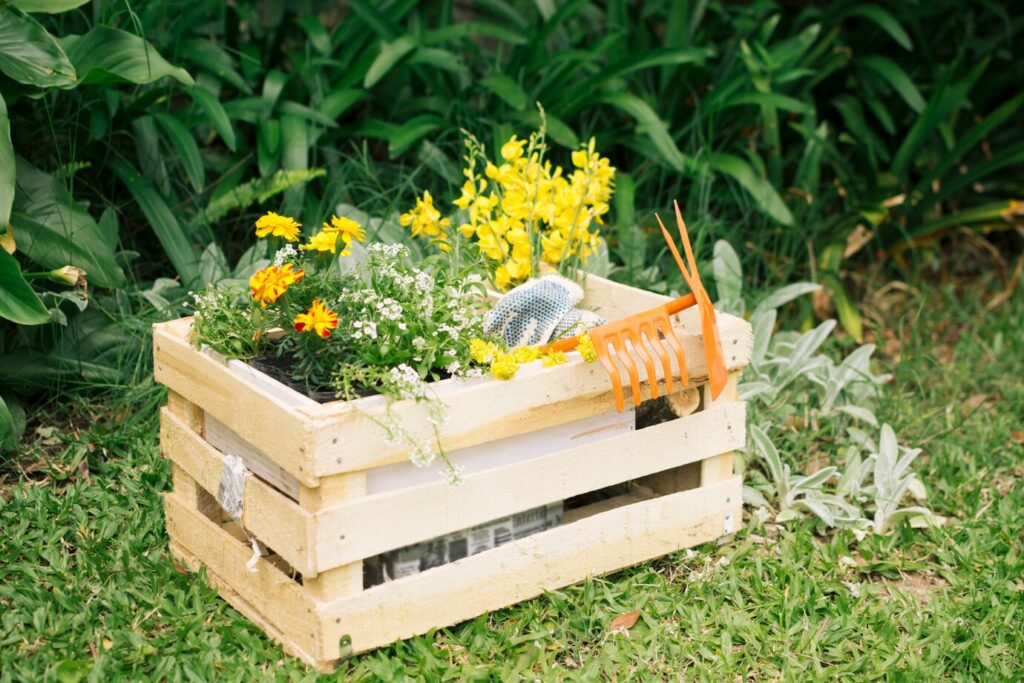
Step 7: Filling with Soil and Planting
Use nutrient-rich potting soil and plant flowers, herbs, or vegetables suited to your climate and sunlight conditions.
Expert Tips for a Long-Lasting Wooden Planter Box
- Use Rot-Resistant Wood: Cedar, redwood, and pressure-treated lumber are excellent choices for outdoor use.
- Elevate the Box Slightly: Place the planter on wooden feet, bricks, or casters to improve drainage and prevent rot.
- Reapply Sealant Annually: Apply a fresh coat of sealant or wood preservative every year to protect against moisture and UV exposure.
- Avoid Treated Wood for Edible Plants: Use untreated wood for herbs or vegetables to prevent chemicals from leaching into the soil.
Common Mistakes to Avoid
- Skipping Drainage Holes: Poor drainage can lead to root rot and wood decay.
- Using Untreated Wood Without a Protective Coating: Untreated wood absorbs moisture and deteriorates quickly.
- Overloading with Soil: Excess soil can stress the structure. Keep soil levels 1-2 inches below the rim.
- Forgetting Weight and Mobility: Large planter boxes can be heavy. Consider adding wheels or a movable stand.
Additional Design Ideas
- Built-in Trellis: Perfect for climbing plants like tomatoes and ivy.
- Self-Watering System: Reduces the need for frequent watering.
- Vertical Planters: Saves space and adds a unique aesthetic.
- Multi-Level Planters: Creates depth and visual interest in your garden.
Frequently Asked Questions About DIY Wooden Planter Boxes
1. How long will a wooden planter box last?
With proper maintenance, a sealed and well-treated wooden planter can last over a decade.
2. Do I need to line the inside of my planter box?
Yes, using landscape fabric helps prevent soil loss and extends the life of the wood.
3. What’s the best wood for planter boxes?
Cedar, redwood, and pressure-treated lumber are best due to their durability and resistance to rot.
4. Can I use recycled wood for my planter box?
Absolutely! Just ensure the wood is untreated and free from harmful chemicals.
5. How can I make my planter box more portable?
Add wheels or place it on a sturdy rolling stand for easy movement.
Final Thoughts: Build a Durable and Stylish Wooden Planter Box
Building a DIY wooden planter box is a simple yet rewarding project that enhances your outdoor space while providing a durable home for plants. With the right materials and techniques, your handcrafted planter will stand strong for years to come. Gather your tools, get creative, and start building your very own wooden masterpiece today!


YOU MAY LIKE


