The DIY & Crafts Blog
How to Master Wood Joinery: A Beginner’s Guide
Wood joinery is the backbone of woodworking, crafting connections that are both robust and beautiful. Mastering wood joinery is your ticket to high-quality DIY projects when it comes to creating furniture, cabinetry, or eye-catching decor.
In this easy guide, we’ll explore key wood joinery techniques. We’ll highlight the best woodworking joints and offer tips for smooth connections. We’ll explore advanced techniques, avoid common mistakes, and reveal the essential tools to boost your woodworking skills.
By the end of this journey, you’ll wield the knowledge to select the perfect joinery technique for your next masterpiece.
Why Understanding Wood Joinery Matters
Before diving into specific techniques, let’s explore why wood joinery is crucial in woodworking:
- Strength and Durability: Properly joined wood pieces create strong structures that can withstand pressure and time.
- Aesthetics: Well-executed joinery enhances the visual appeal of furniture and decor items.
- Functionality: Different joints provide varying levels of flexibility and movement, making them suitable for different applications.
- Efficiency: Knowing the right joinery technique reduces wasted material and enhances efficiency in your projects.
- Traditional vs. Modern Approaches: Wood joinery blends traditional craftsmanship with modern tools, creating versatile options for every project.
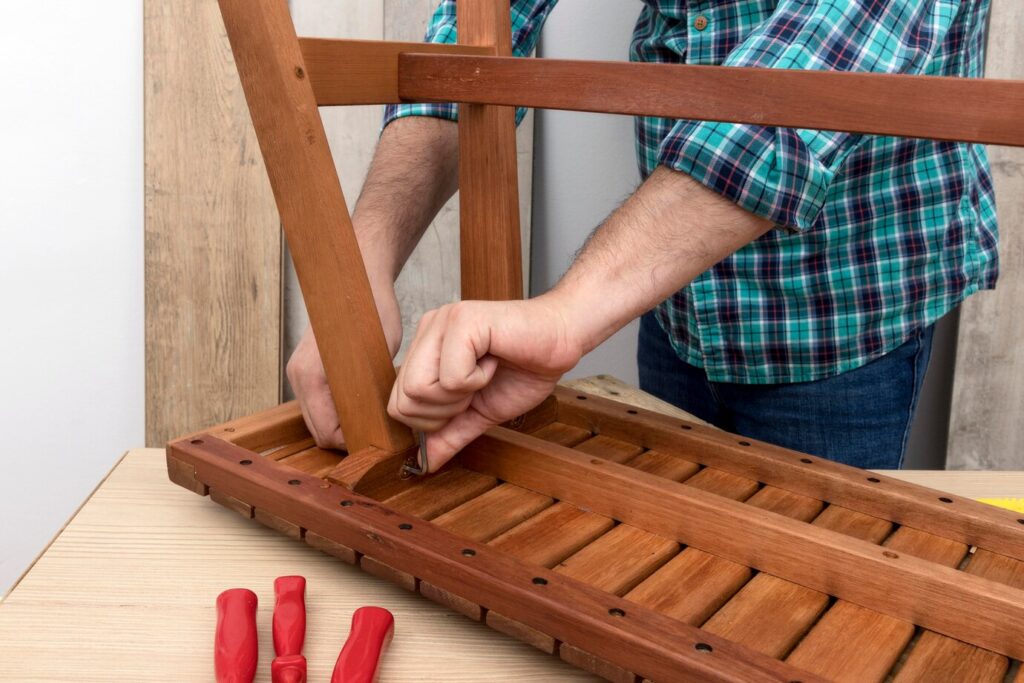
Essential Wood Joinery Techniques for Beginners
1. Butt Joint
The butt joint is the simplest form of joinery, where two pieces of wood are joined end-to-end or edge-to-edge. It’s commonly used for basic framing and construction projects.
Pros:
- Easy to create
- Requires minimal tools
Cons:
- Weak without reinforcement
- Prone to separation over time
How to Improve It: Reinforce with nails, screws, dowels, or glue for better stability.
2. Dowel Joint
A dowel joint involves drilling holes in two pieces of wood and inserting wooden dowels with glue to strengthen the connection.
Pros:
- Stronger than a simple butt joint
- No visible fasteners for a clean look
Cons:
- Requires precise hole alignment
- Can be time-consuming
Best Use: Furniture making and cabinetry.
3. Mortise and Tenon Joint
One of the oldest and most reliable wood joinery techniques, the mortise and tenon joint, involves inserting a protruding tenon into a corresponding mortise hole.
Pros:
- Extremely strong and durable
- Provides a seamless appearance
Cons:
- Requires precise cutting
- More time-consuming than simpler joints
Best Use: High-quality furniture, doors, and framing structures.
4. Lap Joint
A lap joint is created by overlapping two pieces of wood and cutting away half the thickness of each piece at the connection point.
Pros:
- Stronger than a butt joint
- Easy to reinforce with glue or screws
Cons:
- Weak against lateral forces
Best Use: Framing, cabinetry, and lightweight furniture.
5. Dovetail Joint
Dovetail joints feature interlocking wedge-shaped cuts that provide exceptional strength and aesthetics.
Pros:
- Highly durable without nails or screws
- Visually appealing
Cons:
- Requires precision cutting
- Can be challenging for beginners
Best Use: Drawers, boxes, and high-end furniture.
6. Biscuit Joint
A biscuit joint is made using an oval-shaped wooden biscuit inserted into slots cut in the joining pieces, then glued together.
Pros:
- Provides good alignment
- Reinforces edge-to-edge joints
Cons:
- Requires a biscuit joiner tool
- Not as strong as other traditional joinery methods
Best Use: Tabletops, cabinetry, and panelling.
Advanced Joinery Techniques
1. Box Joint
- Similar to the dovetail joint but with square interlocking fingers.
- Used for decorative and structural purposes.
2. Half-Blind Dovetail Joint
- Commonly used in drawers where one side is hidden.
- Stronger than regular dovetails due to concealed connections.
3. Finger Joint
- Multiple interlocking fingers that increase surface area and glue strength.
- Ideal for long panels and tabletops.
4. Pocket Hole Joinery
- Uses a specialised jig to drill angled holes for screws.
- Quick and easy, ideal for furniture and cabinet assembly.
Common Mistakes to Avoid in Wood Joinery
1. Using the Wrong Joint Type
Each joint has specific strengths and weaknesses. Choosing the wrong one can lead to structural failures.
2. Poorly Aligned Cuts
Inaccurate cuts can result in weak and uneven joints. Always measure and mark precisely before cutting.
3. Ignoring Wood Expansion
Wood expands and contracts with humidity changes. Leave enough room for natural movement, especially in tight-fitting joints like dovetails.
4. Rushing the Glue Drying Process
Allow glue to dry fully before applying stress to the joint. Clamping the pieces together ensures a solid bond.
5. Not Testing Joints Before Assembly
Dry fitting pieces before glueing helps avoid mistakes that are difficult to fix later.
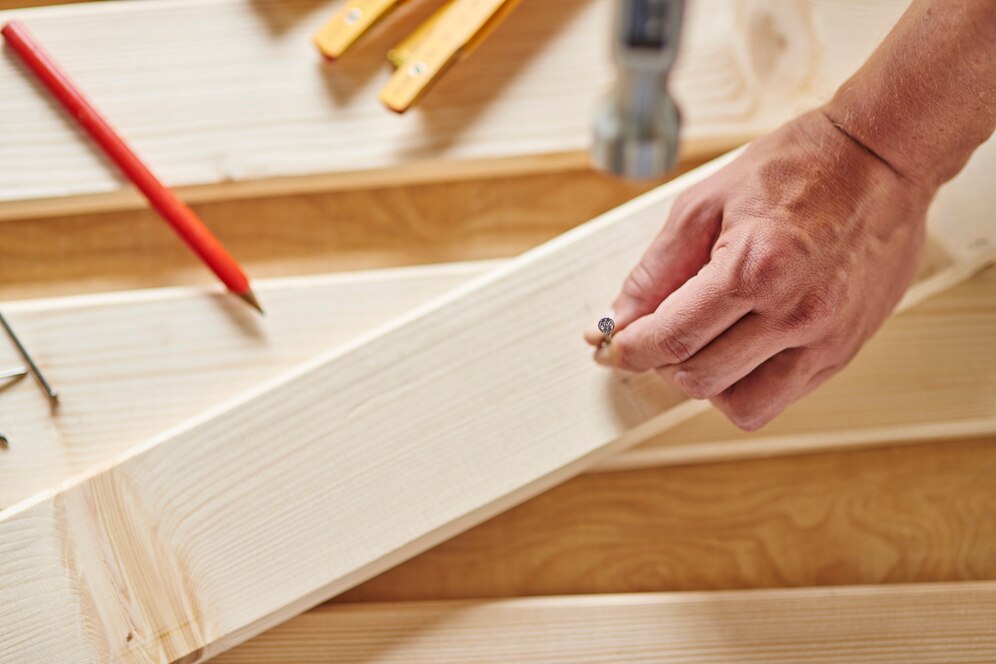
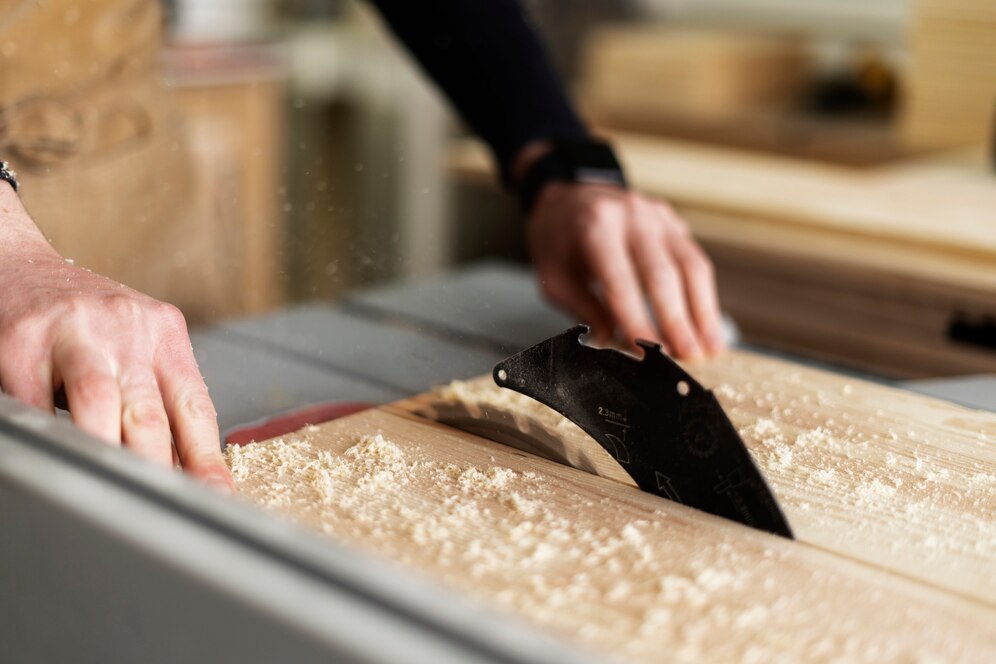
Tools Needed for Wood Joinery
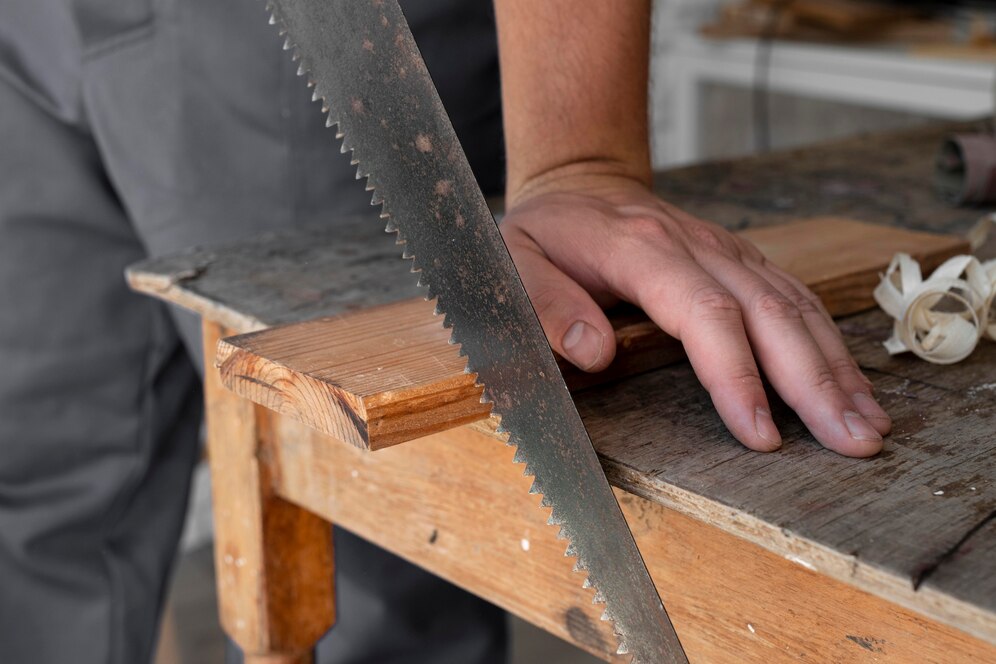
To successfully execute these joinery techniques, you’ll need the right tools. Here are the essentials:
- Hand saws and chisels – For precise cuts and shaping
- Clamps – To hold pieces in place while glueing
- Drill and dowel jig – For accurate dowel joints
- Router – For cutting mortises and decorative edges
- Table saw, or band saw – For creating lap and dovetail joints
- Glue and fasteners – To reinforce connections
- Joinery jigs – To ensure precision for pocket holes and dovetails
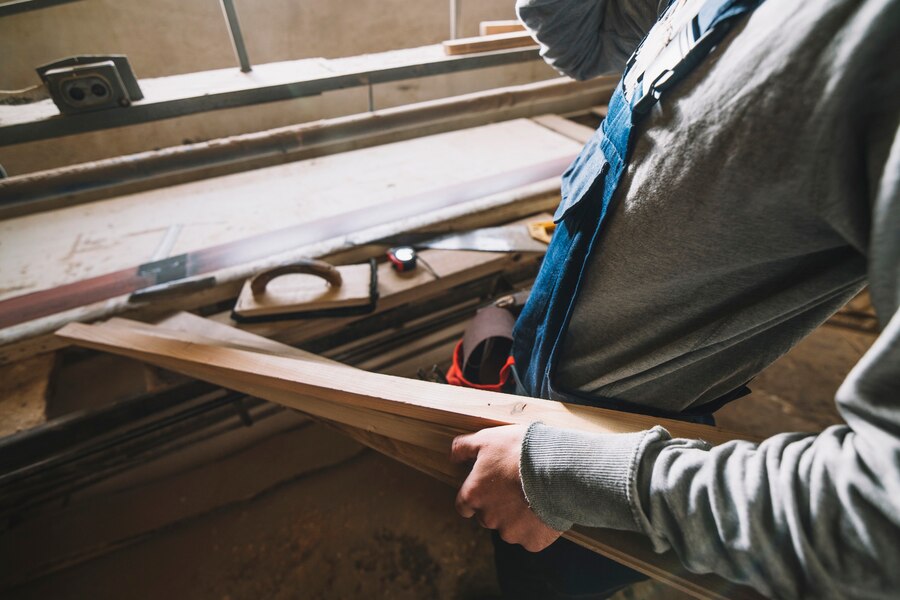
Tips for Perfecting Your Joinery Skills
- Start with scrap wood – Practice different joints before working on a final piece.
- Use high-quality wood glue – It makes a significant difference in joint strength.
- Take your time – Precision is key, so don’t rush cuts or assembly.
- Keep tools sharp – Sharp chisels and saws create cleaner cuts and better joints.
- Invest in a good workbench – A stable surface makes joinery easier and more accurate.
Conclusion
Mastering wood joinery is an essential skill for any aspiring woodworker. You can make strong and attractive woodworking projects by learning and practising these techniques.
Begin with easy joints like the butt joint and dowel joint. Then, move on to more complex ones, such as mortise and tenon or dovetail joints. With patience and the right tools, you’ll be well on your way to crafting high-quality woodwork pieces.
Wood joinery is an art and a science. Start with the basics to gain confidence. Then, try advanced techniques to stand out as a skilled woodworker. Ready to put your joinery skills to the test? Grab some scrap wood and start experimenting today!


YOU MAY LIKE


