The DIY & Crafts Blog
How to Use a Wood Router for DIY Projects
A wood router is a must-have tool for woodworking. It helps DIYers and professionals shape, cut, and carve wood accurately. Whether you’re making furniture, cabinets, or decorative items, mastering the router can elevate your work.
This guide shares essential router tips, the best bits, safety measures, and advanced techniques. Whether you’re new or experienced, these insights will help you achieve clean, professional results.
Pro Tip:When routing edges, always make multiple shallow passes. This produces smoother results and reduces tear-out.
Quick Guide: Step-by-Step Summary
- Choose the Right Router: Select a fixed-base, plunge, or combo router based on your project.
- Pick the Right Bit: Use the correct bit for edge profiling, grooving, trimming, or joinery.
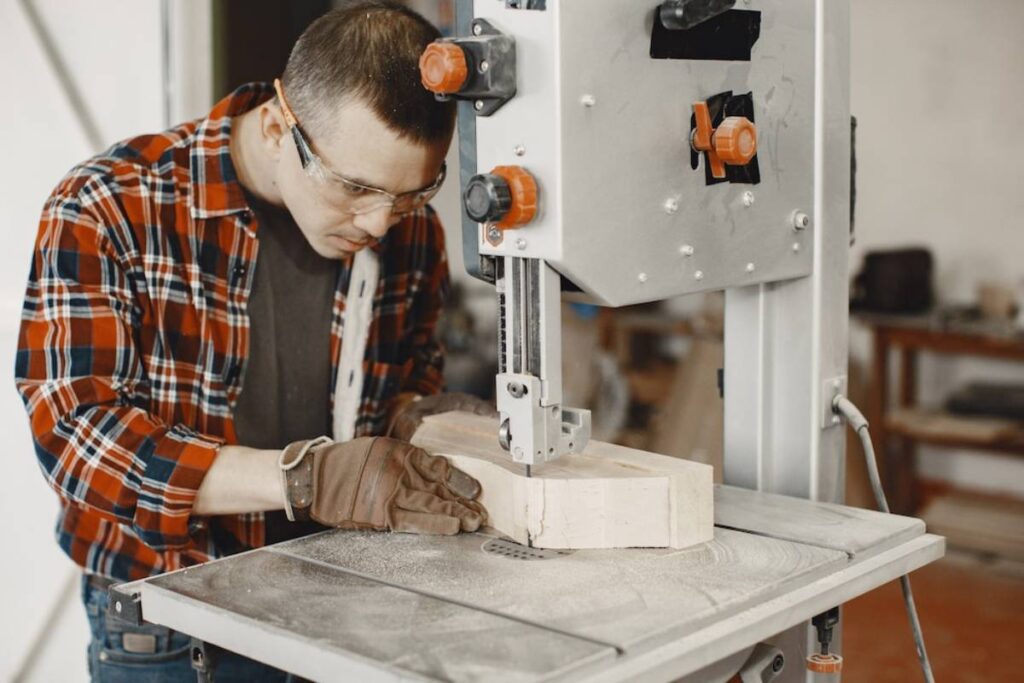
- Secure Your Workpiece: Clamp your wood down or use a router table for stability.
- Adjust Router Speed: Match the speed to the wood type and cut depth.
- Make Controlled Passes: Move the router in the correct direction for clean cuts.
- Follow Safety Precautions: Wear safety gear and avoid sudden movements.
Important Tip:Secure your workpiece firmly with clamps or a non-slip mat. This prevents movement while routing, enhancing safety and accuracy.
Types of Wood Routers

Before you start, choose the right router for your needs:
1. Fixed-Base Router
- Best for: Precision cutting, edge profiling, and straight-line work.
- Pros: Easy to control, lightweight, great for beginners.
- Cons: Limited depth adjustment during use.
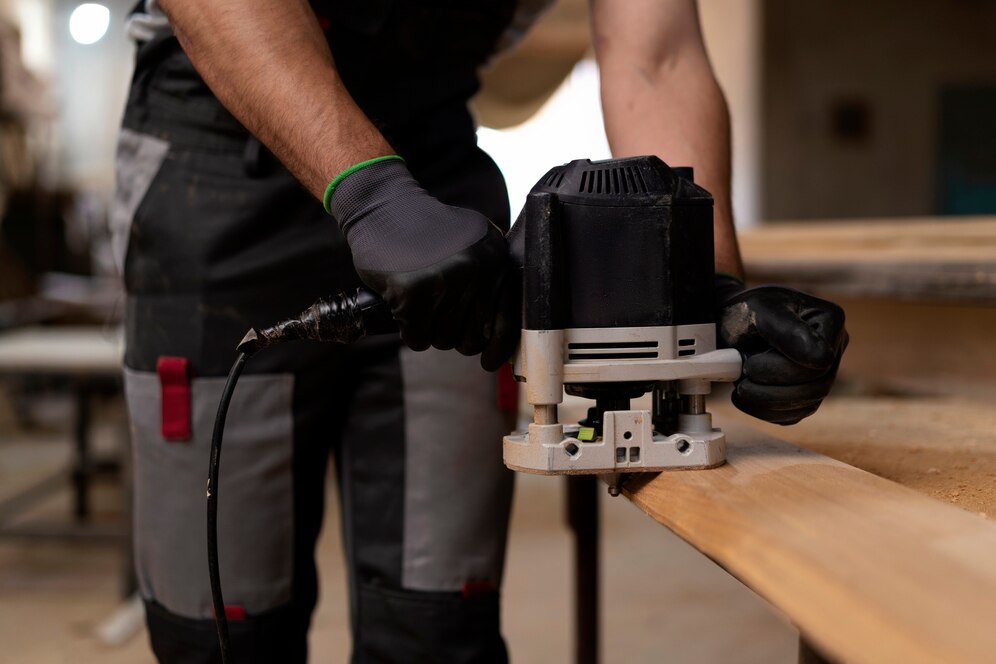
2. Plunge Router
- Best for: Making deep cuts, grooves, and inlays.
- Pros: Allows depth adjustments while cutting, ideal for detailed work.
- Cons: Slightly more complex to operate.
3. Combo Router
- Best for: Woodworkers needing both fixed and plunge functions.
- Pros: Versatile and cost-effective.
- Cons: Heavier and slightly more expensive than single-purpose routers.
Essential Router Bits and Their Uses
Router bits come in many shapes and sizes, each serving a unique purpose. Here are some common bits:
- Straight Bit: Used for cutting straight grooves, dadoes, and rabbets.
- Flush Trim Bit: Great for trimming edges to match a template.
- Round-Over Bit: Softens sharp edges for a smooth finish.
- Chamfer Bit: Creates beveled edges for a decorative look.
- Cove Bit: Cuts concave, decorative edges for panel detailing.
- Dovetail Bit: Used for cutting dovetail joints in strong joinery.
Step-by-Step Guide to Using a Wood Router
Step 1: Choose the Right Router and Bit
Identify your project needs and select the right router type and bit. A fixed-base router with a straight bit is perfect for general woodworking.
Step 2: Secure Your Workpiece
Clamp the wood to a stable surface or use a router table for control. This prevents movement and ensures accuracy.
Step 3: Adjust Router Settings
Set the router speed based on the wood type and bit used. Hardwoods need slower speeds to avoid burning, while softwoods work well with higher speeds.
Step 4: Make Controlled Passes
- Move the router counterclockwise when routing outside edges.
- Move the router clockwise for inside edges.
- Avoid deep cuts in one pass; instead, make multiple shallow passes.
Step 5: Apply Finishing Touches
After routing, sand the edges for smoothness. Apply a finish like stain or varnish to enhance durability and appearance.
Advanced Router Techniques for DIY Projects
1. Edge Profiling
Use a round-over or chamfer bit to create decorative edges on furniture or shelves.
2. Creating Grooves and Dadoes
A straight bit is best for cutting grooves or dadoes for shelving and joints.
3. Template Routing
Use a flush trim bit to replicate shapes and designs accurately.
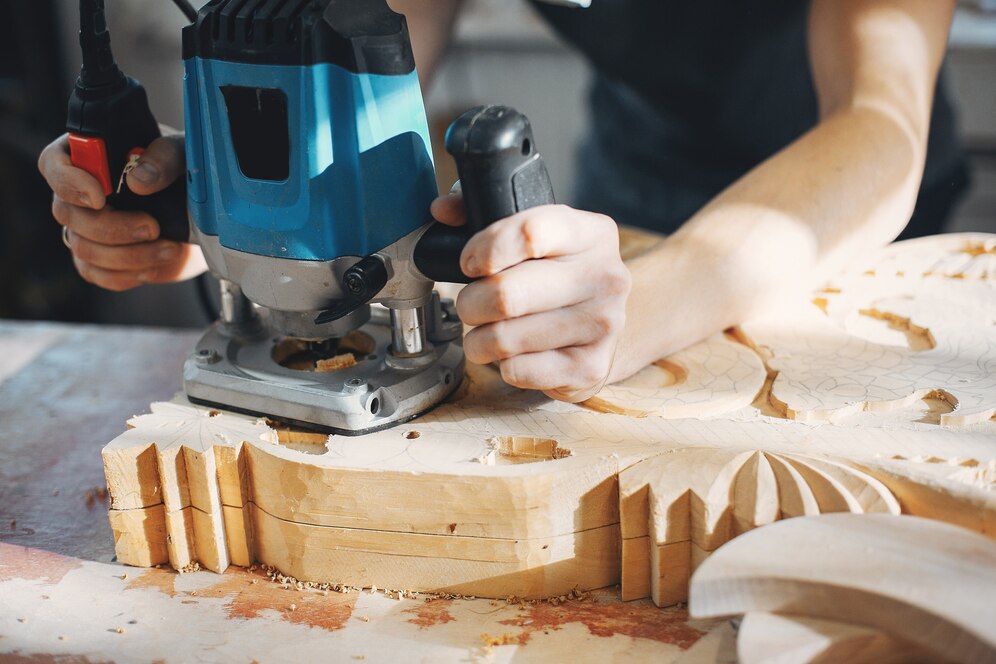
4. Inlay Work
A plunge router is perfect for carving detailed inlays in wood, adding artistic touches to projects.
5. Dovetail Joinery
With a dovetail bit, create strong and appealing joints for drawers and cabinets.
6. Making Custom Signage
Use a V-groove bit for engraving letters and designs into wood for custom signs.
Common Mistakes to Avoid
- Using the Wrong Bit: Each bit serves a specific purpose. Using the wrong one can lead to poor cuts or damaged wood.
- Routing Too Fast: Moving too quickly can cause burn marks and rough edges. Always guide the router smoothly.
- Forgetting to Check Depth Settings: Adjust the router bit depth properly to avoid cutting too deep or too shallow.
- Ignoring Wood Grain Direction: Routing against the grain can lead to tear-out. Always work with the grain when possible.
- Not Using a Router Table: A router table provides better control and safety, especially for intricate designs.
Frequently Asked Questions About Wood Routers
1. What’s the best router for beginners?
A fixed-base router is ideal for beginners due to its ease of use.
2. How can I prevent wood from burning while routing?
Use a sharp bit, set the correct speed, and make slow, steady passes.
3. Can I use a wood router without a router table?
Yes, but a router table offers more stability and control for intricate cuts.
4. What safety gear should I wear when using a wood router?
Always wear safety goggles, hearing protection, and a dust mask.
5. How do I maintain my wood router for long-term use?
Clean the router regularly, store bits properly, and check for wear to ensure longevity.
Conclusion: Mastering the Wood Router for DIY Excellence
A wood router is an invaluable tool for any DIY woodworking enthusiast.
Understand its functions, choose the right bits, and follow safety guidelines. This way, you can achieve professional-quality results in your projects.
Try different router techniques and accessories to boost your woodworking skills. Begin with simple edge profiling and template routing. Then, progress to complex joinery and inlays. With practice and patience, your projects will show improved precision and craftsmanship.
Mastering the wood router will make your work easier. It will also unlock endless creative possibilities for furniture, home décor, and detailed carvings. Whether you create intricate designs or refine edges, your projects will reflect skill and artistry.
Ready to start your next project? Grab your router and begin experimenting today!


YOU MAY LIKE


