The DIY & Crafts Blog
DIY Wooden Cabinets: Step-by-Step Guide
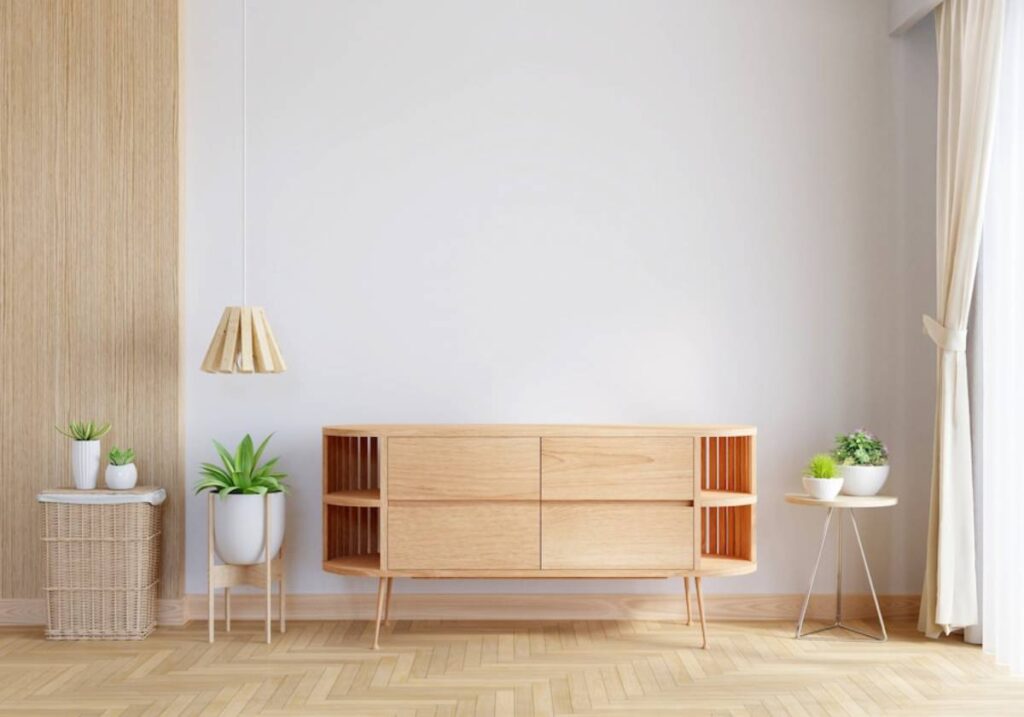
Crafting your own wooden cabinets is a satisfying journey of creativity and savings. From kitchens to bathrooms to storage spaces, DIY cabinets offer endless customisation. Choose your materials wisely and watch your savings stack up.
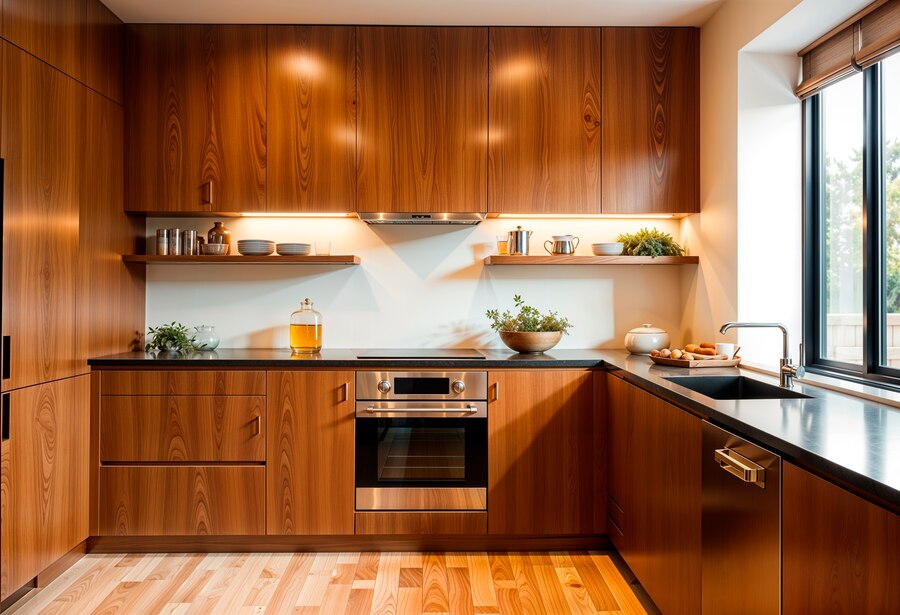
This all-encompassing guide will lead you step-by-step through the art of crafting kitchen cabinets, designing DIY wood cabinetry, and producing versatile wooden storage solutions. By following these carefully crafted instructions, you’ll create sturdy, stylish cabinets that reflect your personal touch while honing your woodworking skills.
Why Build Your Own Wooden Cabinets?
1. Customisation
Store-bought cabinets have standard sizes. DIY cabinets let you customize dimensions, materials, and finishes. This way, you can match your space and personal style.
2. Cost Savings
Building your own cabinets from raw materials can save you a lot of money. This method is often cheaper than hiring professionals or buying ready-made options.
3. Higher Quality and Durability
Building cabinets yourself lets you choose the materials and craftsmanship. This way, you can make sure they are strong and durable.
4. Skill Development
Building a cabinet will boost your woodworking skills. This makes future DIY projects easier and more fun.
Tools and Materials Needed
Essential Tools:
- Table saw or circular saw for cutting wood
- Power drill for assembling components
- Clamps to hold pieces in place during assembly
- Wood glue for strong joins
- Sandpaper or orbital sander for smoothing surfaces
- Measuring tape for precise dimensions
- Router (for edge detailing and joinery work)
- Level for ensuring even installation
- Chisels for fine-tuning joints
- Nail gun or hammer for securing pieces
Materials:
- Plywood or hardwood sheets for the main cabinet structure
- Wood screws for securing components
- Hinges and handles for doors
- Wood filler to cover screw holes and imperfections
- Paint or stain for finishing
- Drawer slides if adding drawers
- Back panel material (plywood or MDF)
Step-by-Step Guide to Building DIY Wooden Cabinets
Step 1: Planning and Designing the Cabinet
Before cutting wood, determine the size and layout of your cabinets. Consider:
- Cabinet height and depth based on available space.
- The number of shelves and doors required.
- Type of wood, finish, and style (modern, rustic, or traditional).
- Placement of hinges, handles, and drawer slides.
Pro Tip: Create a detailed blueprint or 3D model using design software like SketchUp to visualise the final product.
Step 2: Cutting the Wood
Using a table saw or circular saw, cut the necessary pieces:
- Cabinet sides (left and right)
- Top and bottom panels
- Back panel (if required)
- Shelves and doors
- Drawer fronts and dividers (if applicable)
Ensure precise measurements and use a straightedge guide for accuracy.
Step 3: Assembling the Cabinet Frame
- Apply wood glue along the edges of the cabinet sides.
- Use clamps to hold pieces together while securing them with screws.
- Attach the top and bottom panels first, followed by the back panel.
- Check for squareness using a carpenter’s square before tightening everything.
Step 4: Installing Shelves and Drawers
- Mark shelf positions inside the cabinet.
- Use a drill to create pilot holes for shelf pins or wooden cleats.
- Attach drawers by installing slides and ensuring smooth movement.
- Check for alignment and adjust as needed.
Step 5: Making and Attaching Doors
- Cut door panels to size, leaving a small gap for opening clearance.
- Smooth edges with sandpaper or a router for a professional look.
- Install hinges and attach doors to the cabinet frame.
- Ensure doors open and close properly without misalignment.
Step 6: Sanding and Finishing
- Sand all surfaces using 120- to 220-grit sandpaper for a smooth finish.
- Apply wood stain or paint according to your preference.
- Seal with polyurethane or a clear coat to protect against moisture and wear.
Step 7: Installing the Cabinets
- Use a stud finder to locate wall studs for mounting.
- Mount cabinets securely using long screws into the studs.
- Use a level to ensure proper alignment before fully securing.
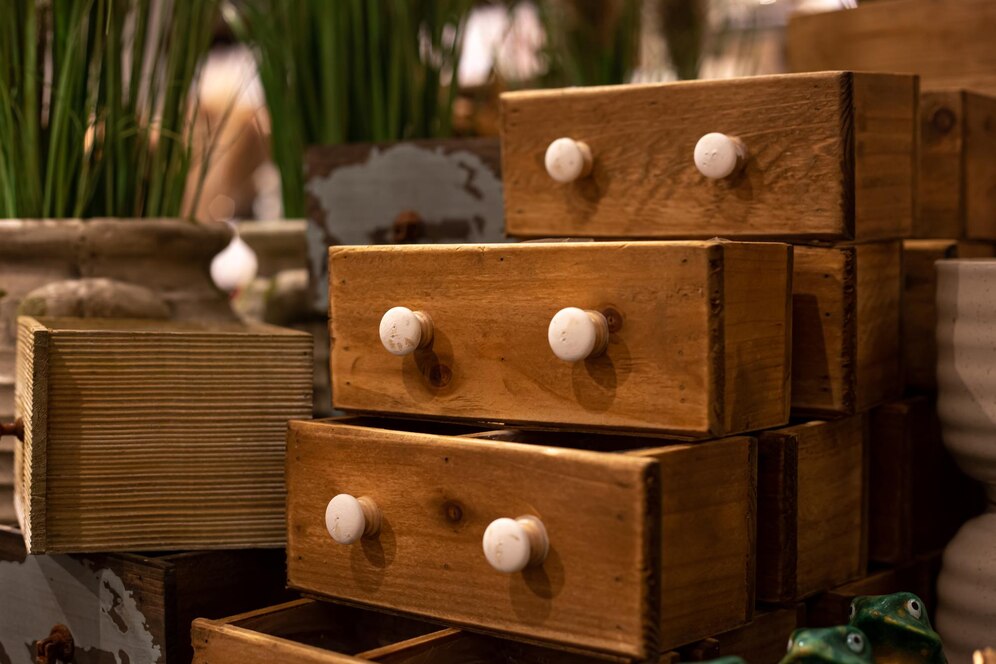
- Attach handles or knobs and make final adjustments to doors and shelves.
Additional Customisation Options
1. Soft-Close Hinges and Drawer Slides
- Installing soft-close hinges prevents slamming doors and adds a premium touch.
- Soft-close drawer slides ensure smooth, silent operation.
2. Built-in Lighting
- LED strip lights under shelves add functionality and enhance aesthetics.
- Battery-operated puck lights provide easy illumination inside cabinets.
3. Decorative Moulding and Trim
- Crown moulding on top of cabinets creates a high-end look.
- Routed edges and carved accents add detail and character.
4. Glass Inserts for Doors
- Glass panels make cabinets look more elegant and are great for displaying items.
- Frosted or tinted glass adds a modern or vintage touch.
5. Pull-Out Storage Solutions
- Slide-out spice racks or garbage bins improve kitchen organisation.
- Lazy Susans in corner cabinets maximise hard-to-reach space.
Common Mistakes to Avoid
- Skipping the Planning Stage – Inaccurate measurements lead to misaligned cabinets and wasted materials.
- Using Low-Quality Wood – Choose durable plywood or hardwood instead of cheap particleboard.
- Rushing the Assembly Process – Let the glue dry completely before moving to the next step to ensure strong bonds.
- Forgetting to Sand Between Coats – Lightly sand between coats of paint or stain for a smooth finish.
- Ignoring Safety Gear – Always wear eye protection, hearing protection, and a dust mask while working.
Maintenance Tips for Long-Lasting Cabinets
- Clean cabinets regularly with a damp cloth to remove dust and grime.
- Avoid harsh chemicals that can damage paint or finish.
- Check hinges and screws periodically to ensure everything remains secure.
- Apply wood polish or wax to maintain a fresh look over time.
Conclusion

Crafting your own wooden cabinets is both a rewarding and practical adventure. This DIY project invites you to design custom storage solutions that harmonise with your home. You can make cabinetry that improves your space. Plan carefully, use the right tools, and pay close attention to details.
Follow this step-by-step guide. Explore your unique customisation options. Avoid common pitfalls, and you’ll master cabinetry. Handcrafted cabinets add lasting value and pride. Whether you’re updating your kitchen, refreshing your bathroom, or transforming your workshop, they make a great choice.
Are you ready to embark on this creative journey? Gather your materials, sketch out your design, and breathe life into your woodworking dreams today!


YOU MAY LIKE


