The DIY & Crafts Blog
How to Create a Simple Wooden Shelf for Your Home
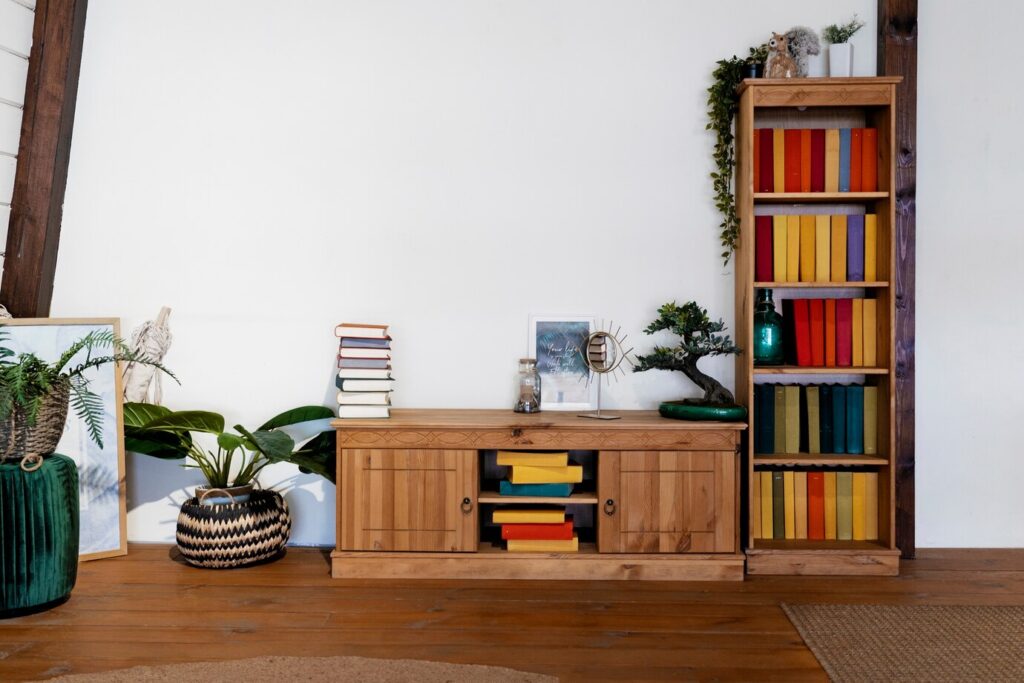
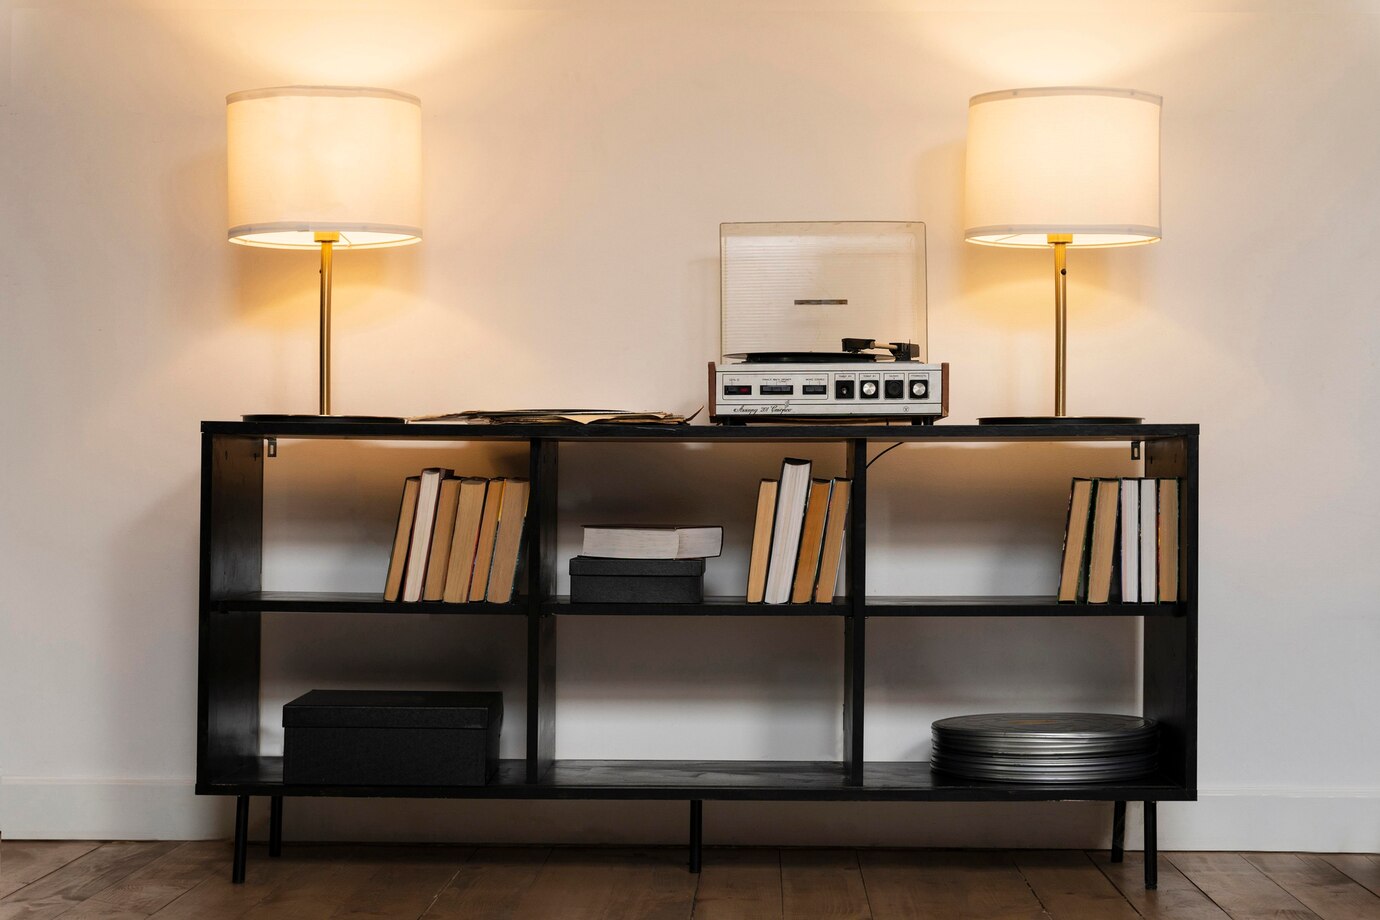
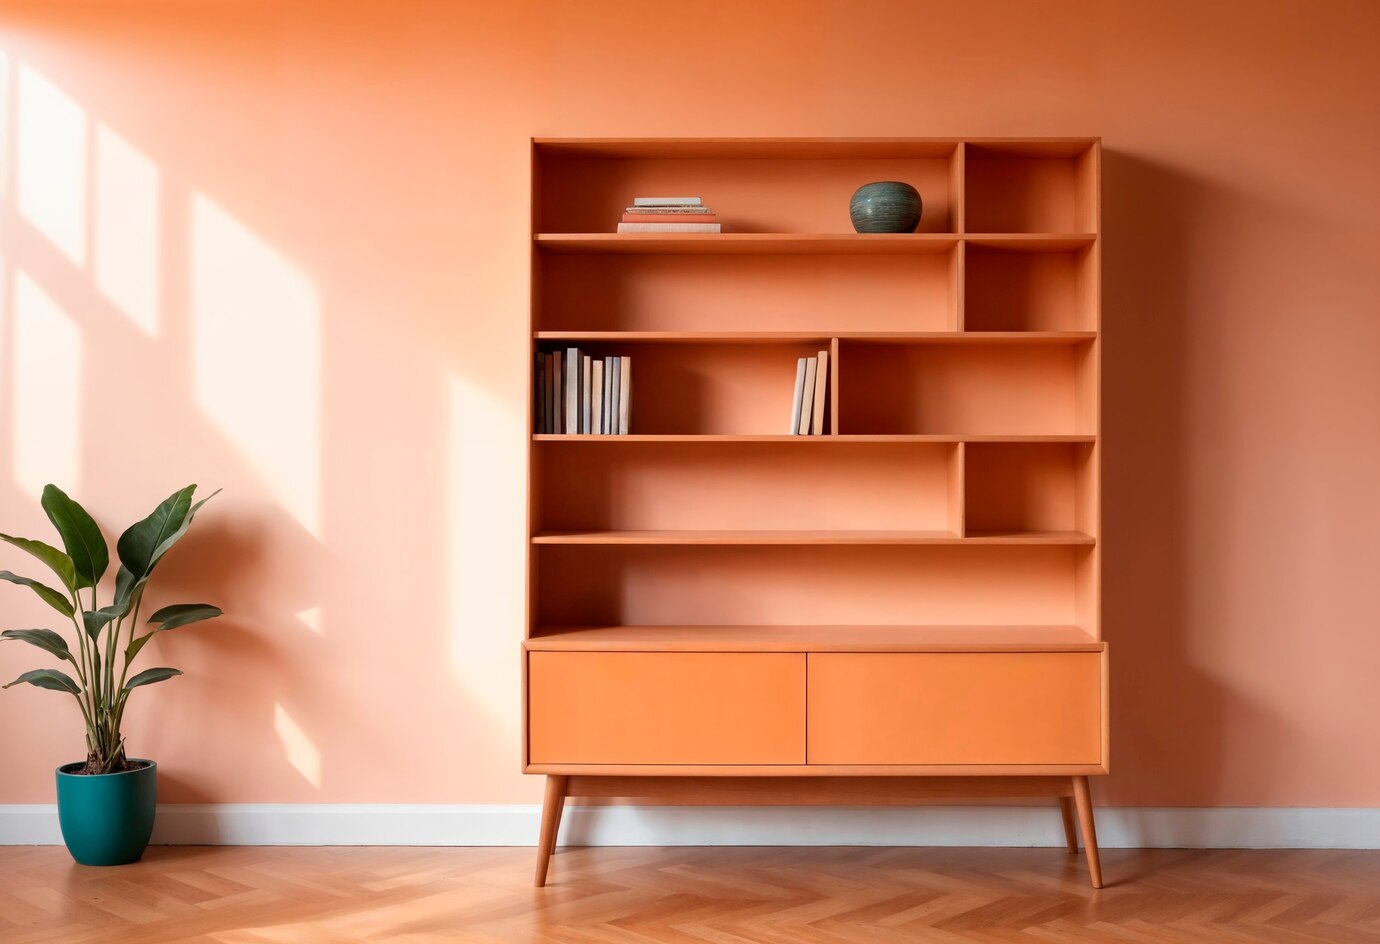
Building a simple wooden shelf is an entertaining activity. It enhances your craft and makes your home more attractive. If you want to showcase books, plants, or decorative items, a well-crafted shelf will add light to any room. It can be the centerpiece or blend seamlessly into your environment.
This step-by-step guide encompasses everything—ranging from material selection to installation. Whether you’re a professional do-it-yourselfer or just starting, this guide enables you to construct a stylish, long-lasting shelf suitable for your requirement.
Pro Tip:For a professional finish, sand your wood along the grain. This avoids rough patches or splinters. After sanding, wipe the wood with a damp cloth to remove dust before applying stain or paint. This ensures a smooth finish.
Quick Guide: Step-by-Step Summary
- Plan & Measure: Decide on size and position for the shelf. Note the size of the wood.
- Cut & Sand: Use a saw to cut the wood to size and sand it for smooth edges.
- Apply Finish: Choose a stain or paint to protect and enhance your shelf.
- Install Brackets: Secure the brackets to the wall, ensuring proper alignment.
- Mount the Shelf: Attach the shelf to the brackets and check that it is level.
Important Tip:When you install a shelf on drywall, always utilize wall anchors. They hold weight and prevent the shelf from being pulled away. For heavier items, utilize toggle anchors or screws into studs for added support.
Materials and Tools Needed
Gather the right materials and tools before starting. This will ensure your shelf is functional and durable.
Materials:
- Wood Plank (pine, oak, or plywood): Select depending on the weight you wish to put. Pine is inexpensive; oak is more durable for heavier loads.
- Wall Brackets (wood or metal): Brackets hold the shelf. Select depending on style and object weight.
- Wood Screws: These hold the shelf and brackets together. Use screws long enough for the weight of the shelf.
- Wall Anchors (for drywall): Employ if attaching to drywall to spread weight and avert screw pull-out.
- Wood Stain or Paint: Select a finish that compliments the wood’s appearance or blends with your decor.
- Sandpaper (120-220 grit): For rounding off rough edges prior to finishing.
- Wood Glue (optional): Apply with screws for extra strength.
Tools:
- Measuring Tape: For precise measurements of your area.
- Pencil & Level: For indicating bracket position and a level shelf.
- Drill & Screwdriver: For creating pilot holes and holding the screws in place.
- Saw: A circular saw or handsaw is required for cutting wood. Hardware stores nearby can cut it for you if necessary.
- Clamps: For holding pieces in position while working.
- Brush or Cloth: For applying stain or paint evenly.
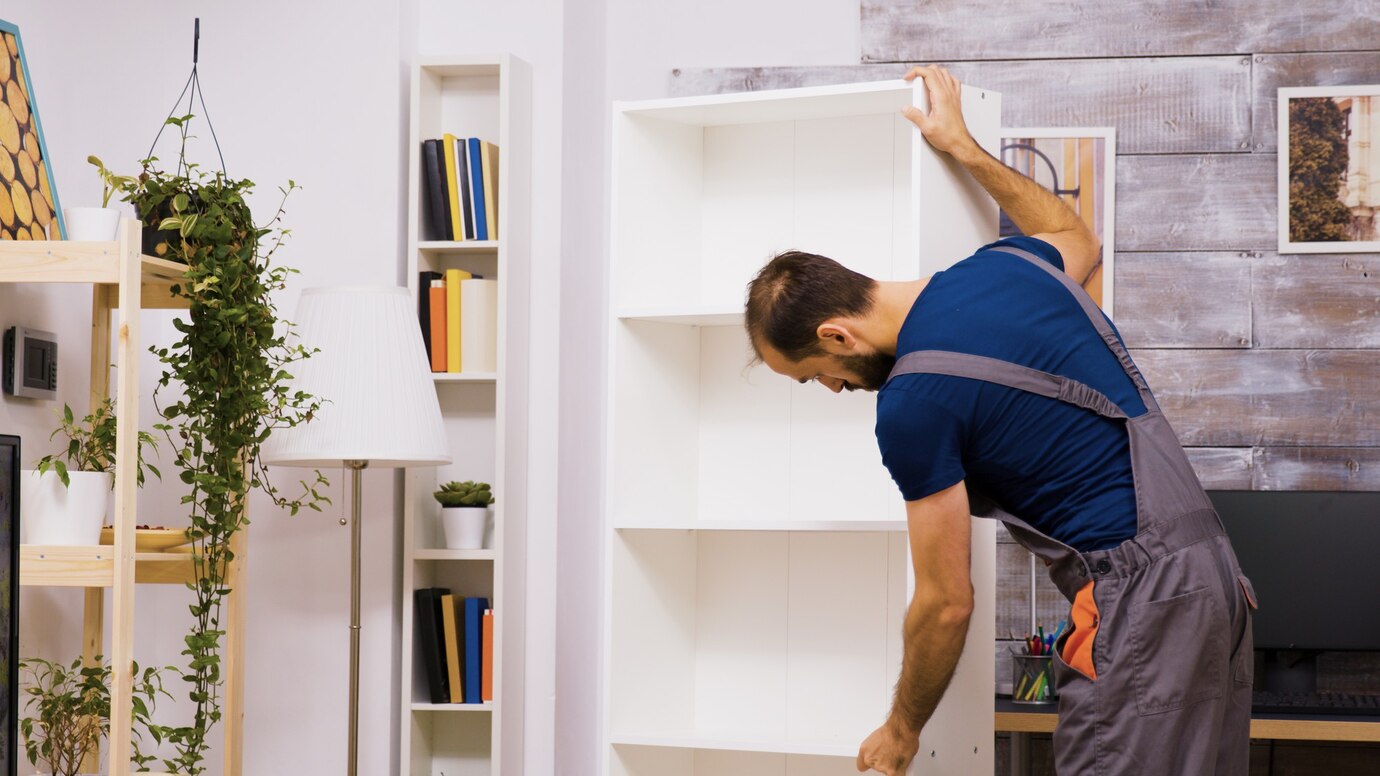
Step-by-Step Guide to Constructing Your Wooden Shelf
Step 1: Plan & Measure
Start by planning. Measure the space for your shelf. Think about the size of the items you’ll store and the weight the shelf must hold. Make sure the shelf fits comfortably.
Mark the dimensions on the wood plank with a pencil. Standard shelf sizes are 24 to 48 inches long and 8 to 12 inches deep. Use a measuring tape to confirm your space if unsure.
Step 2: Sand & Cut the Wood
Measure and cut the wood to size using a saw. If you have no saw, most hardware stores provide cutting services.
Smooth rough edges with sandpaper (begin with 120 grit, end with 220 grit). Sanding provides the wood with a glossy appearance and stops splinters, particularly prior to finishing.
Step 3: Finish Application
Apply a finish after sanding. Decide on your desired appearance:
- Wood Stain: Adds color and enhances the grain of the wood.
- Paint: Gives a consistent appearance. Use instructions and wood-safe paint.
- Clear Varnish: Preserves the wood while allowing it to reveal its natural beauty.
Use thin, even layers and let each dry before applying the next. Use recommended drying times.
Step 4: Install the Brackets
After the shelf dries, install the brackets. Mark where they go on the wall. They should be level and evenly spaced.
Drill pilot holes for screws. If you’re mounting on drywall, use wall anchors for best hold. If mounting on studs, anchors are not necessary and you can drill directly into studs.
Secure the brackets with screws, tightening them.
Step 5: Mount the Shelf
With the brackets installed, install the shelf. Position the wood plank on the brackets and verify centering and leveling. If satisfied, hold the shelf to the brackets with screws.
Optional: For additional support, install wood glue. Check the stability by gently pushing down on the shelf.
Tips for Customizing Your Shelf
- Back Panel: A back panel provides a clean appearance and extra stability for heavier objects.
- Decorative Brackets: Choose fashionable brackets that match your style.
- Floating Shelves: Produce a contemporary appearance by concealing brackets within the shelf.
- Multiple Shelves: Install more shelves for additional storage, perfect for kitchens or bathrooms.
- Reclaimed Wood: Employ reclaimed wood for a country appearance. It adds character and eco-friendliness.
Common Mistakes to Avoid
Here are mistakes DIYers do when making shelves:
- Not Working with a Level: An off-level shelf is amateurish and can lead to items falling off.
- Omitting Wall Anchors: Wall anchors should always be used with drywall to avoid collapse.
- Overloading Shelf: Don’t overload the shelf to prevent damage.
- Omitting Sanding and Finishing: Rough wood is ugly and reduces shelf longevity. Always finish and sand for longevity.
Frequently Asked Questions About DIY Wooden Shelves
1. How much can my homemade wooden shelf support?
Weight capacity is determined by wood type, shelf size, and bracket or wall anchor strength. For light loads, a pine shelf with metal brackets might suffice. For books or heavier loads, use hardwoods such as oak and mount brackets into wall studs.
2. Can I use reclaimed wood for my shelf?
Yes, reclaimed wood is perfect for a rustic appearance. Ensure that it’s properly structurally sound and not weak anywhere. Sand it well and treat the wood properly to prevent splinters or water spots.
3. How do I make my shelf level?
Use a measuring tape and level tool to mark the bracket locations. Once brackets are in place, recheck the level of the shelf before tightening it.
4. Is it possible to install a floating shelf with no visible brackets?
Absolutely! Employ hidden shelf brackets that are made to be mounted inside the shelf. These secure to the wall, creating the illusion that the shelf is floating.
5. How frequently should I reapply the finish to my wood shelf?
Reapply stain or varnish every few years, based on usage. Areas of high usage might require more frequent upkeep.
Final Thoughts: Build a Beautiful and Sturdy Wooden Shelf with Ease
Creating a wooden shelf yourself is a fulfilling activity. It beautifies your house and increases your woodworking expertise. Using the appropriate materials and hardware, you can produce an elegant-looking shelf that suits your purpose. For storage or display, this shelf will be a useful and aesthetic addition to your house.
Ready to begin on your wooden shelf? Collect your materials, follow the instructions, and have fun building your own masterpiece!


YOU MAY LIKE


