The DIY & Crafts Blog
Crafting Intricate Patterns with Wood Inlays
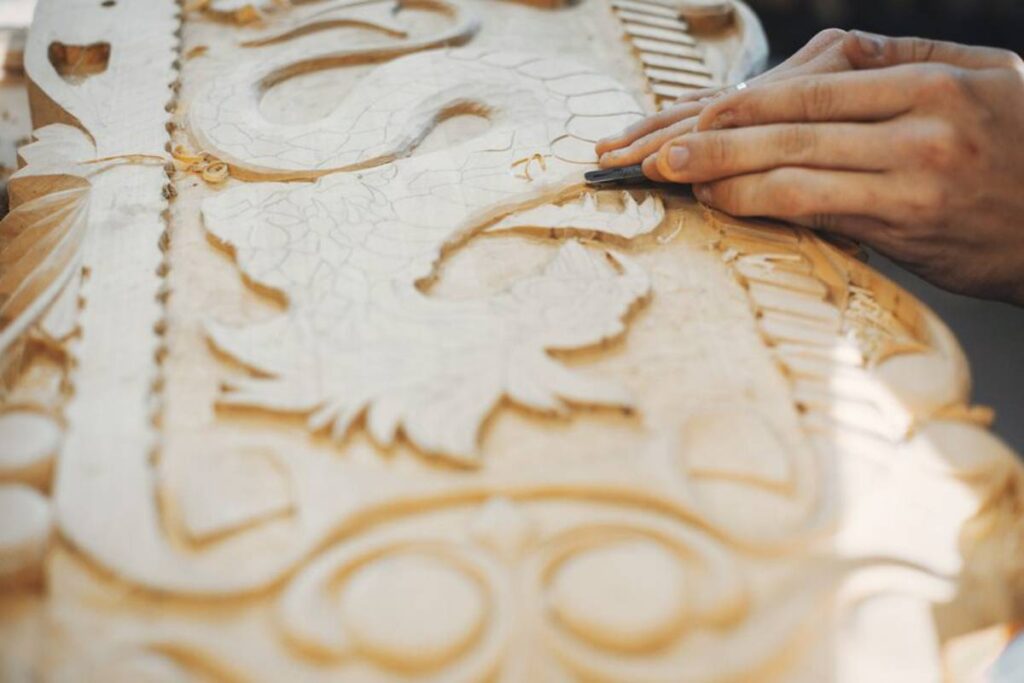
Wood inlays are a timeless testament to craftsmanship, beauty, and precision in woodworking. This refined technique has adorned furniture, floors, boxes, and musical instruments for centuries, transforming everyday wooden surfaces into masterpieces of design. For experienced woodworkers looking to elevate their artistry, inlay work offers the perfect balance of challenge and reward. In this guide, we’ll explore the history, tools, methods, and creative possibilities behind wood inlay techniques, helping you master this advanced woodworking skill for truly decorative woodwork.
The Art and History of Wood Inlays
A Glimpse into the Past
The wood inlay is a technique with roots stretching back to Ancient Egypt, where artisans embedded precious materials like ivory and ebony into wooden furniture. It gained prominence during the Renaissance, especially in Italy and France, where intricate marquetry and parquetry graced royal palaces and cathedrals. From the Japanese yosegi-zaiku to Indian Sadeli inlays, cultures worldwide have adopted and adapted inlay techniques to suit their artistic traditions.
Why Wood Inlays Matter Today
Though tools and materials have evolved, the fundamental appeal of wood inlays remains unchanged: they bring texture, contrast, and personal flair to otherwise simple wooden surfaces. In today’s woodworking scene, inlays are enjoying a resurgence as makers seek to blend traditional methods with contemporary design.
Essential Tools and Materials
Before diving into patterns and processes, it’s crucial to gather the right equipment and materials:
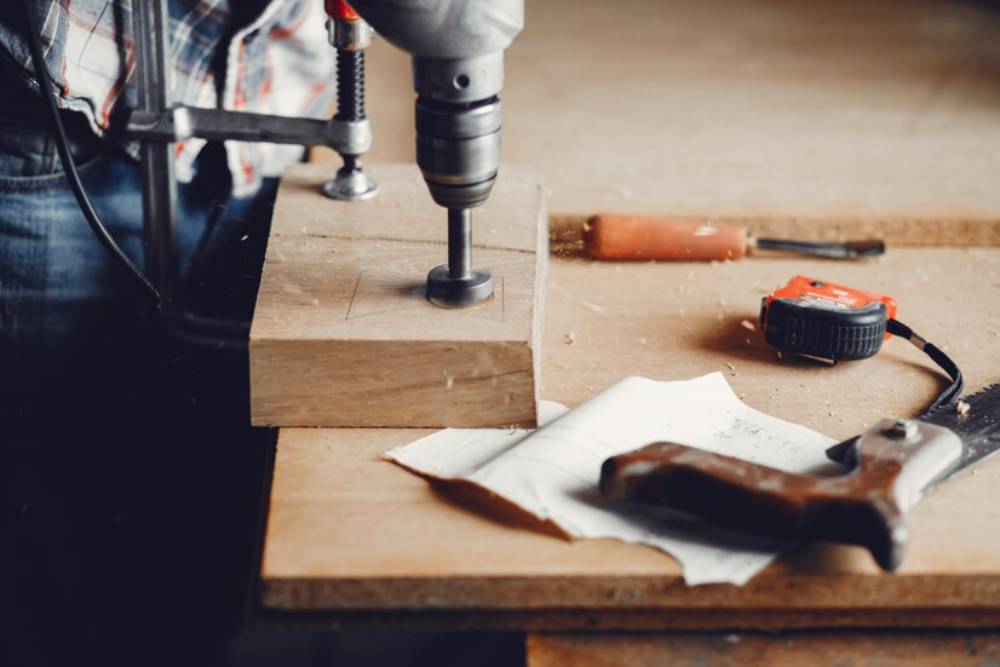
Tools:
- Router or Dremel tool with inlay base
- Chisels (especially fine, sharp ones for detailed work)
- Scalpel or craft knife
- Double-sided tape or glue
- Sandpaper or sanding blocks
- Clamps and bench vice
- Calipers for precise measurement
Materials:
- Base wood (such as walnut, maple, cherry)
- Inlay materials: contrasting wood (e.g., ebony, holly), metal, shell, resin
- Epoxy resin or CA glue
- Finish (shellac, lacquer, or oil-based, depending on your project)
Having these ready ensures a smoother, more efficient process.
Types of Wood Inlays
Understanding the different categories of inlay will help you choose the best approach for your project.
1. Wood-to-Wood Inlays
The most traditional form, this method involves embedding one type of wood into another, usually with a colour or grain contrast for visual effect.
2. Marquetry
This decorative art uses thin veneers to form images or patterns, often glued to furniture surfaces.
3. Parquetry
Similar to marquetry but focused on geometric patterns commonly used in flooring.
4. Metal Inlays
Brass, copper, or aluminium strips can be set into wood, adding a sleek, modern contrast.
5. Resin Inlays
A popular modern technique using coloured epoxy or UV resin to fill routed patterns.
Step-by-Step: Basic Wood Inlay Technique
Here’s how to approach a standard wood-to-wood inlay:
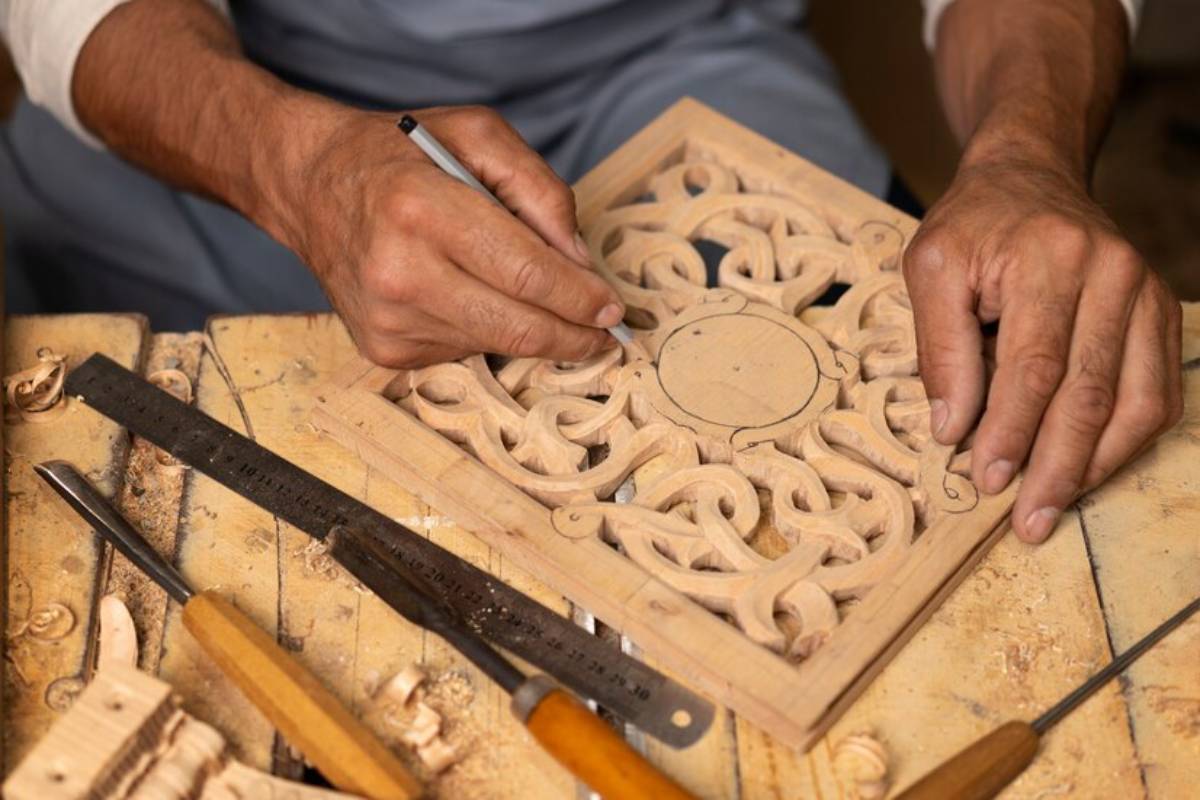
Step 1: Design Your Pattern
Start with a simple geometric shape or motif. Complex patterns require more precision and patience.
Step 2: Prepare the Inlay Piece
Cut your inlay material slightly oversized. Use a scroll saw or fine blade to shape it according to your template.
Step 3: Trace and Route the Recess
Place the inlay piece onto your base wood, trace its outline, and use a router or chisel to remove the recess. The goal is a tight, flush fit.
Step 4: Fit and Glue
Dry fit first. Then apply glue or epoxy and press the inlay into place. Clamp gently and let it cure completely.
Step 5: Sand and Finish
Once dry, sand the surface until the inlay and surrounding wood are perfectly level. Apply your desired finish.
This basic technique lays the foundation for more advanced styles.
Advanced Techniques and Designs
Shading and Toning
Using a hot sand technique, you can add dimension to inlay pieces, simulating shadows and curves. This is common in floral marquetry.
Multi-Layer Inlays
Stacking different inlay materials can add depth and complexity to your design. This often involves layering wood, metal, and shell.
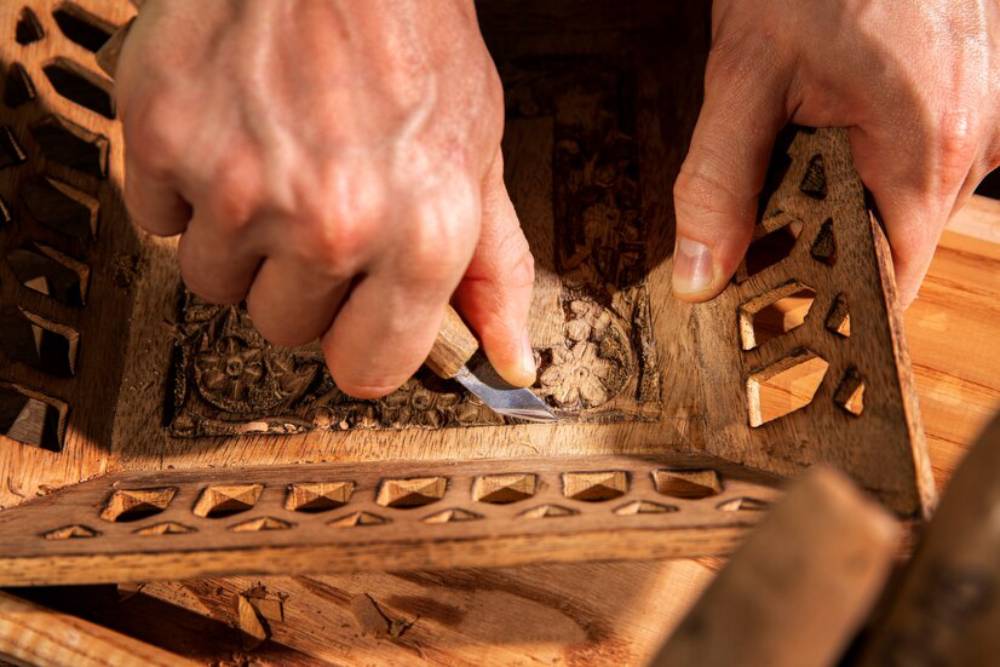
Carved Inlays
Rather than a flat insert, carved inlays involve shaping the inlay and recess in three dimensions. This adds tactile detail.
Laser-Cut Inlays
Modern makers may use laser cutters for precision, especially for intricate logos or repeat patterns. While not purely handcrafted, it’s a great hybrid method.
Inspirational Pattern Ideas
Looking for ideas? Here are some popular inlay motifs:
- Celtic knots: Elegant loops perfect for coasters, tabletops, or boxes
- Geometric diamonds and chevrons: Great for trays or furniture inlays
- Nature themes: Leaves, birds, or trees bring a naturalistic flair
- Abstract swirls: Offer creative freedom and flow
Use sketching software or graph paper to test compositions before cutting.
Wood Selection and Grain Considerations
Not all woods are created equal when it comes to inlay.
Best Base Woods:
- Walnut: Dark and rich, contrasts well with lighter inlays
- Maple: Light and smooth, easy to rout and sand
- Cherry: Warm tones with fine grain
Best Inlay Woods:
- Ebony: Dense and black, dramatic contrast
- Holly: Pale white, ideal against darker bases
- Purpleheart: Vivid and eye-catching
Watch Out For:
- Wood movement: Choose well-seasoned wood
- Grain direction: Mismatched grain can lead to tear-out or poor adhesion
Combining Materials Creatively
Inlays aren’t limited to wood.
Try Pairing With:
- Brass or copper strips for clean lines
- Turquoise or crushed stone for organic texture
- UV resin with pigments for vibrant effects
- Mother of pearl or shell for elegance
These materials introduce exciting contrasts and open new design avenues.
Finishing Techniques for Inlays
A well-applied finish brings out the beauty of your inlay and protects your work.
Best Practices:
- Sand progressively (120 to 400 grit) for smoothness
- Use a sanding block to avoid dips in the inlay
- Apply finish evenly, allowing it to soak into both the base and inlay
- Buff and polish for a professional sheen
Popular finishes include:
- Danish oil: Natural and subtle
- Shellac: Traditional and warm
- Polyurethane: Durable for tabletops
Common Mistakes and How to Avoid Them
Even seasoned woodworkers can stumble with inlays. Here are some common pitfalls:
- Loose fitting pieces: Always cut precisely and dry fit first
- Poor glue control: Excess glue can discolour the surrounding wood
- Routing too deep: Makes sanding uneven
- Inconsistent depth: Use guides for even routing
Taking your time and practising on scraps can help you master the technique.
Creating a Signature Style
As you gain confidence, develop your own artistic voice. Whether through colour choices, motifs, or mixed media, your inlay work can become uniquely yours.
Ideas for Branding Your Work:
- Create a custom monogram inlay
- Use cultural motifs that reflect your heritage
- Mix traditional patterns with modern shapes
Tools That Take Your Work Further
Investing in high-quality gear pays off as you advance.
Recommended Upgrades:
- Micro-router bases for precision
- Vacuum tables for holding delicate veneers
- Bench-top laser cutter (for hybrid workflows)
- Burnishing tools for polishing shell and stone inlays
Staying updated with new tools can also spark new creative directions.
Conclusion: Elevate Your Craft With Inlays
Wood inlays offer one of the most elegant and rewarding techniques in the world of advanced woodworking. From simple geometric accents to elaborate pictorial designs, inlays transform the ordinary into the exceptional. By understanding the methods, tools, and creative possibilities, you can start incorporating decorative woodwork that truly showcases your skill and vision.
So, whether you’re planning to enhance a handmade table, add detail to a jewellery box, or explore a fine art piece, wood inlay techniques provide the perfect medium. Start simple, build your skills, and soon, your work will reflect both technical precision and artistic soul.
Ready to create something unforgettable? Grab your tools and get started on your next inlay masterpiece today!


YOU MAY LIKE


