The DIY & Crafts Blog
Decorative Wooden Planters for Your Garden
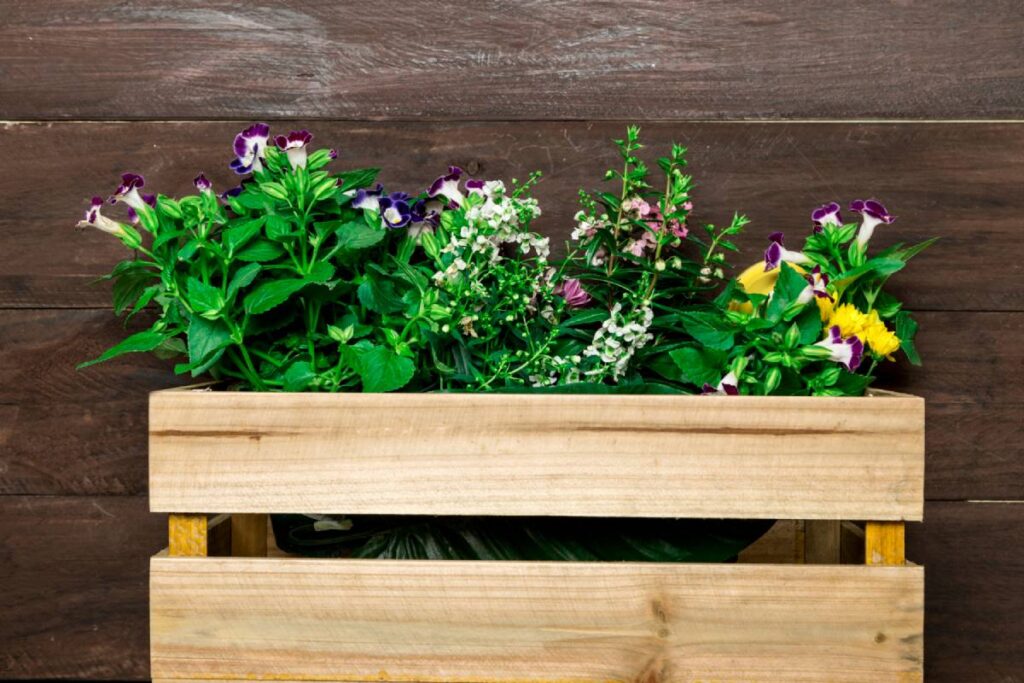
Bringing Beauty to Your Garden with Wooden Planters
There’s something truly magical about a garden that reflects not just nature’s beauty but also your personal creativity. Whether you’re cultivating flowers, herbs, or succulents, decorative wooden planters are a wonderful way to enhance your outdoor space. More than just containers for plants, these handcrafted wooden additions can act as charming focal points, boundary markers, or even vertical accents.
In this blog post, we’ll explore a variety of wooden planter ideas suitable for beginners and experienced woodworkers alike. You’ll find tips for designing, building, and finishing your planters, along with practical advice on wood types, garden integration, and weatherproofing techniques. By the end, you’ll be well-equipped to start your own outdoor woodworking project that adds character to your garden.
The Benefits of Wooden Planters
Natural Aesthetic Appeal
Wooden planters blend seamlessly into natural surroundings. Unlike plastic or metal alternatives, wood complements the garden’s organic aesthetic, making it a popular choice among garden enthusiasts.
Sustainability & Eco-Friendliness
If you use reclaimed wood or sustainably sourced timber, your project can be environmentally friendly. Repurposing pallets or old furniture can also give your planters a rustic and resourceful charm.
Customisable Design Options
Wood offers immense flexibility. Whether you want a sleek modern cube, a rustic wagon-style planter, or a tiered herb garden, wood can be shaped, painted, and styled to suit your taste.
Choosing the Right Wood for Your Planter
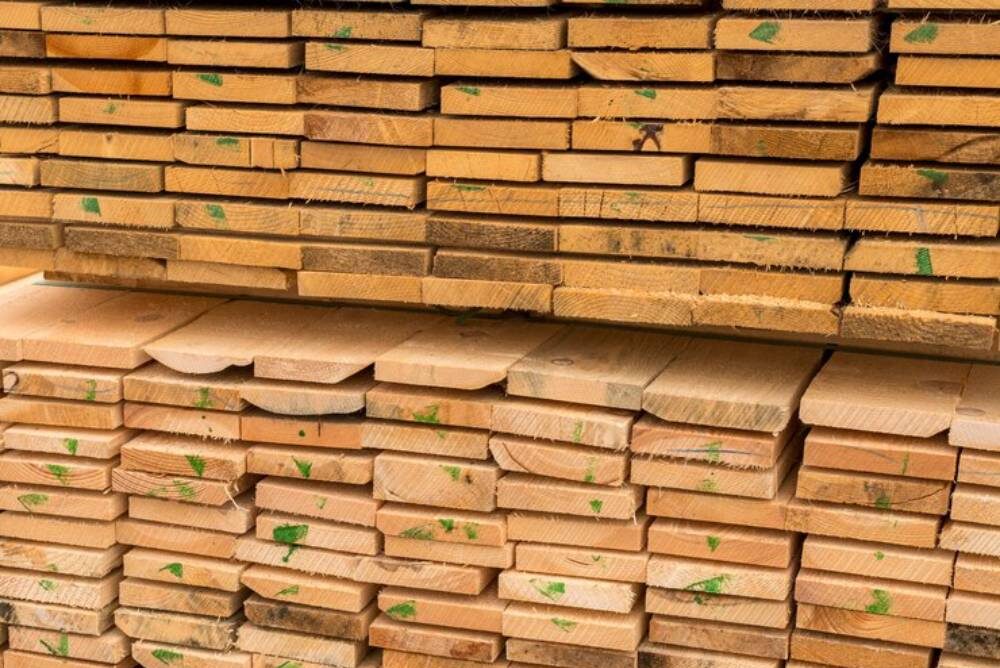
Top Wood Choices for Durability:
- Cedar: Naturally resistant to rot and insects.
- Redwood: Strong, beautiful grain and weather-resistant.
- Pressure-treated pine: Budget-friendly and durable, though some prefer untreated options for growing edibles.
- Teak or oak: More expensive but known for longevity.
Considerations:
- Choose untreated wood if growing vegetables or herbs.
- Always sand and seal your wood to prolong its life.
- Look for FSC-certified timber for sustainability.
Essential Tools & Materials
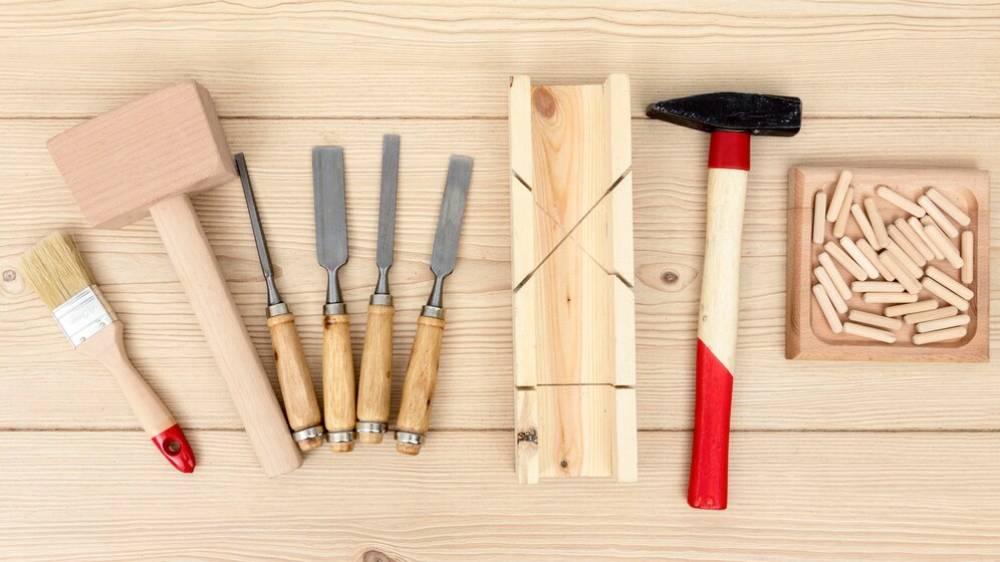
Basic Tools Needed:
- Hand saw, or mitre saw
- Power drill
- Measuring tape and square
- Sandpaper or electric sander
- Clamps
Materials:
- Your chosen wood
- Wood screws or nails
- Wood glue (optional for reinforcement)
- Exterior-grade wood sealant or paint
- Landscaping fabric (for lining)
Wooden Planter Ideas for Every Skill Level
1. Simple Box Planter (Beginner)
A straightforward rectangular planter is perfect for flowers or small vegetables. Cut your planks to the desired length, screw together, sand, and seal.
Dimensions: 60cm x 30cm x 30cm
Pro tip: Drill drainage holes at the bottom and line with landscaping fabric.
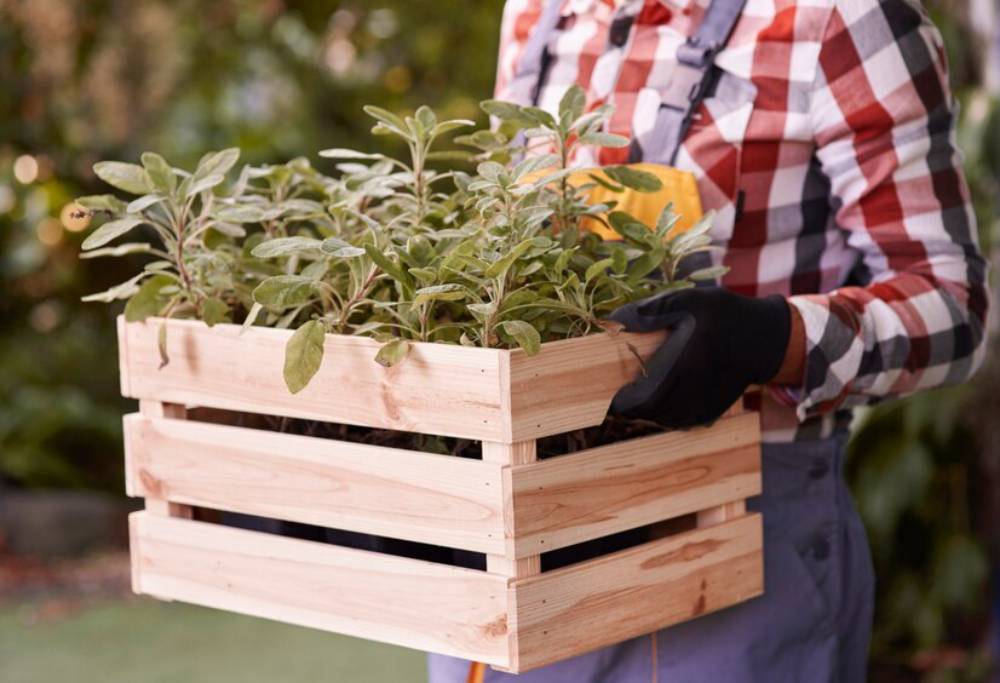
2. Vertical Herb Garden (Intermediate)
This vertical design is great for balconies or small gardens. Stack multiple planter boxes or use wooden pallets to create compartments.
Benefits:
- Saves ground space
- Ideal for kitchen herbs
3. Trellis Planter Combo (Advanced)
Combine a box planter with an attached trellis for climbing plants like sweet peas or ivy. This adds height and interest to garden corners.
Design Tip: Use lattice panels and secure them with brackets.
4. Tiered Planter Boxes (Intermediate)
Create a stair-step design with 2 or 3 levels. Great for decorative layering or growing different plant types together.
5. Wagon Wheel Planter (Decorative/Advanced)
Repurpose old wooden wheels or build a faux wheel frame to surround a circular box. A statement piece for cottage-style gardens.
Step-by-Step Guide: Building a Simple Wooden Planter
Step 1: Measure and Cut Wood
Use your tape and mitre saw to cut:
- 2 long sides
- 2 short sides
- 1 base
Step 2: Assemble the Frame
Attach side pieces together using screws and wood glue. Reinforce corners with corner brackets if desired.
Step 3: Sand All Surfaces
Ensure smooth edges to avoid splinters. This also helps paint or stain adhere better.
Step 4: Drill Drainage Holes
Add at least 3–4 holes at the bottom.
Step 5: Apply Sealant
Use exterior-grade wood sealant or paint. Allow to dry thoroughly.
Step 6: Line and Fill
Line the interior with landscaping fabric. Fill with soil and start planting!
Tips for Weatherproofing Your Planters
- Elevate using feet or bricks to prevent moisture absorption from the ground.
- Use breathable sealants to protect wood while allowing airflow.
- Regular maintenance: Reapply sealant yearly and inspect for rot or pest damage.
Decorating Your Wooden Planters
Finishing Touches:
- Paint in bold colours to match your garden theme
- Use stencils to personalise with names or quotes
- Wrap with rope or affix decorative handles
Plant Pairing Ideas:
- Lavender + rosemary (aromatics)
- Succulents + cacti (low-maintenance)
- Daisies + pansies (vibrant colour combo)
Common Questions About Wooden Planters
How long will a wooden planter last?
With proper sealing and maintenance, your wooden planter can last 5–8 years or more.
Can I use any type of wood?
Technically yes, but for durability and rot resistance, cedar and redwood are recommended.
What’s the best finish?
Exterior wood stains, breathable sealants, or weather-resistant paint work well.
Inspiring Case Studies & Real-Life Examples
Case Study 1: Urban Balcony Garden
Lucy, a Londoner, turned her flat’s tiny balcony into a lush herb garden using tiered wooden boxes she built from reclaimed pallets. The result? An eco-friendly, space-saving design which is full of fresh herbs year-round.
Case Study 2: Cottage Garden Centrepiece
A couple in Somerset created a large wheel-style planter as a garden centrepiece. Surrounded by stones and wildflowers, it instantly became a talking point among neighbours.
Conclusion: Build, Plant, and Beautify Your Garden
Creating your own decorative wooden planter is one of the most satisfying and approachable garden projects you can tackle. Whether you’re a novice DIYer or a seasoned woodworking enthusiast, there’s a planter design out there for you. With a little time, some basic tools, and a splash of creativity, you can transform your garden space while enjoying the process.
Ready to get started? Grab your tools, sketch out your planter design, and bring your garden vision to life. Happy woodworking!
Have you built a wooden planter you’re proud of? Share your creations and tips in the comments below, or tag us on social media with your garden masterpiece. Let’s inspire and grow together!


YOU MAY LIKE


