The DIY & Crafts Blog
DIY Wooden Floating Shelves: A Modern Storage Solution
Floating shelves are the perfect blend of style and savvy storage. They bring a minimalist flair, transforming your space with ease. From showcasing cherished trinkets to organising beloved books or kitchen must-haves, DIY wooden floating shelves are the answer. They’re customisable, budget-friendly, and a delight to craft.
In this guide, we’ll sail smoothly through the art of building and installing these beauties. We’ll help you select the ideal wood for durability, ensuring each shelf stands strong and stable.
DIY floating shelves present a canvas for creativity. They evoke functionality while elevating your decor. Unlike clunky cabinets, these sleek shelves create a streamlined ambience, maximising your vertical real estate.
Join us as we dive into the world of floating shelves. We’ll outline different styles, provide step-by-step instructions for construction, share tips to avoid common pitfalls, and offer pro secrets to achieve a flawless finish. Get ready to turn your walls into a masterpiece!
Why Choose Floating Shelves?
1. Space-Saving and Functional
Floating shelves make use of wall space efficiently, freeing up floor space while providing storage. This is particularly beneficial in small apartments, kitchens, and bathrooms where traditional storage solutions might be impractical.
2. Modern and Minimalist Aesthetic
These shelves create a clean, contemporary look that complements various interior styles. Whether your decor leans towards industrial, rustic, or modern, floating shelves can be adapted to suit your style.
3. Customisation
DIY floating shelves let you customise the size, colour, and materials. This way, they match your space and style perfectly. You can experiment with different wood types, finishes, and mounting methods to create a unique design.
4. Affordability
Building your own floating shelves is more cost-effective than purchasing pre-made options. You can make high-end shelves for much less than store prices. Just plan well and use the right materials.
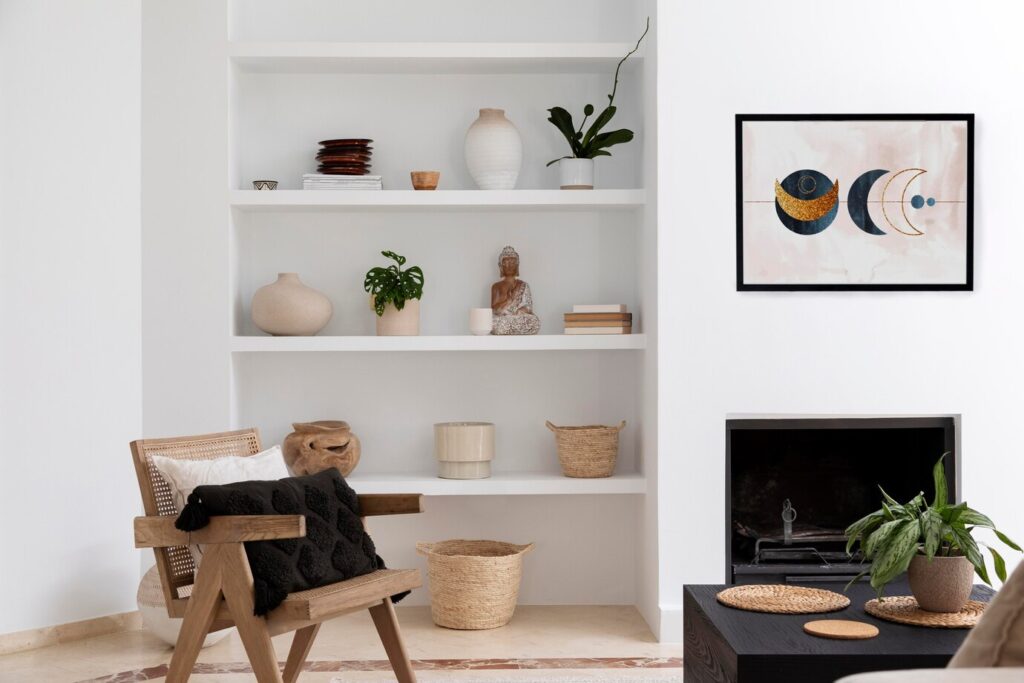
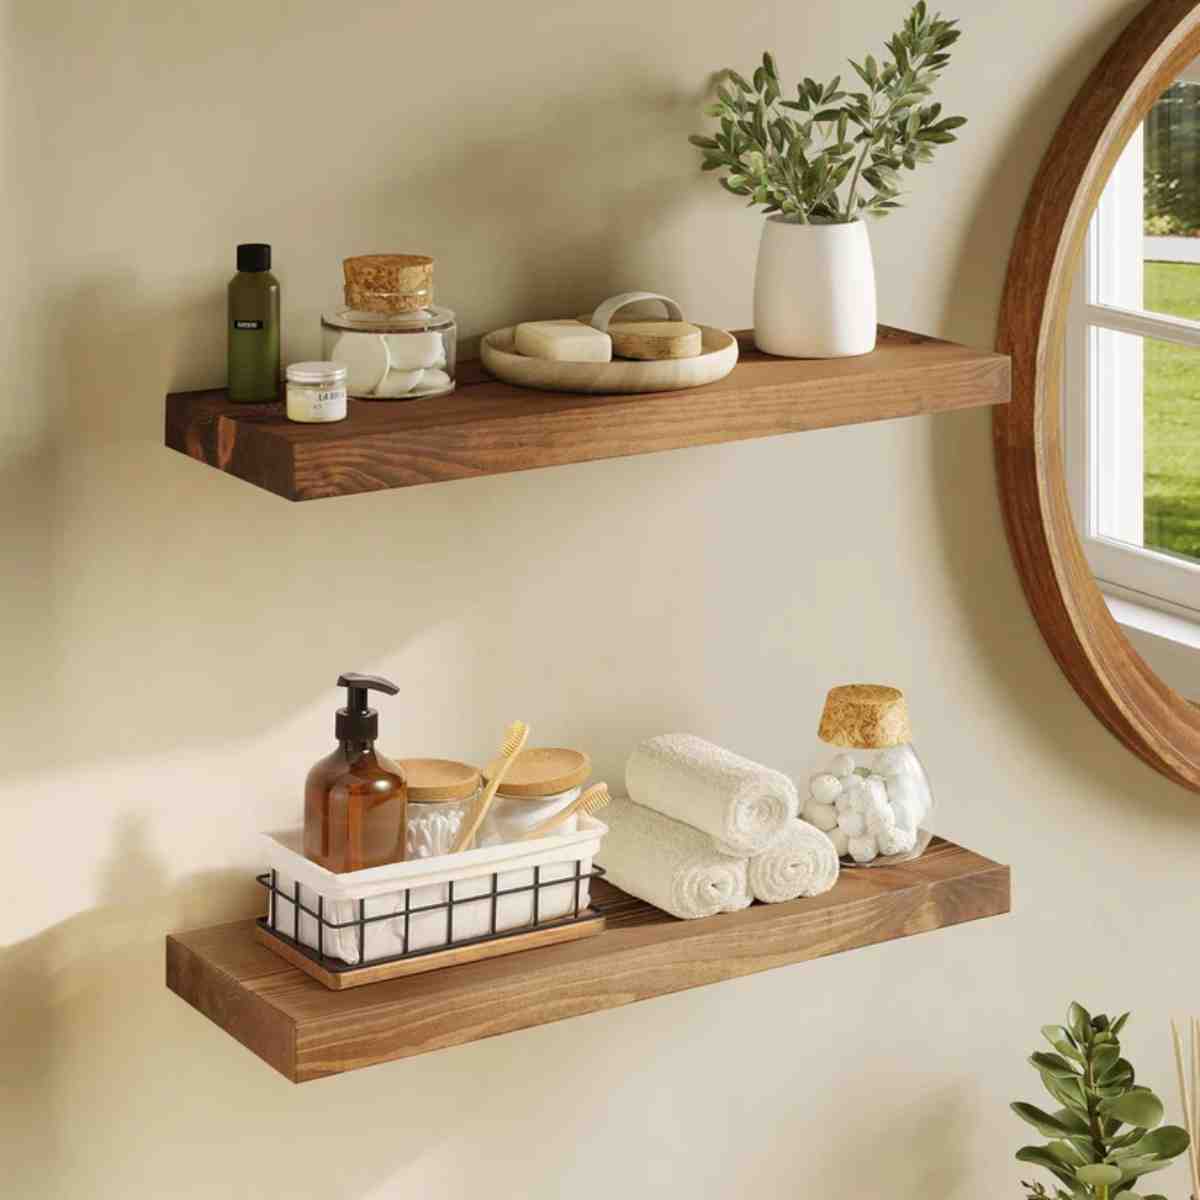
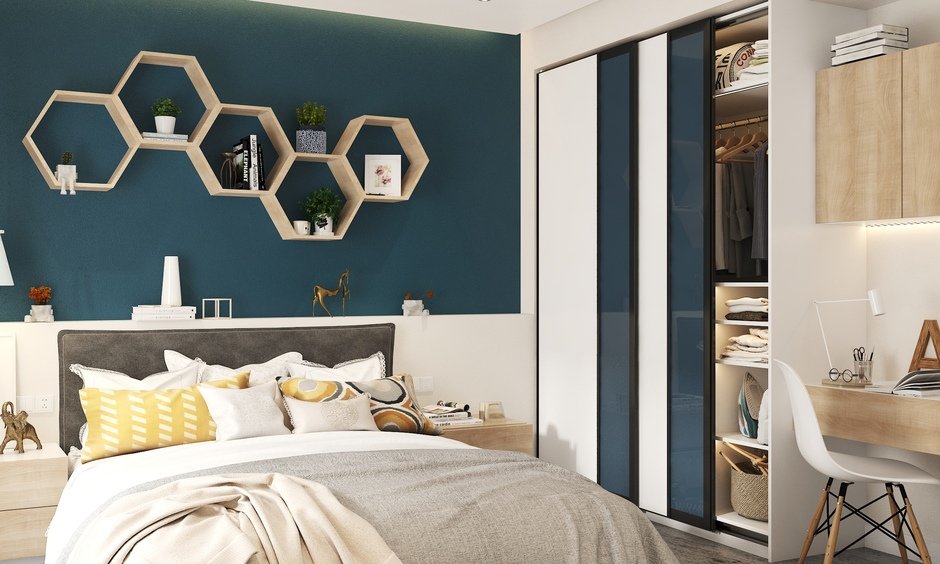
5. Versatile Usage
Floating shelves can be used in virtually any room:
- Kitchen: Store spices, dishes, or coffee essentials.
- Living Room: Display books, decorative objects, and plants.
- Bathroom: Organise toiletries and towels.
- Bedroom: Replace bulky nightstands with sleek wall-mounted shelving.
- Office: Keep supplies and documents neatly arranged.
Choosing the Best Wood for Floating Shelves
Selecting the right wood ensures durability and enhances the shelf’s aesthetic appeal. Here are some recommended options:
- Pine – Affordable and easy to work with, but may require staining for a refined look.
- Oak – Strong and durable with a beautiful grain, ideal for heavy-duty shelving.
- Birch – Offers a smooth surface and modern appearance.
- Walnut – Elegant and rich in colour, but more expensive.
- Plywood with Edge Banding – A budget-friendly option that mimics solid wood.
When selecting the best wood for your project, consider factors such as weight capacity, colour, grain pattern, and maintenance requirements.
Materials and Tools Needed
Materials:
- Wood planks (based on chosen wood type)
- Wall brackets or floating shelf hardware
- Wood screws
- Wood glue
- Sandpaper (120 and 220 grit)
- Wood stain or paint
- Polyurethane finish
- Drywall anchors (if mounting on drywall)
- Metal L-brackets (for extra support, if needed)
- Concealed mounting hardware (optional)
Tools:
- Tape measure
- Level
- Saw (circular saw or table saw)
- Drill
- Stud finder
- Screwdriver
- Paintbrush or roller
- Sander
- Clamps (for securing glued parts)
- Wood filler (to cover screw holes)
Step-by-Step Guide to Building DIY Floating Shelves
Step 1: Plan and Measure
Determine the placement of your shelves. Use a tape measure and level to mark where they will be installed. Consider:
- Shelf height and spacing for practicality and aesthetics.
- Weight capacity and potential load (books, plants, heavy objects).
- Stud locations for a secure installation.
Step 2: Cut the Wood
Using a saw, cut your wood planks to the desired shelf length. Sand the edges for a smooth finish. If you want a thicker shelf, glue two wood planks together and clamp them until dry.
Step 3: Assemble the Shelves
For a floating effect, consider creating a hollow box shelf:
- Cut the front, back, and side panels.
- Attach the panels using wood glue and screws.
- Reinforce corners with additional screws or brackets for extra stability.
- Sand the entire surface to ensure smooth edges.
Step 4: Stain or Paint the Shelves
Apply wood stain or paint to match your decor. Allow to dry before applying a protective polyurethane finish. Multiple coats may be required for durability.
Step 5: Install the Mounting Brackets
Use a stud finder to locate wall studs for secure mounting. Drill holes and insert drywall anchors if needed, then attach brackets. If using concealed hardware, follow the manufacturer’s instructions for installation.
Step 6: Secure the Shelves
Place the shelves onto the brackets, ensuring they are level and stable. Secure them with screws if necessary.
Additional Tips for a Professional Finish
- Use edge banding for plywood to create a seamless appearance.
- Add hidden LED strip lighting for a modern touch.
- Consider a floating shelf with hidden storage for a multifunctional design.
- Pre-drill screw holes to prevent the wood from splitting.
- Apply multiple coats of finish for enhanced durability.
Common Mistakes to Avoid
1. Skipping Wall Studs
Mounting shelves without securing them to studs can lead to instability and potential damage. Always ensure shelves are anchored to solid wall support.
2. Using Weak Wood
Opt for strong, durable wood to prevent sagging over time. If storing heavy items, consider reinforcing the shelf with metal brackets.
3. Not Leveling the Shelves
Always use a level to ensure shelves are straight before securing them. A slight tilt can be visually unappealing and cause objects to slide off.
4. Overloading the Shelves
Be mindful of weight limits, especially if using drywall anchors instead of studs. Check load-bearing capacity before installation.
5. Poor Sanding and Finishing
Skipping sanding leads to rough edges and uneven stain absorption. A smooth finish enhances the overall look and longevity of the shelf.
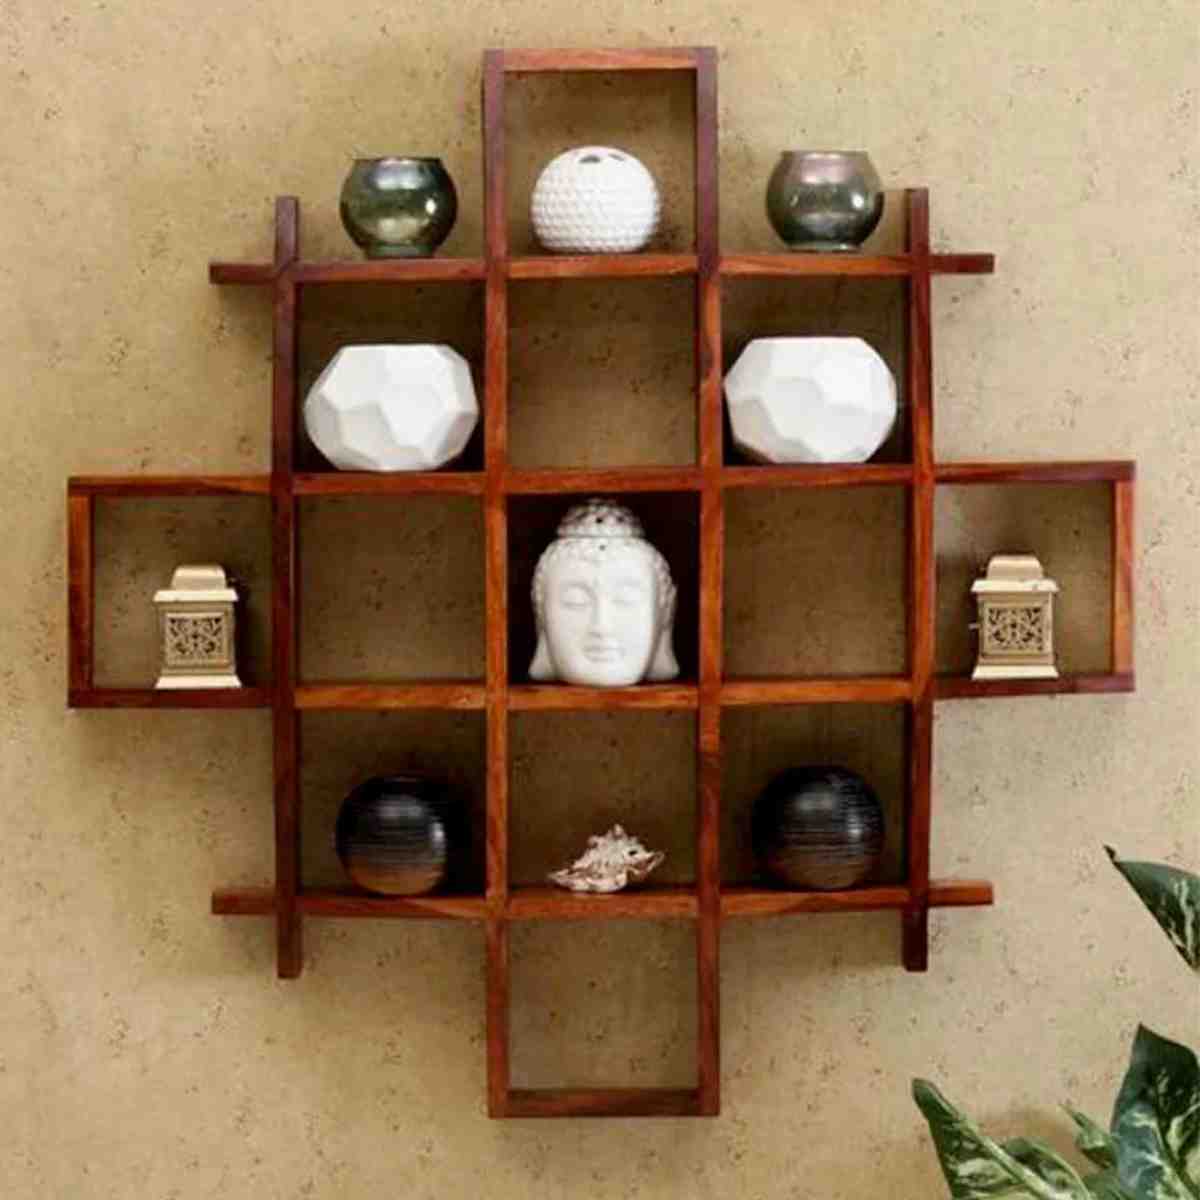
Alternative Floating Shelf Styles
If you’re looking to experiment with different styles, consider:
- Rustic Floating Shelves: Made from reclaimed wood for a natural, aged look.
- Industrial Floating Shelves: Combine wood with metal brackets or pipes for an urban aesthetic.
- Live Edge Shelves: Retain the natural contours of the wood for an organic, earthy vibe.
- Corner Floating Shelves: Utilize unused corner spaces for extra storage.
- Glass Floating Shelves: Sleek and modern, ideal for bathrooms and kitchens.
Conclusion
DIY wooden floating shelves are a simple yet effective way to enhance your home’s storage and decor.
Elevate your home with stylish floating shelves, crafted from quality materials. Perfect installation is key, ensuring a stunning yet functional addition to any room.
Whether you crave minimalist elegance, rustic charm, or an industrial flair, these shelves are a designer’s dream, sparking endless possibilities.
Dive into your project today and relish the joy of custom shelving! With the right tools and some creativity, you can transform any blank wall. It can become a beautiful and practical artful space.


YOU MAY LIKE


