The DIY & Crafts Blog
DIY Wooden Headboard: How to Upgrade Your Bedroom
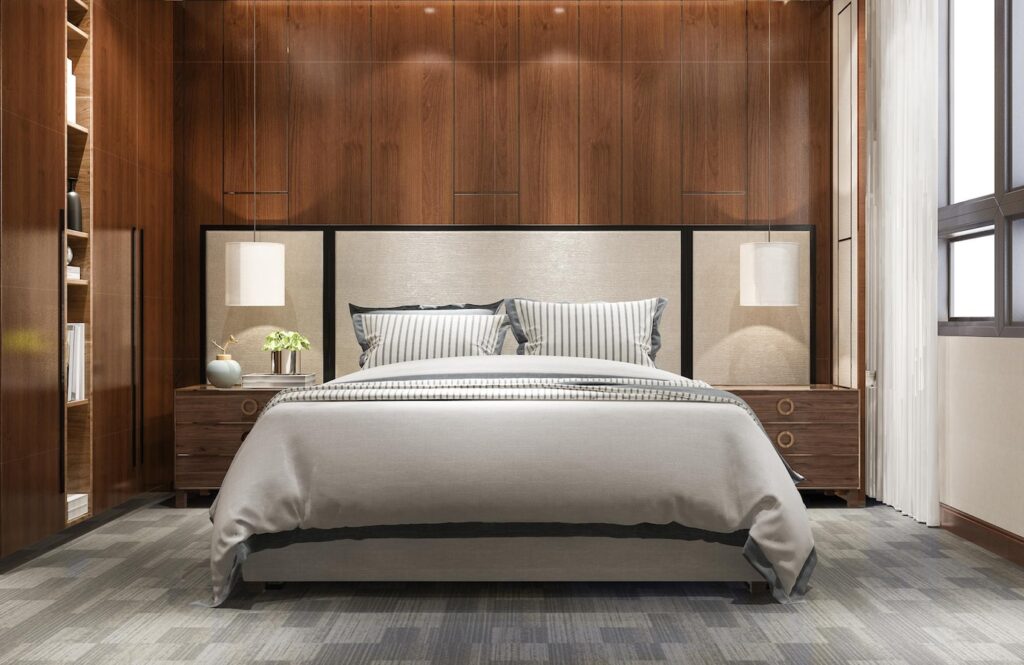
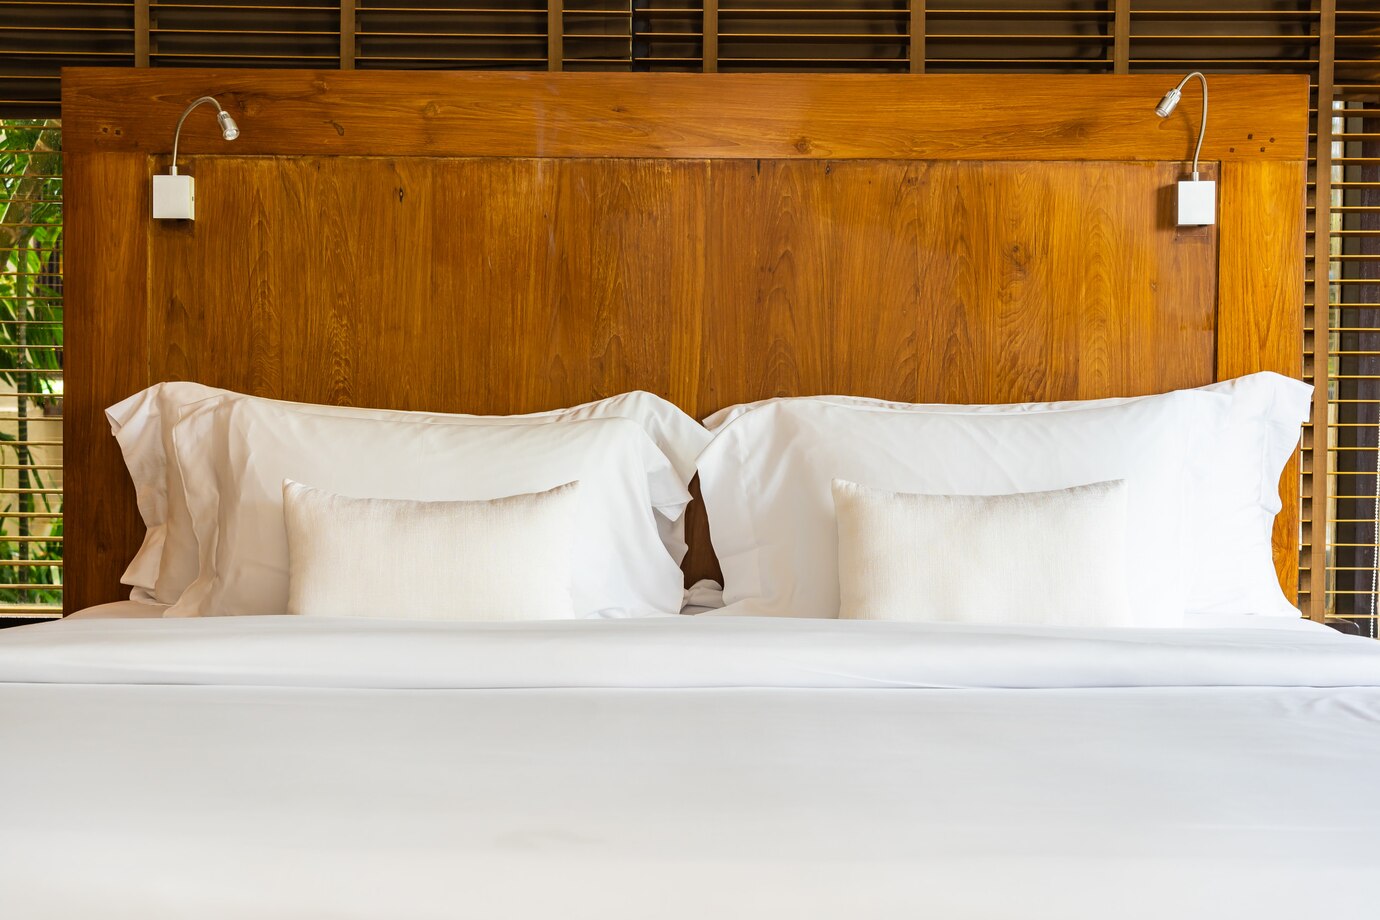
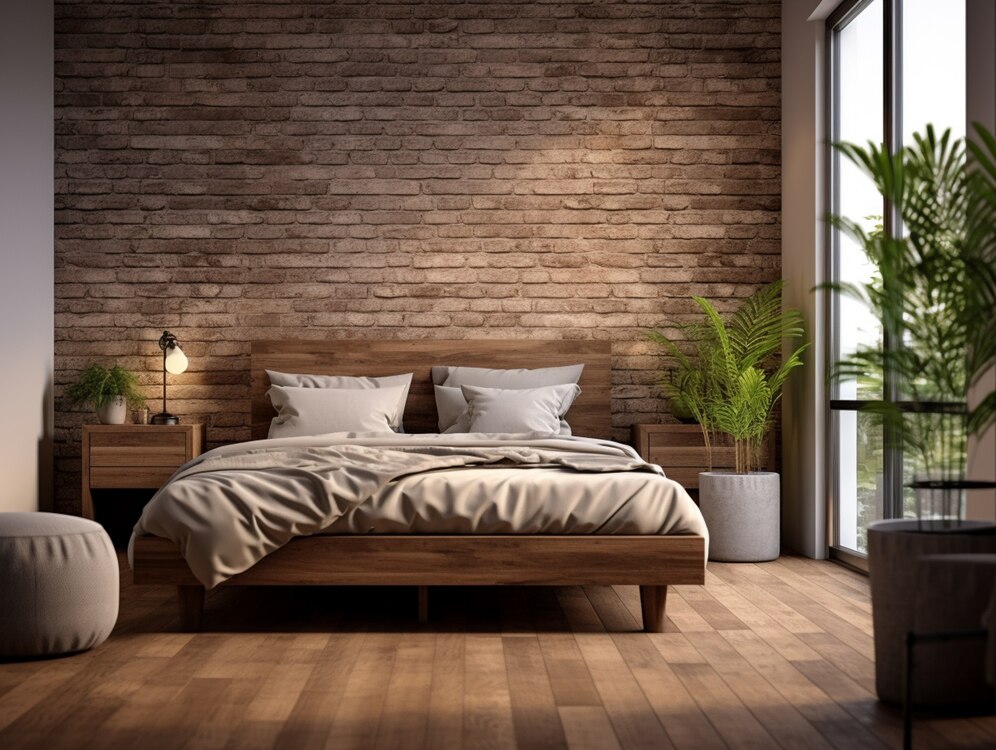
A wood headboard design can completely transform your bedroom, adding warmth, elegance, and a personalised touch. Whether you’re looking for a rustic charm, a modern minimalist look, or a classic wooden aesthetic, a DIY wooden headboard is a fantastic project that combines creativity with functionality. With the right materials and techniques, you can craft a beautiful headboard that complements your bedroom furniture DIY style and enhances the overall decor.
This step-by-step guide will walk you through the entire process, from selecting the best wood for headboards to assembling and finishing your custom piece.
1. Planning Your DIY Wooden Headboard
Before you start building, it’s essential to plan your design, choose the right wood, and determine the dimensions of your headboard.
1.1 Choosing the Right Style
- Rustic: A distressed or reclaimed wood look that adds a cosy, farmhouse feel.
- Modern: A sleek, clean-lined headboard with a polished or stained finish.
- Upholstered-Wood Combination: A mix of wooden panels and fabric padding for a soft, luxurious feel.
- Geometric Patterns: Using wooden slats or panels to create a stylish, artistic look.
- Floating Headboard: A wall-mounted design that creates a clean, space-saving aesthetic.
- Storage Headboard: Incorporating shelves or compartments for added functionality.
1.2 Determining Headboard Size
- A twin headboard is typically 100 cm wide.
- A full-size headboard measures around 140 cm wide.
- A queen headboard should be about 160 cm wide.
- A king headboard extends to 190 cm or more.
- Consider adding a few extra centimetres for an oversized, luxurious look.
- Measure your bed frame carefully to ensure a proper fit.
1.3 Selecting the Best Wood for Headboards
- Pine – Affordable and easy to work with, great for beginners.
- Oak – Durable and long-lasting, ideal for a classic and elegant finish.
- Walnut – A premium choice with a rich, dark finish.
- Cedar – Naturally resistant to insects, perfect for longevity.
- Reclaimed Wood – Sustainable and full of character, perfect for a rustic aesthetic.
- Plywood – A budget-friendly option that can be veneered for a high-end look.
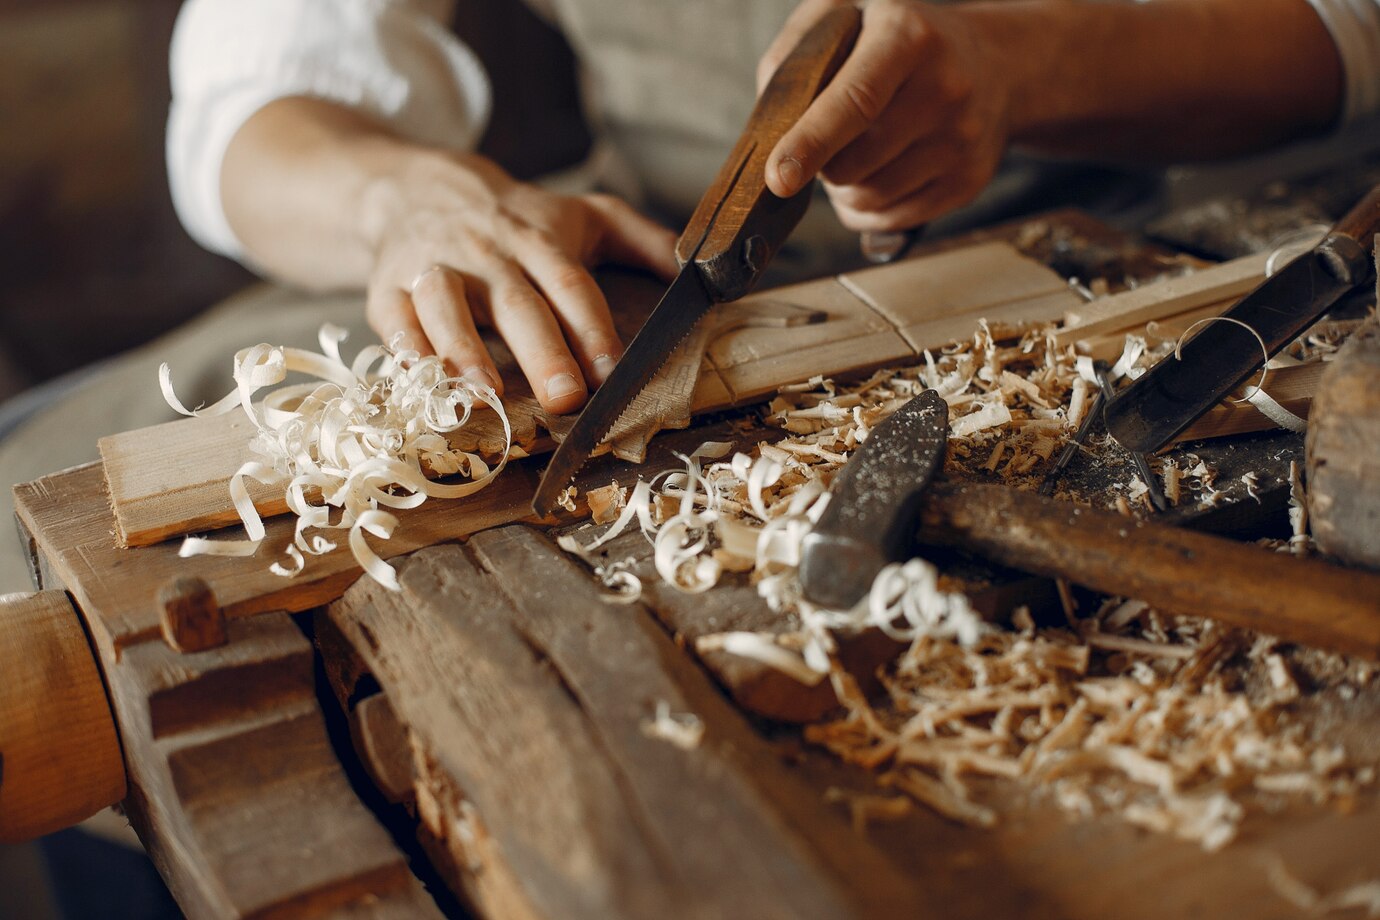
2. Gathering Tools and Materials
2.1 Essential Tools
To complete this bedroom furniture DIY project, you will need:
- Saw (circular saw or hand saw)
- Measuring tape and pencil
- Carpenter’s square
- Sandpaper or electric sander
- Drill and screws
- Wood glue and clamps
- Safety gear (gloves, goggles, dust mask)
- Wood filler (to smooth out imperfections)
2.2 Materials Needed
- Wood planks (based on your chosen design and size)
- Wood screws (for secure assembly)
- Wood stain or paint (to enhance the final look)
- Sealer or polyurethane (for protection and longevity)
- Wall mounting brackets or legs (if freestanding)
- Decorative trim or moulding (optional for added detail)
3. Cutting and Preparing the Wood
3.1 Measuring and Cutting the Planks
- Cut the main panel to the width of your bed frame.
- If using slats, cut multiple planks of equal size for a uniform look.
- If creating a geometric or panelled design, cut accordingly.
- Ensure all edges are smooth and even for a professional appearance.
3.2 Sanding the Wood
- Start with medium-grit (120-150) sandpaper to remove rough spots.
- Finish with fine-grit (220) sandpaper for a smooth surface.
- Round off sharp edges for safety and aesthetics.
- Use wood filler to fill any imperfections and sand again for an even finish.
4. Assembling the Headboard
4.1 Arranging the Wood Panels
- Lay out the planks on a flat surface and arrange them as per your design.
- For a vertical or horizontal plank headboard, ensure all pieces align evenly.
- If adding shelves or a built-in light fixture, plan the layout accordingly.
4.2 Attaching the Planks Together
- Use wood glue along the edges to hold pieces together.
- Reinforce with wood screws or nails for added stability.
- Secure with clamps and let the glue dry for at least 24 hours.
- Check for any gaps and fill them with wood filler before final sanding.
4.3 Adding a Frame (Optional)
- If desired, attach a wooden border for a more finished look.
- Use corner brackets for additional reinforcement.
- Attach decorative trim or moulding for an elegant touch.
5. Finishing Touches
5.1 Staining or Painting
- Apply a wood stain to bring out the natural grain.
- For a painted finish, apply a primer first for even coverage.
- Use a brush or cloth to apply the finish evenly.
- Let it dry before applying a second coat if necessary.
- Lightly sand between coats for a smooth, professional finish.
5.2 Sealing and Protecting
- Apply a sealer or polyurethane to protect against moisture and wear.
- For a matte look, choose a satin or low-gloss finish.
- Allow the finish to cure for at least 48 hours before mounting.
- For an outdoor-style look, consider using a weather-resistant wood oil.
6. Installing the Headboard
6.1 Attaching to the Bed Frame
- Align the headboard with the bed frame and secure it with bolts.
- Ensure it is firmly attached to prevent wobbling.
6.2 Wall-Mounted Option
- Use heavy-duty wall anchors or French cleats for mounting.
- Position the headboard at the desired height before securing it.
- Double-check that it is level for a professional look.
- Consider adding LED strip lights behind the headboard for a modern touch.
6.3 Freestanding Headboard
- Add wooden legs for support if you prefer a moveable headboard.
- Secure with brackets for extra stability.
- Consider adding a small ledge on top for decorative items.
7. Maintenance and Care
- Dust regularly with a soft cloth to maintain cleanliness.
- Reapply sealant every few years to maintain durability.
- Avoid excess moisture to prevent the wood from warping.
- Use furniture polish occasionally to enhance the finish.
- Inspect fasteners and mounts periodically to ensure stability.
- Avoid placing heavy items directly on the headboard unless reinforced.
Conclusion
A DIY wooden headboard is a simple yet effective way to upgrade your bedroom with a touch of personal craftsmanship. Whether you prefer a classic wood headboard design or a bold statement piece, the ability to customize your bedroom furniture DIY project ensures you get the perfect look for your space. By selecting the best wood for headboards, using the right techniques, and adding a beautiful finish, your custom headboard will not only be a stylish focal point but also a durable and timeless addition to your home.
Now that you have all the steps and tips, it’s time to gather your materials and start building your own DIY wooden headboard!


YOU MAY LIKE


