The DIY & Crafts Blog
How to Build a Custom Wooden Closet Organizer
A well-organised closet is a game changer for your living space. It turns chaos into calm, making it effortless to locate what you need. Why shell out hundreds or thousands for a cookie-cutter system? Instead, craft a bespoke wooden closet organiser that’s tailored just for you. This cost-effective solution brings functionality and a dash of artistry to your home. This guide will lead you through each step to create a stunning DIY closet organiser. With wood as your canvas, you’ll blend practicality and beauty effortlessly.
Why Build a DIY Wooden Closet Organizer?
1. Cost-Effective Solution
Pre-built closet organisers can be expensive, with high-end models reaching thousands of pounds. A DIY approach allows you to create a high-quality solution at a fraction of the cost. You can save money and get a custom look by sourcing materials from local hardware stores or repurposing wood you already have.
2. Customisation
Building your own wooden closet organiser ensures that it perfectly fits your space and meets your storage needs. Whether you need more shelves, drawers, or hanging space, a DIY project allows you to design the perfect setup for your wardrobe and lifestyle.
3. Durability and Quality
Selecting the perfect wood and construction techniques strengthens your organiser’s life. With careful work and smart design, your DIY closet organiser turns into a strong masterpiece. Built to endure, it can outlast store-bought alternatives while bringing charm to your home. This handsome addition not only organises but elevates your space for years to come.
4. Satisfaction of DIY Work
Creating something with your hands creates a sense of pride and accomplishment, especially when it enhances your daily life. Also, custom-built organisers usually look nicer and more upscale than mass-produced ones.
Materials and Tools Needed
Materials:
- Plywood or solid wood (oak, pine, or birch recommended)
- Wood screws
- Wood glue
- Wood filler
- Sandpaper (120 and 220 grit)
- Wood stain or paint
- Polyurethane sealant
- L-brackets for additional support (optional)
- Drawer slides (if including drawers)
- Hanging rods and brackets
- Decorative moulding or trim (for a polished look)
Tools:
- Tape measure
- Saw (circular saw, table saw, or jigsaw)
- Drill and screwdriver
- Clamps
- Level
- Paintbrush or roller
- Sander or sanding block
- Stud finder (for secure wall attachment)
Step-by-Step Guide to Building a Custom Wooden Closet Organizer
Step 1: Plan Your Design
Before cutting any wood, measure your closet space carefully. Sketch a rough design including shelves, hanging rods, drawers, and other elements you need. Consider your storage requirements: Do you need more shelving for folded clothes? Extra rods for hanging garments? Drawer space for accessories? If unsure, take inventory of your wardrobe and organise items based on their storage needs.
Step 2: Choose Your Wood and Cut Pieces
Selecting the right wood is crucial for both aesthetics and durability. Plywood is a budget-friendly choice. However, solid hardwoods like oak or birch offer better strength and last longer. Using a circular or table saw, cut the wood to match your design dimensions. Sand each piece thoroughly to smooth any rough edges and prevent splinters.
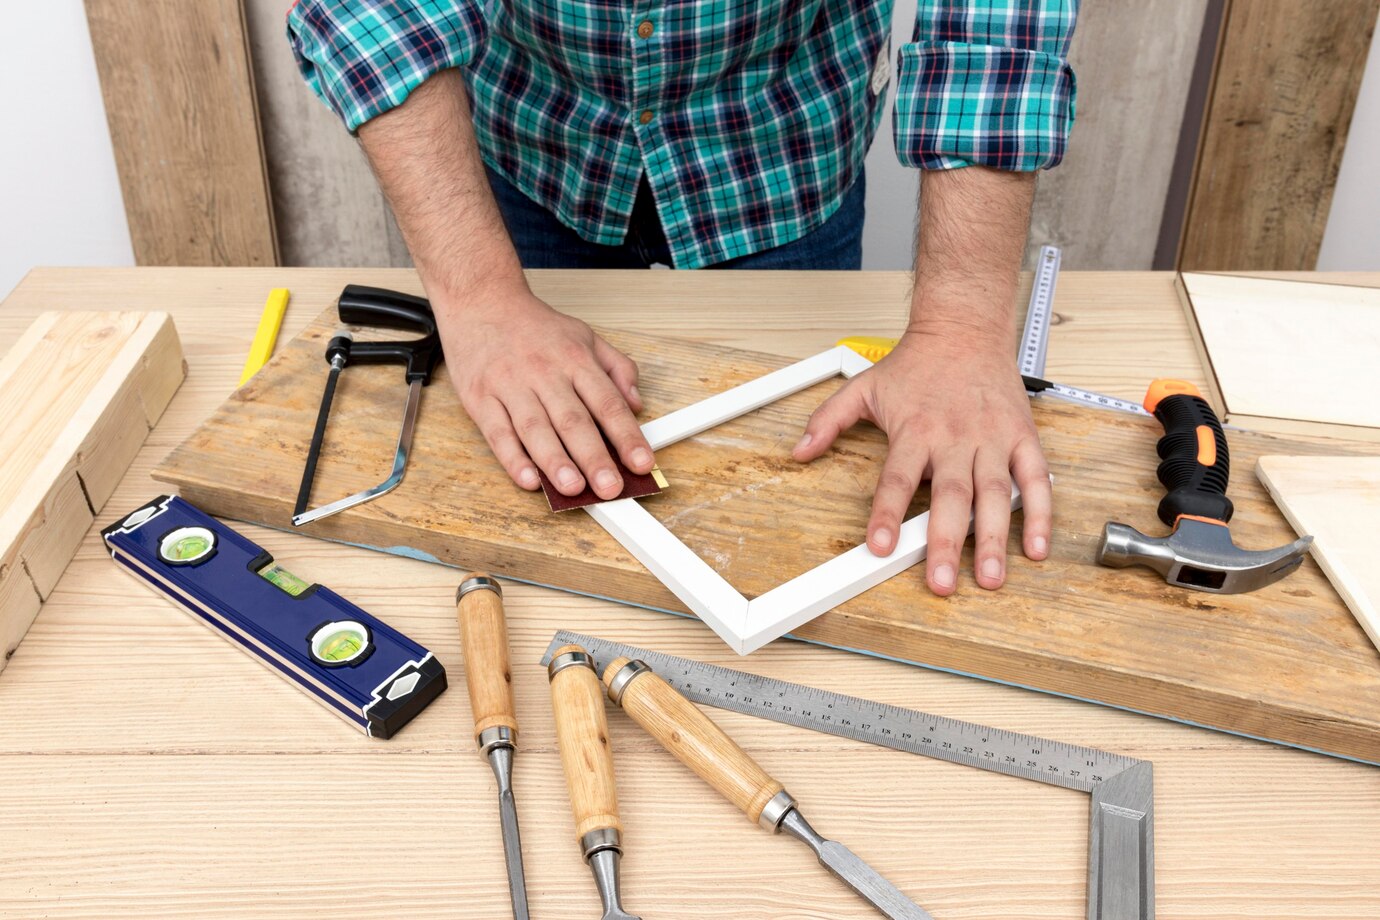
Step 3: Assemble the Frame
Start by constructing the frame of your closet organiser. Use wood screws and glue for a sturdy structure. Clamps can help keep everything in place while the glue dries. If your design has shelves and hanging rods, make sure to fasten vertical dividers securely. This will give them proper support.
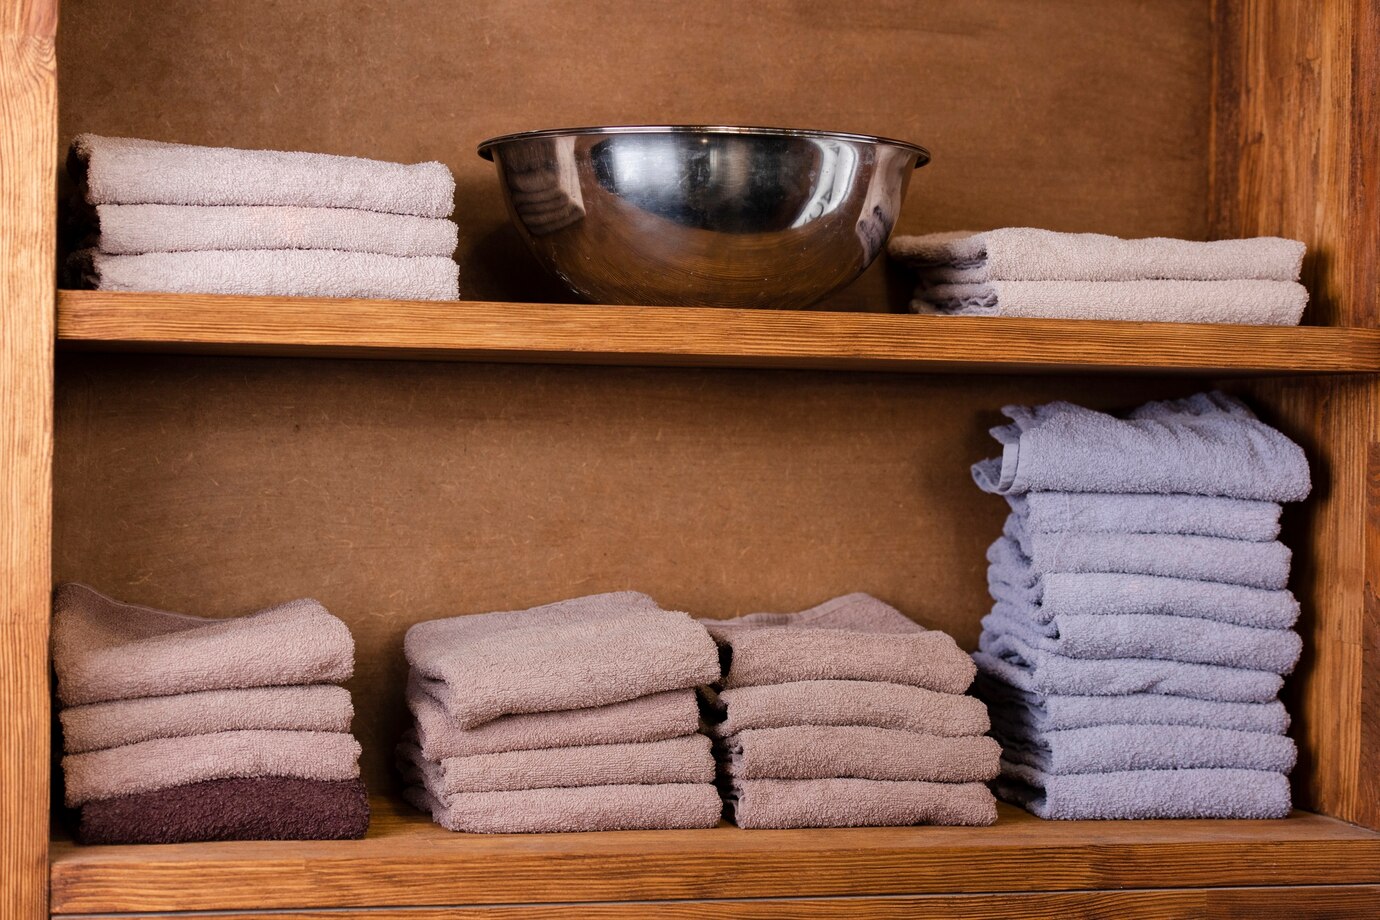
Step 4: Install Shelving and Dividers
Once the frame is complete, install shelves and dividers based on your design. Use a level to check for proper alignment before securing them with screws or brackets. For added durability, reinforce large shelves with support beams to prevent sagging over time.
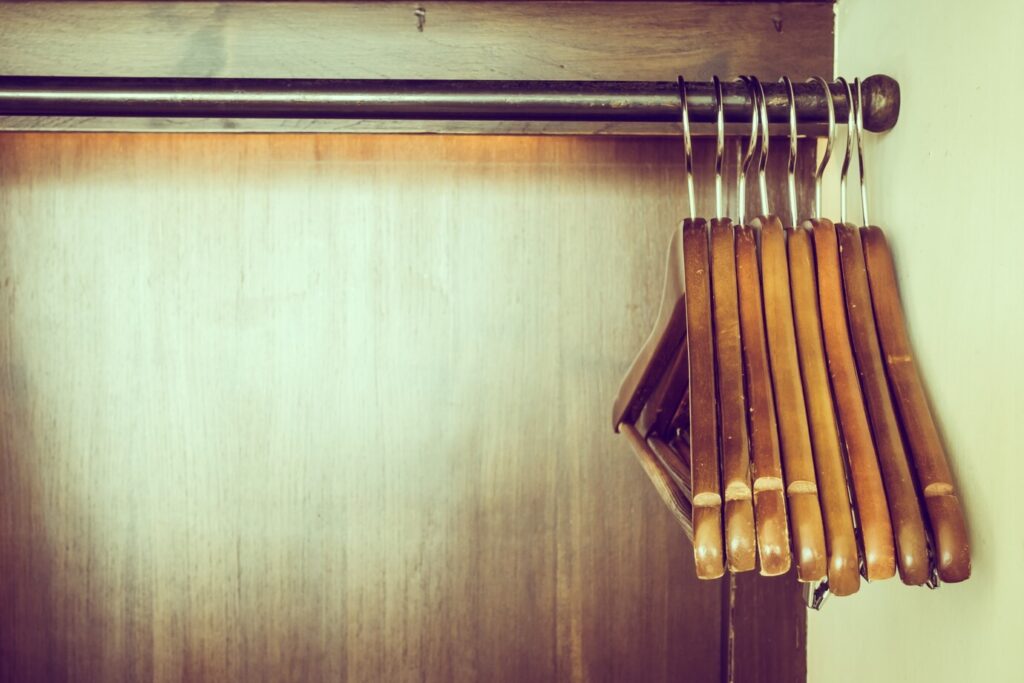
Step 5: Add Drawers and Hanging Rods
If incorporating drawers, install drawer slides and ensure smooth operation. Soft-close slides are a great option for a high-end feel. Attach hanging rods at appropriate heights for easy access to garments. Standard height recommendations include:
- Double hanging: 40-42 inches from the ground (ideal for shirts and trousers).
- Long hanging: 60-65 inches (for dresses and coats).
- Shelves above rods: 12-15 inches deep for easy accessibility.
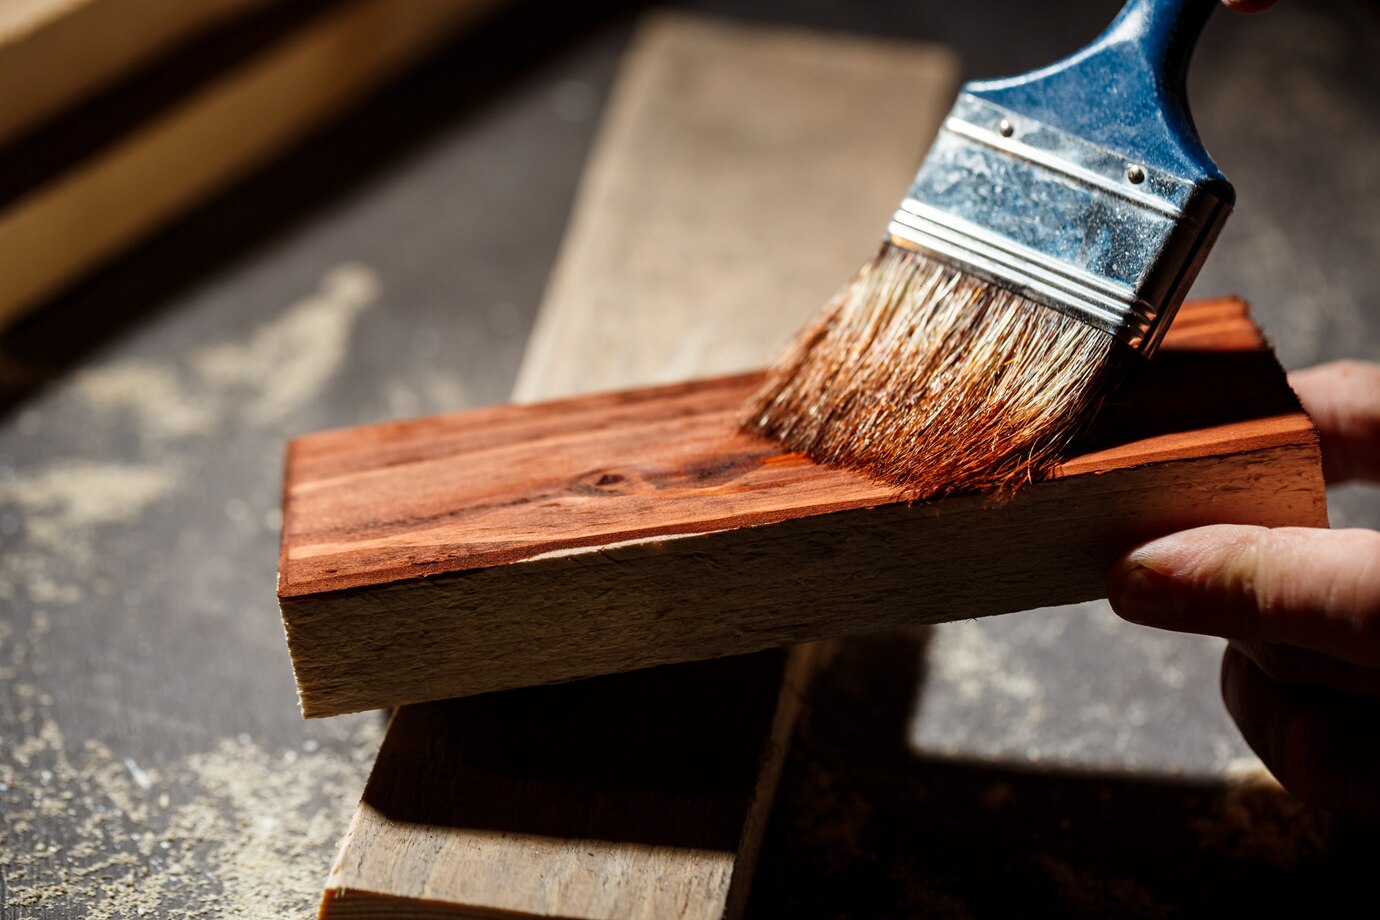
Step 6: Sand, Stain, and Finish
After assembly, sand the entire organiser with fine-grit sandpaper to remove rough patches. Apply a wood stain or paint to match your interior decor. If using a stain, let it dry completely before applying a protective polyurethane sealant for longevity. For a professional finish, apply multiple coats, sanding lightly between each one.
Step 7: Install in Your Closet
Carefully move the completed organiser into place. Secure it to the wall using screws or L-brackets to prevent tipping. If attaching to drywall, locate wall studs with a stud finder for secure anchoring. Trim or moulding can be added to create a built-in, seamless appearance.
Additional Tips for a Professional Finish
- Use wood filler to cover any visible screw holes or imperfections before staining.
- Consider incorporating LED lighting for enhanced visibility inside the closet, making it easier to find clothing and accessories.
- Install moulding or trim around the edges to achieve a polished, built-in look that blends seamlessly with your walls.
- Label or categorise sections to maintain an organised system that is easy to follow.
Common Mistakes to Avoid
1. Inaccurate Measurements
Always double-check your measurements before cutting to prevent costly errors. Even a minor miscalculation can result in an organiser that doesn’t fit your space properly.
2. Using the Wrong Type of Wood
Opt for durable, high-quality wood that can withstand daily use. Avoid particle board or MDF for structural components, as these materials can sag over time.
3. Not Sanding Properly
Skipping sanding results in a rough finish and poor stain absorption. Taking the time to sand thoroughly will enhance the final appearance.
4. Poor Installation
Ensure everything is level and securely fastened to avoid instability. A wobbly organiser can damage walls and compromise safety.
5. Overlooking Weight Distribution
Plan for weight distribution, especially for large wardrobes. Reinforce heavy shelves and ensure hanging rods can support the weight of clothing without bending.
Conclusion
Making your own wooden closet organiser is a rewarding project. It adds both function and style to your home. With a bit of planning, some quality materials, and the right techniques, you can create a stylish and durable storage piece just for you. Take your time; revel in the process. The joy of a custom closet awaits, ensuring your space remains impeccably organised.
Upgrading a simple reach-in or designing a large walk-in? This project blends practicality with creativity. Start today! Transform your closet into an organised haven. It will show off your unique style and meet your daily needs.


YOU MAY LIKE


