The DIY & Crafts Blog
How to Build a Sturdy DIY Wooden Table: A Step-by-Step Guide
Building a DIY wooden table is a fun and useful project. Whether you want a dining table or a coffee table, a table lets you create a design that fits your home. This guide covers everything from choosing wood to finishing touches. By the end, you’ll have a sturdy table you built yourself.
Pro Tip:When attaching the base to the tabletop, space the screws evenly for balance. Tighten them gradually, alternating between screws for even pressure.
Quick Guide: Step-by-Step Summary
- Plan & Design: Decide the table’s purpose, size, and style. Sketch your design and select materials.
- Gather Tools & Materials: Collect the tools and materials you need for the project.
- Build the Tabletop: Cut, assemble, and sand the wooden planks to make the tabletop.
- Construct the Base: Choose a base design, then cut and assemble it securely.
- Attach the Top to the Base: Flip the tabletop and secure the base with screws and brackets.
- Finishing Touches: Stain or paint the table. Apply a protective finish to ensure it lasts.
Important Tip:For a smooth finish, use a foam brush or lint-free cloth for applying polyurethane. Apply multiple thin layers instead of one thick layer.
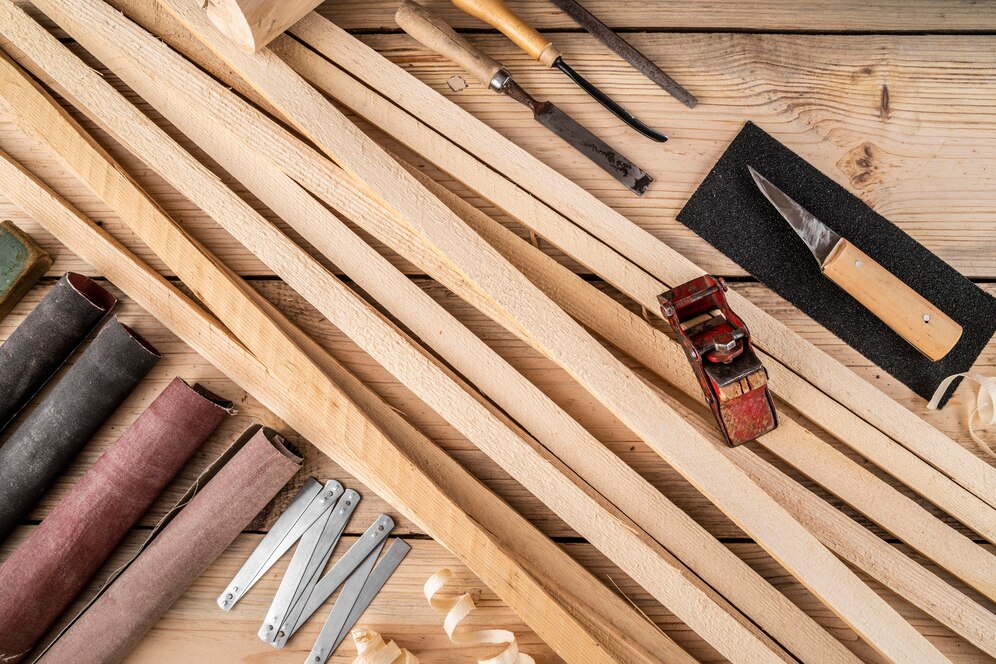
Materials and Tools Needed
Materials:
- Wooden planks: Select hardwood or softwood based on the table’s purpose
- Wood stain or paint: For finishing
- Polyurethane or wood sealant: For protection
- Screws or nails: For assembly
- Metal brackets (optional): For added stability
Tools:
- Saw (circular or hand saw): For cutting wood
- Measuring tape and carpenter’s square: For accurate measurements
- Electric sander or sandpaper (80-220 grit): For a smooth finish
- Drill and drill bits: For securing components
- Wood glue: For additional strength
- Clamps: Helps hold pieces together during assembly
- Safety gear: Goggles, gloves, and a dust mask
Step-by-Step Guide to Building Your Wooden Table
Step 1: Planning Your DIY Wooden Table
1.1 Purpose and Size
Before starting, decide what the table will be used for and its size. Measure your space and think about how many people you want to seat.
- Dining Table: Height of 76 cm, width 90-120 cm, length based on seating.
- Coffee Table: Height of 40-50 cm.
- Side Table: Height of 60-75 cm.
1.2 Design and Style
Choose a style that fits your decor. Some popular designs include:
- Rustic Farmhouse: Distressed wood, thick legs, sturdy frame.
- Modern Minimalist: Clean lines, simple shapes, sleek finish.
- Industrial: Wood and metal mix, raw finish.
1.3 Material Selection
Choose a material that fits the table’s intended use:
- Hardwood: Oak, maple, or walnut for durability.
- Softwood: Pine or cedar for easier work and cost-effectiveness.
- Reclaimed Wood: Eco-friendly and rustic, great for unique designs.
Step 2: Gather Tools and Materials
Ensure you have the necessary tools: saw, drill, clamps, and measuring tape. Make sure your materials match your design and table size. Confirm you have enough wood, screws, and a protective finish.
Step 3: Building the Tabletop
3.1 Cutting the Wood
Measure and cut the planks for the tabletop. Ensure consistent width and thickness. If joining multiple planks, align the edges well.
3.2 Assembling the Top
Apply wood glue to the edges of the planks and press them together. Clamp the pieces and let them dry for at least 24 hours.
3.3 Sanding the Surface
After the glue dries, sand the surface. Start with 80-grit sandpaper for rough spots, then finish with 220-grit for a smooth surface.
Step 4: Constructing the Base
4.1 Choosing a Base Design
Select a base design that supports the tabletop:
- Straight wooden legs: For a classic look.
- Trestle base: For added strength.
- Metal frame: For an industrial feel.
4.2 Cutting and Assembling the Base
Cut the legs and frame pieces to size, then assemble them with screws and wood glue. Use a carpenter’s square to ensure the base is square and level.
Step 5: Attaching the Tabletop to the Base
Once the tabletop and base are ready, flip the tabletop over and position the base. Drill pilot holes to avoid splitting and secure the base with screws. For extra support, use metal brackets.
Step 6: Finishing Touches
6.1 Staining or Painting
Apply wood stain to highlight the grain or paint the table to fit your decor. Use a brush or cloth to apply the stain evenly, allowing it to dry for at least 24 hours.
6.2 Protective Finish
After the stain dries, apply a protective finish like polyurethane to guard against moisture and wear. Let it dry completely before using the table.
Common Mistakes to Avoid
- Skipping the Sanding Process: Sanding gives a smooth finish and avoids splinters.
- Inaccurate Measurements: Always double-check measurements before cutting.
- Forgetting Protective Finish: Without it, your table may suffer scratches and moisture damage.
Frequently Asked Questions About Building a DIY Wooden Table
1. How do I ensure my DIY table is sturdy?
Use quality wood, proper screws, and reinforce joints with wood glue. A strong base adds stability.
2. Can I make a table without screws?
Yes, but screws provide security. You can use dowels or mortise-and-tenon joints for a traditional approach.
3. How long does it take to build a wooden table?
It varies by skill level, but typically takes 2-4 days, including time for glue and finish drying.
4. What if the wood warps during the process?
Store wood properly and in a dry place. If it warps, clamp the pieces and add extra glue to secure joints.
Final Thoughts: Build a Sturdy and Stylish Wooden Table with Confidence
Building your own wooden table is a fulfilling project that personalizes your home. With the right materials and tools, you can create a beautiful, sturdy table that showcases your craftsmanship. Gather your tools, plan your design, and start building your wooden table today!


YOU MAY LIKE


