The DIY & Crafts Blog
How to Build a Wooden Fence for Your Backyard
A wooden fence is a fantastic way to enhance privacy, improve security, and add charm to your backyard. Building a DIY wooden fence can be a fun project. It can help keep pets safe, mark your space, and boost your home’s curb appeal. This guide is your trusty blueprint, leading you through each stage of the process. From choosing the right wood to installation and upkeep tips, we’ve got you covered. Our guide gives clear explanations and expert tips. You’ll learn to build a strong, durable fence that lasts.
Why Build a DIY Wooden Fence?
1. Cost-Effective Solution
Installing a fence can be costly. However, if you do it yourself at home, you can save money and personalise the design to fit your needs. This can even turn into a small business from home. Depending on materials and labour costs, store-bought fences can range in the thousands. When you take on the project yourself, you only need to cover the cost of raw materials and tools, which results in substantial savings.
2. Privacy and Security
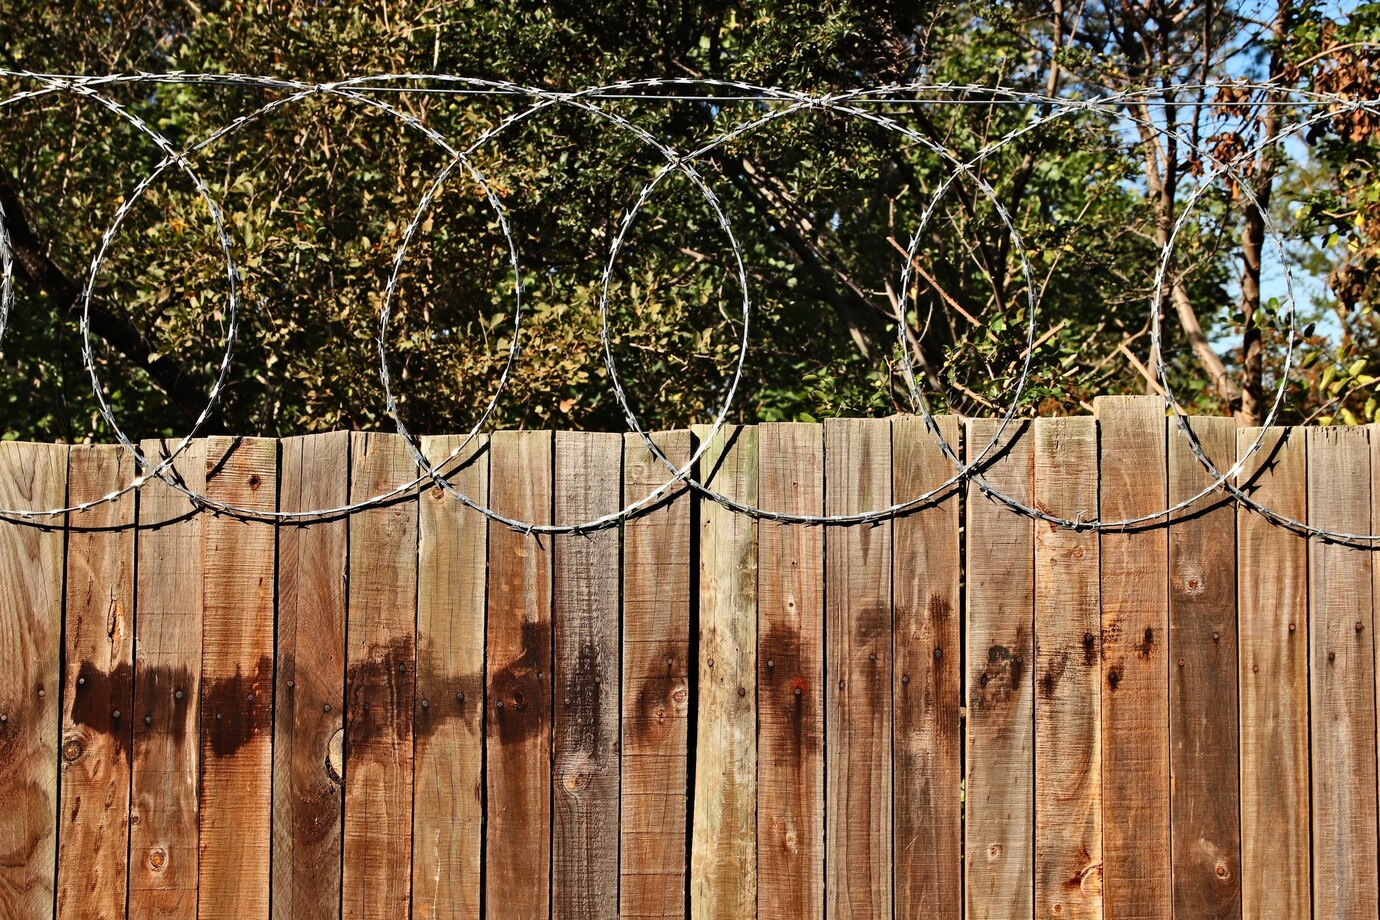
A strong wooden fence blocks prying eyes. It also keeps out animals and strangers. If you have pets or children, a fence provides a safe, enclosed area where they can play without concerns about them wandering off. Additionally, it acts as a deterrent for potential trespassers and increases the security of your property.
3. Boosting Curb Appeal
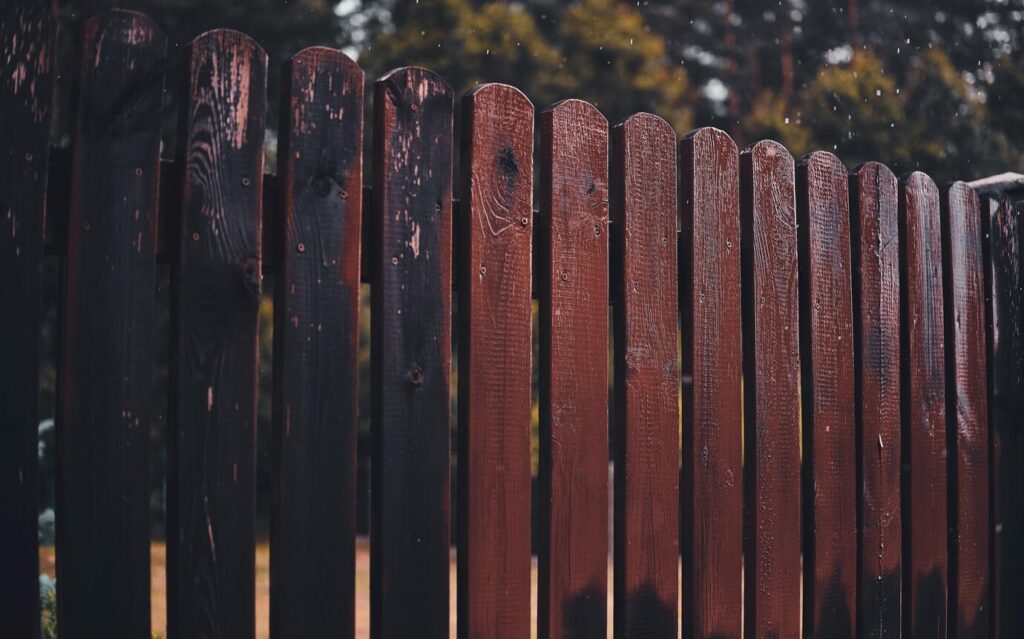
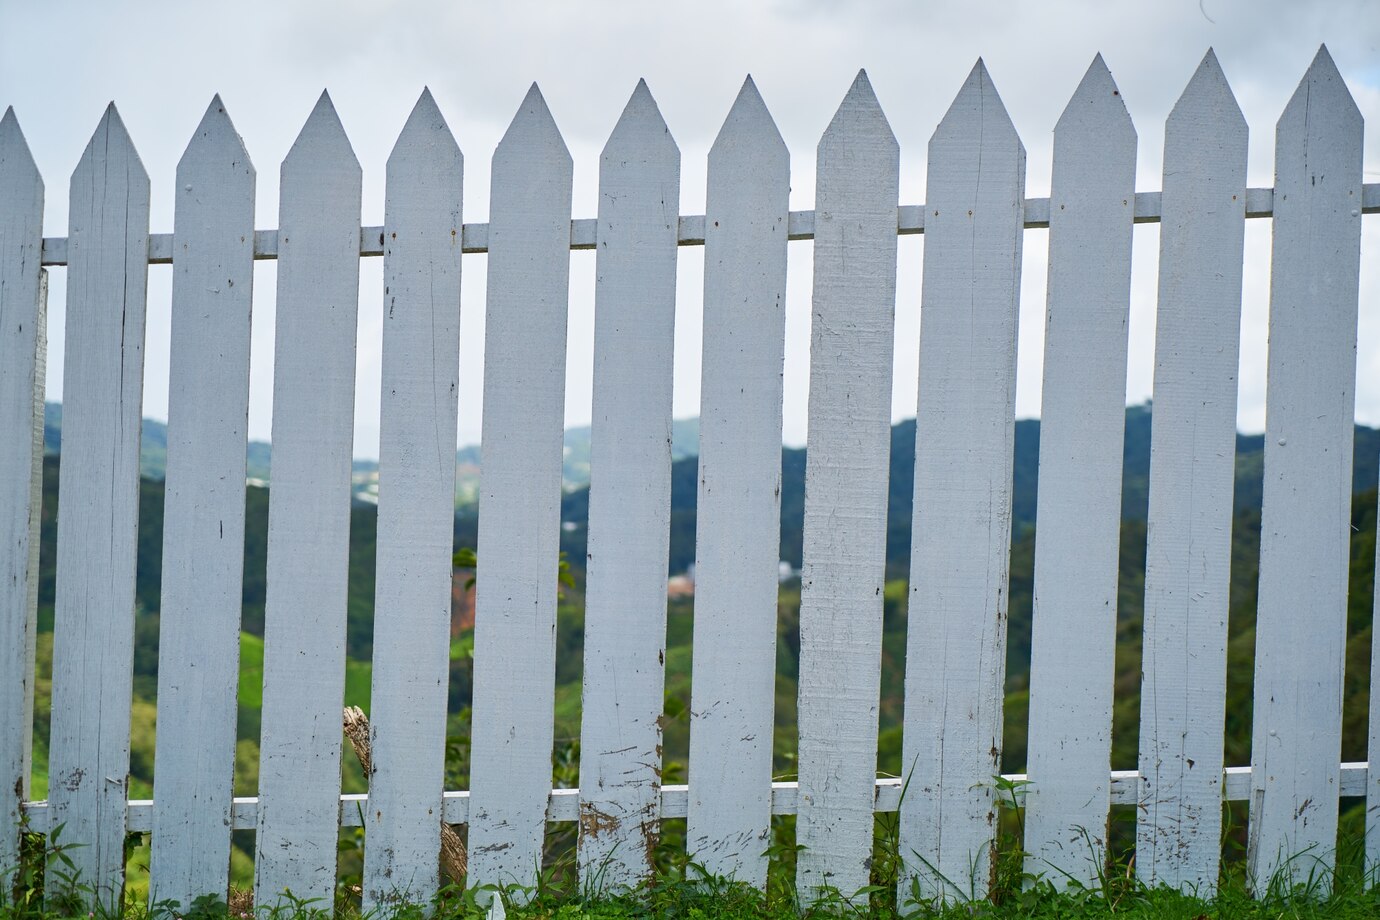
A well-built wooden fence enhances the beauty and value of your property, creating a cohesive outdoor space. Choose a style that fits your home. You might like a classic picket fence, a sleek slatted design, or a charming split-rail fence. Each option can enhance your home’s look and landscaping.
4. Durability and Sustainability
Choosing high-quality, weather-resistant wood ensures a long-lasting fence that blends with the environment. Proper sealing and maintenance can extend its lifespan to 20 years or more, making it an excellent long-term investment.
Materials and Tools Needed
Materials:
- Best Wood for Fencing: Cedar, redwood, or pressure-treated pine
- Wooden fence panels or individual planks
- Fence posts (4×4-inch recommended)
- Concrete mix (for securing posts)
- Galvanised screws or nails
- Hinges and latch (for gates)
- Weatherproof wood stain or paint
- Gravel (for drainage at the post base)
- Post caps (for decorative and protective purposes)
Tools:
- Post hole digger or auger
- Level
- Measuring tape
- Circular saw or hand
- Power drill
- Hammer
- Paintbrush (for sealing/staining)
- String and stakes (for alignment)
- Clamps (for extra stability)
Step-by-Step Guide to Building a DIY Wooden Fence
Step 1: Plan Your Fence Layout
- Mark the boundaries of your fence using stakes and string. This ensures straight alignment and proper spacing.
- Determine the spacing of your fence posts (typically 6-8 feet apart). Closer spacing provides extra stability.
- Check local building codes and homeowner association regulations before proceeding. Some areas require specific height restrictions or permits for fencing projects.
Step 2: Dig Post Holes
- Use a post-hole digger or auger to create holes at least 2 feet deep for stability.
- Ensure posts are evenly spaced and aligned with your layout.
- Add a few inches of gravel at the base of each hole for better drainage and to prevent wood rot.
Step 3: Install Fence Posts
- Place a post in each hole and fill it with a concrete mix for durability. Use a shovel to ensure the mix is evenly distributed.
- Use a level to ensure each post is straight before the concrete dries.
- Allow 24-48 hours for the concrete to be fully set before attaching panels.
- For extra stability, brace the posts with temporary wooden supports while the concrete dries.
Step 4: Attach Fence Rails
- Secure horizontal rails (top, middle, and bottom) between the posts using screws.
- This framework will provide stability and support for fence panels or planks.
- If using metal brackets, attach them first to ensure an easy installation process.
Step 5: Install Fence Panels or Planks
- Attach wooden fence panels to the rails using screws or nails.
- If using individual planks, space them evenly for a uniform look. A small gap allows for wood expansion in humid conditions.
- Use a level to keep each panel straight.
- If you prefer a decorative finish, you can stagger planks or create a pattern such as a lattice top.
Step 6: Install the Gate (If Needed)
- Choose a sturdy location for your gate.
- Attach hinges to the gate frame and secure it to the fence posts.
- Install a latch for easy opening and closing.
- Reinforce the gate frame with diagonal bracing to prevent sagging over time.
Step 7: Apply Stain or Paint
- Use a weatherproof wood stain or paint to protect against rain, sun, and pests.
- Reapply every few years to maintain the fence’s appearance and durability.
- Choose a UV-resistant sealant to prevent fading from prolonged sun exposure.
Expert Tips for a Strong and Long-Lasting Fence
- Use pressure-treated wood to prevent rot and insect damage.
- Ensure proper drainage around fence posts to avoid water damage.
- Add gravel at the base of post holes before concrete to improve stability.
- Space fence planks slightly to allow for natural expansion and contraction.
- Reinforce gate hinges with extra screws to prevent sagging.
- Add decorative post caps to protect the tops from water damage and enhance visual appeal.
- Consider a privacy fence height of 6-8 feet for optimal seclusion.
- Regularly inspect and tighten screws or nails to keep the fence secure over time.
Common Mistakes to Avoid
- Not checking property lines can result in disputes with neighbours.
- Skipping concrete for posts may lead to instability over time.
- Failing to use weatherproofing can cause premature wear and tear.
- Ignoring gate reinforcements can result in sagging or misalignment.
- Using untreated wood can lead to early decay and structural failure.
- Forgetting drainage solutions may cause water to pool around posts, leading to rot.
Maintenance Tips for Longevity
A wooden fence requires regular upkeep to remain in excellent condition. Follow these tips:
- Annual inspections: Check for loose boards, protruding nails, or cracks.
- Re-seal or stain every 2-3 years: Prevents weather damage and keeps the wood looking fresh.
- Clean with a mild detergent: Removes dirt and mildew buildup.
- Trim vegetation near the fence: Prevents moisture retention, which can lead to rot.
- Repair damaged sections immediately: Avoids worsening structural issues.
Conclusion

Constructing a wooden fence for your backyard is a DIY delight! It boosts privacy, security, and your yard’s charm. With this step-by-step guide, you’ll wield the tools with confidence. Quality materials are the secret to creating a fence that stands the test of time.
From a quaint picket fence to a sleek privacy barrier, the options dazzle. Enclose your garden in style, crafting a haven that feels uniquely yours. This guide is your compass for turning dreams into reality.
So, roll up your sleeves and dive in! Transform your backyard boundary into a functional masterpiece you’ll love.


YOU MAY LIKE


