The DIY & Crafts Blog
How to Install Hardwood Flooring Yourself
Hardwood flooring is the crown jewel of home design, radiating warmth and character. Its durable charm breathes life into any space, inviting elegance and sophistication. While hiring professionals can poke holes in your wallet, fear not! A DIY installation is within your grasp—armed with the right tools, materials, and a bit of elbow grease.
This guide serves as your trusted companion, leading you step-by-step through the world of hardwood. From selecting the finest timber to adding that professional finish, you’ll master it all.
Sure, installing hardwood might appear daunting initially, but fret not. You can transform your home with careful planning and smart choices, all without spending too much. So roll up your sleeves—this guide supplies the knowledge to make your flooring both stunning and sturdy.
Why Choose Hardwood Flooring?
1. Longevity and Durability
Hardwood floors can last decades when properly maintained, making them a valuable investment for your home. Hardwood flooring lasts longer than carpets. It handles foot traffic and daily use well. This makes it a great long-term option.
2. Aesthetic Appeal
Wood floors enhance the beauty of any room, offering a natural, warm appearance. Hardwood flooring adds elegance to your home. You can choose a classic oak finish or a rich walnut look. Both options enhance your decor beautifully.
3. Increases Home Value
Homes with hardwood floors often sell for more. This is because they are durable and attractive. Buyers often prefer homes with high-quality flooring. This makes it a smart investment.
4. Easy to Clean and Maintain
Compared to carpets, hardwood floors are easier to clean and resist allergens. A simple routine of sweeping and occasional mopping keeps them looking new.
5. Versatility in Design
Hardwood flooring suits various home styles, from modern to rustic. You can change the stain or finish over time, giving your home a fresh new look without replacing the entire floor.
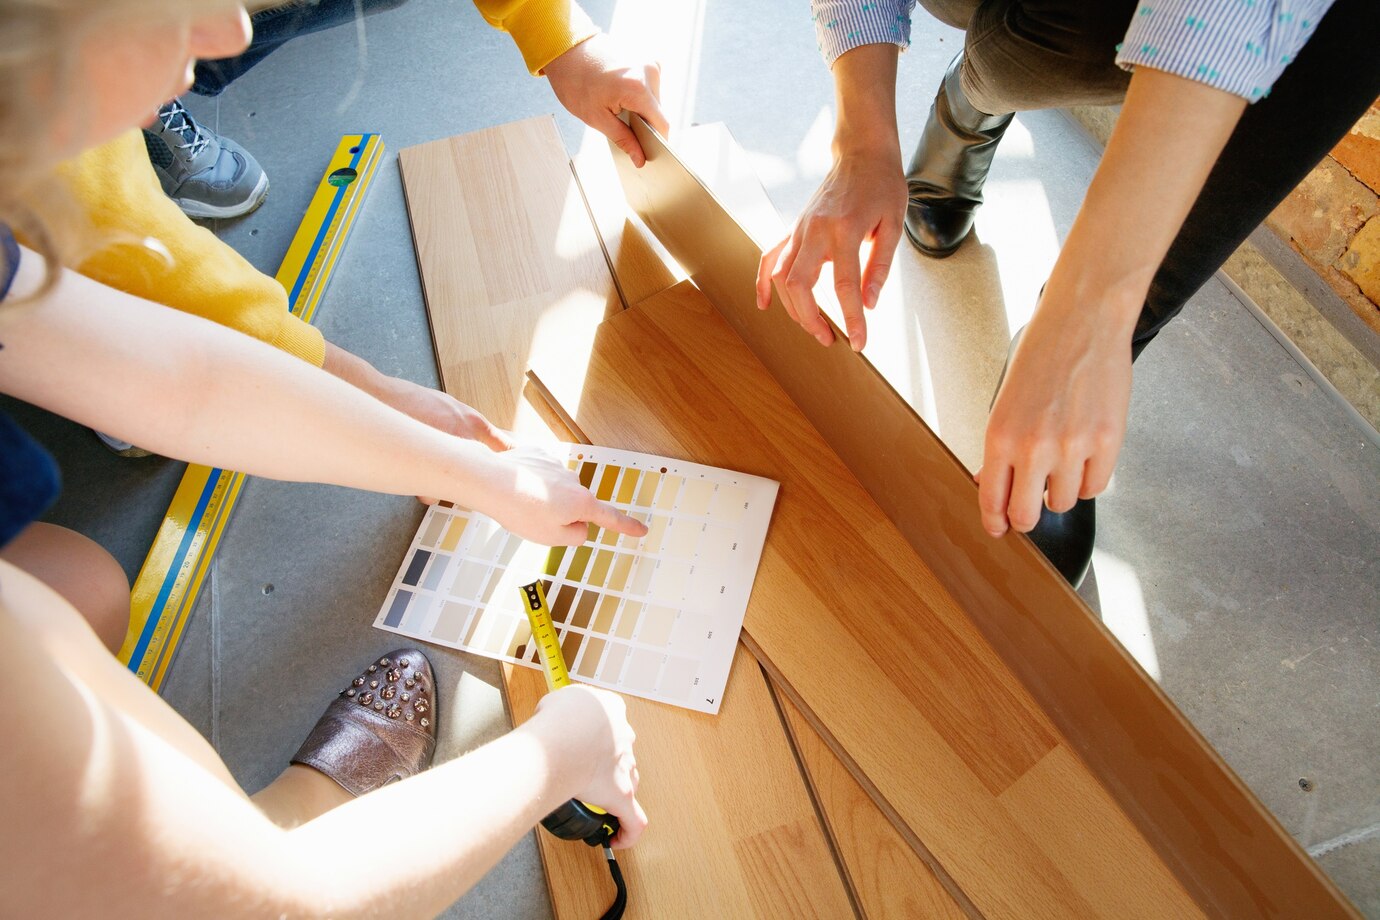
Choosing the Best Wood for Flooring
Different types of wood offer various benefits based on durability, grain patterns, and colour options. Here are some of the best choices:
- Oak – A classic choice with excellent durability and a beautiful grain. It comes in red and white oak varieties, offering different tones and textures.
- Maple – Harder than oak and ideal for high-traffic areas. It has a smooth grain and light natural colour, perfect for modern interiors.
- Hickory – Extremely tough and resistant to dents and scratches. A great option for homes with children and pets.
- Walnut – Offers a rich, dark appearance for a luxurious look. Its natural colour adds depth and sophistication to any space.
- Bamboo – An eco-friendly alternative with a modern feel. It’s sustainable and grows quickly, making it an environmentally responsible choice.
Tools and Materials Needed
Materials:
- Hardwood flooring planks
- Underlayment (foam or felt)
- Wood glue or nails (depending on installation type)
- Moisture barrier (for concrete subfloors)
- Wood filler (for gaps and imperfections)
- Wood stain or polyurethane finish (optional)
- Baseboards and transition strips (for finishing touches)
Tools:
- Tape measure
- Level
- Circular saw or table saw
- Nail gun or flooring stapler
- Rubber mallet
- Pry bar
- Spacers
- Sandpaper (for refinishing)
- Trowel (if using adhesive installation)
- Knee pads (for comfort during installation)
Step-by-Step Guide to DIY Hardwood Floor Installation
Step 1: Prepare the Subfloor
A stable subfloor is crucial for a successful installation. Follow these steps:
- Remove any existing flooring and thoroughly clean the surface.
- Check for uneven areas and use a level to identify dips or bumps.
- Sand down high spots and use a self-levelling compound to fill low areas.
- If installing over concrete, apply a moisture barrier to prevent water damage.
Step 2: Acclimate the Wood
Hardwood is sensitive to humidity and temperature changes. Allow the planks to acclimate by placing them in the installation room for at least 48-72 hours. Stack the boxes in a crisscross pattern for even air circulation.
Step 3: Plan the Layout
Before installing, plan the direction and pattern of your planks:
- Run the planks parallel to the longest wall for a spacious look.
- Stagger the joints to create a natural appearance and increase floor stability.
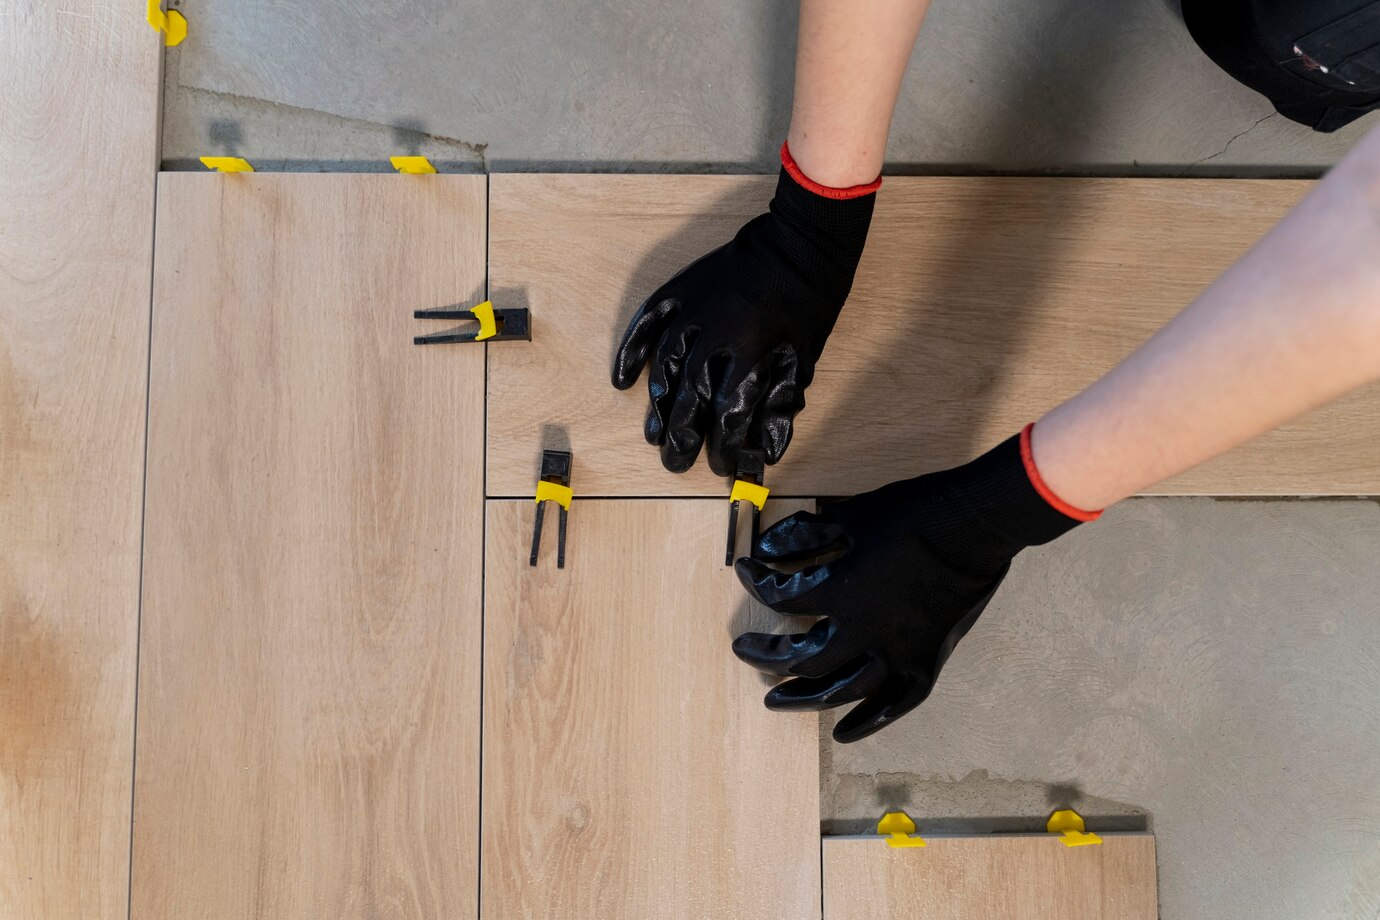
- Use spacers to leave an expansion gap of at least ¼ inch along the walls.
Step 4: Install the Underlayment
The underlayment provides cushioning and sound absorption. Roll it out across the floor and secure it with tape. If using a moisture barrier, ensure there is an overlap between sheets.
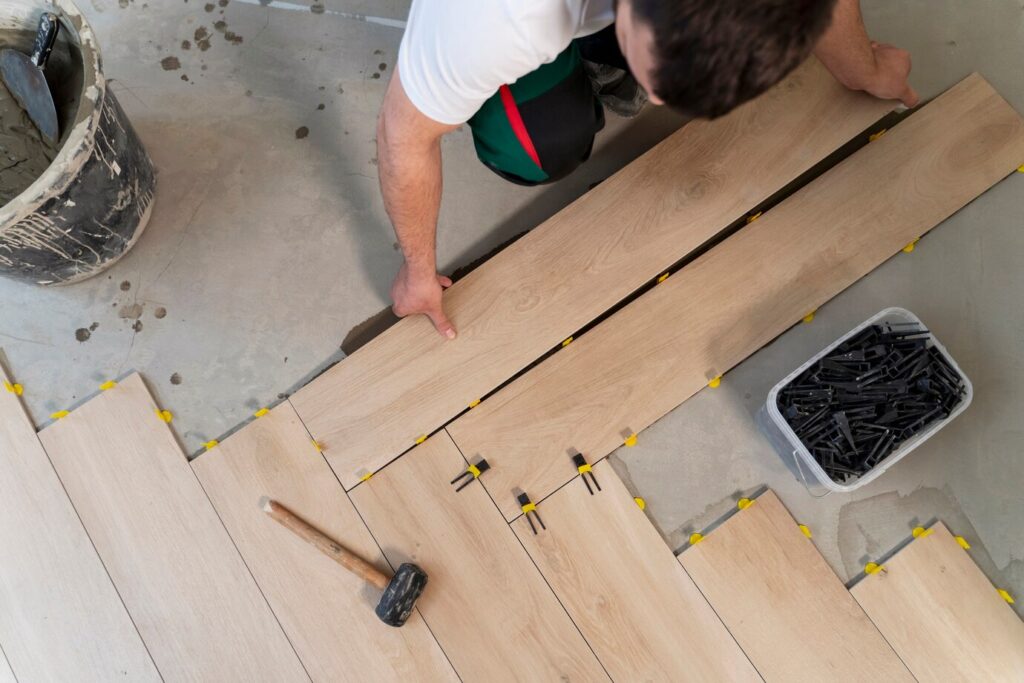
Step 5: Start Laying the Hardwood Planks
- Begin in one corner of the room.
- Place spacers between the wall and the first row of planks.
- Nail or glue each plank securely.
- Tap planks into place using a rubber mallet for a snug fit.
- Continue working row by row, staggering joints.
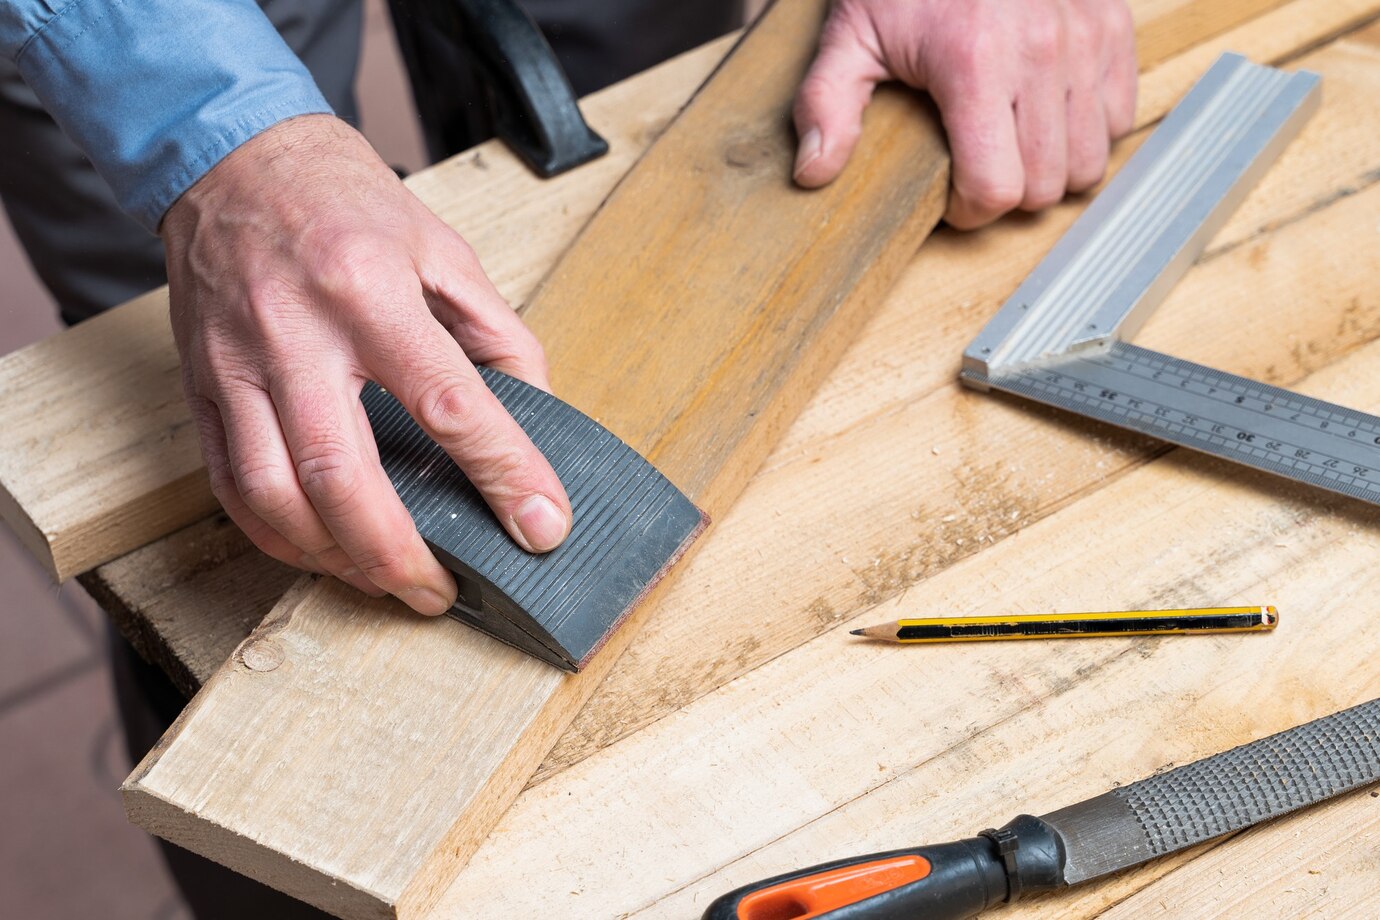
Step 6: Cut Planks as Needed
Use a circular saw or table saw to trim planks for edges and corners. Measure carefully to ensure a seamless fit.
Step 7: Install Baseboards and Transitions
Once all planks are in place, remove spacers and install baseboards to cover expansion gaps. Use transition strips between different flooring types.
Step 8: Finish and Seal
To protect your new floor:
- Apply a polyurethane finish for extra durability.
- Let the finish dry completely before moving the furniture back in.
- Avoid excessive moisture when cleaning.
Additional Tips for a Professional Finish
- Use a chalk line to ensure straight rows.
- Consider renting a flooring nailer for faster installation.
- Check alignment frequently to prevent gaps or misalignment.
- Allow the stain or finish to dry fully before walking on the floor.
Common Mistakes to Avoid
1. Not Acclimating the Wood
Skipping this step can cause warping or gaps due to changes in humidity.
2. Ignoring Subfloor Preparation
An uneven subfloor can lead to creaking, movement, and an unstable floor.
3. Using Incorrect Fasteners
Ensure you use the right nails or adhesive for your specific flooring type.
4. Overlooking Expansion Gaps
Hardwood expands with temperature changes; failing to leave gaps can result in buckling.
5. Skipping a Moisture Barrier
If installing over concrete, always use a moisture barrier to prevent damage from trapped moisture.
Conclusion
Laying hardwood flooring on your own is a fulfilling venture. It elevates your home’s charm and value. Select premium materials and master the installation techniques. Avoid common blunders for results that rival the pros. With a sprinkle of patience and an eye for detail, your DIY project shines brilliantly and stands the test of time.
Hardwood floors infuse spaces with warmth, elegance, and resilience. Whether you’re breathing life into a tired room or grounding a new home, investing your effort pays off. Doing it right guarantees a finish that dazzles and endures.
Enjoy the process and take pride in your craftsmanship!


YOU MAY LIKE


