The DIY & Crafts Blog

How to Make a Wooden Birdhouse: Step-by-Step
A wooden birdhouse is like a charming invitation for feathered friends to your garden. It adds a sprinkle of whimsy to your outdoor haven. Whether you’re a novice with a saw or a DIY wizard, crafting this avian abode promises satisfaction and joy. A good birdhouse protects birds from weather, predators, and city noise. It also lets you enjoy watching wildlife.
In this guide, we’ll journey through a detailed, step-by-step approach to building a durable and delightful birdhouse. We’ll share expert insights, design tweaks, and pitfalls to dodge, ensuring your DIY creation stands the test of time.
Why Build a DIY Birdhouse?
1. Providing Safe Shelter for Birds
A well-constructed birdhouse gives birds a secure place to nest and seek refuge from predators and harsh weather. Many bird species have a hard time finding natural nesting spots in cities and suburbs. That’s why human-made birdhouses are vital for their survival.
2. Enhancing Your Garden’s Ecosystem
Birds contribute to natural pest control by feeding on insects and also assist in pollination. A strong bird population in your garden can cut pesticide use. It also boosts the health of your plants and flowers.
3. Customisation and Personalisation
DIY birdhouses let you pick sizes, shapes, and designs for the birds nearby. You can make birdhouses with special features. Try adding decorative carvings or multi-compartment designs for birds that like to live together. You can also include a platform for bird feeders.
4. Fun and Educational DIY Project
Making a birdhouse is a fun project for everyone. It mixes creativity with woodworking skills. It’s a great weekend activity for kids. They can learn about birds, habitat conservation, and woodworking skills.
Materials and Tools Needed
Materials:
- Best Wood for Birdhouses is cedar, pine, or plywood (at least ½-inch thick)
- Galvanised nails or screws (rust-resistant)
- Wood glue (optional for added durability)
- Hinges (for easy cleaning access)
- Non-toxic paint or wood stain (optional)
- Roofing material (asphalt shingles, metal, or cedar shakes for additional weather protection)
- Small wooden dowel (optional for perches, but not always necessary)
- Wire mesh or predator guard (to keep squirrels and larger predators away)
Tools:
- Saw (hand saw or circular saw)
- Drill with appropriate bits
- Measuring tape
- Sandpaper
- Clamps (optional for extra stability)
- Paintbrush (for finishing touches)
- Hole saw or spade bit (to create the entrance hole)
- Screwdriver
- Safety goggles and gloves
Step-by-Step Guide to Building a DIY Wooden Birdhouse
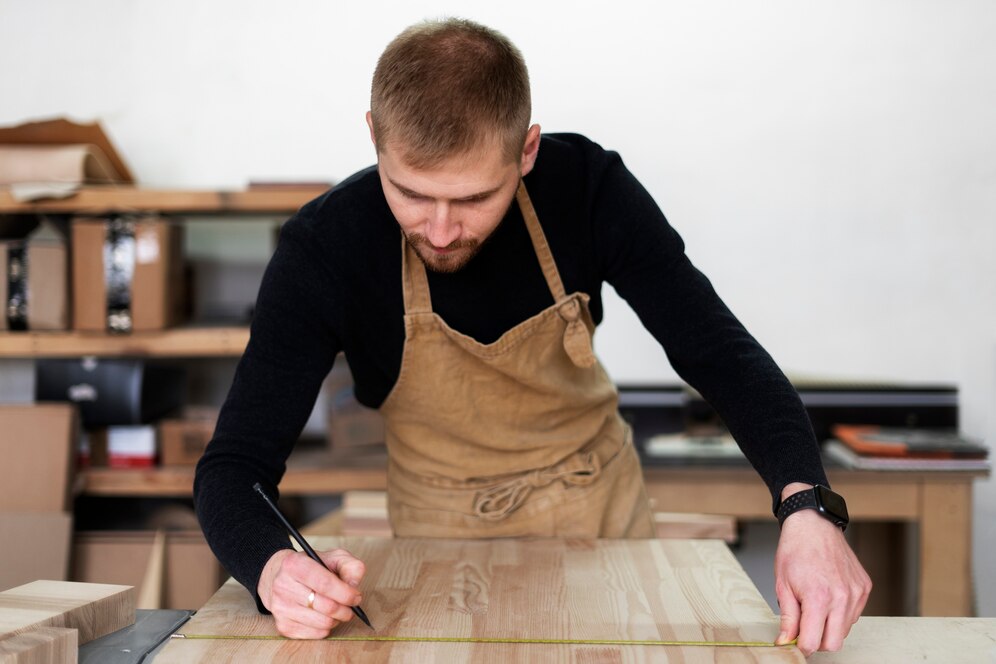
Step 1: Plan and Measure Your Design
Determine the dimensions based on the bird species you want to attract. Different birds prefer different entrance hole sizes and interior dimensions. Below are common birdhouse dimensions for various species:
- Wrens & Chickadees: 6-8 inches tall, entrance hole diameter of 1-1.5 inches.
- Bluebirds & Swallows: 8-10 inches tall, entrance hole diameter of 1.5 inches.
- Woodpeckers: 10-15 inches tall, entrance hole diameter of 2-2.5 inches.
Make sure the birdhouse has good ventilation and drainage. Poor air flow can cause overheating and moisture to build up.
Step 2: Cut the Wood Pieces
Use your saw to cut the following pieces:
- Front Panel: Drill a circular entry hole near the top.
- Back Panel: Same size as the front (without a hole).
- Two Side Panels: Slightly narrower than the front and back panels.
- Bottom Panel: Ensure it fits snugly.
- Roof Panels: These can be a single-slanted piece or two angled panels forming a peaked roof.
Use a hole saw or spade bit to create the entrance hole at the appropriate height on the front panel.
Step 3: Sand and Smooth the Edges
Use sandpaper to remove rough edges and prevent splinters. A smooth surface makes it safer for birds and helps prevent injuries.
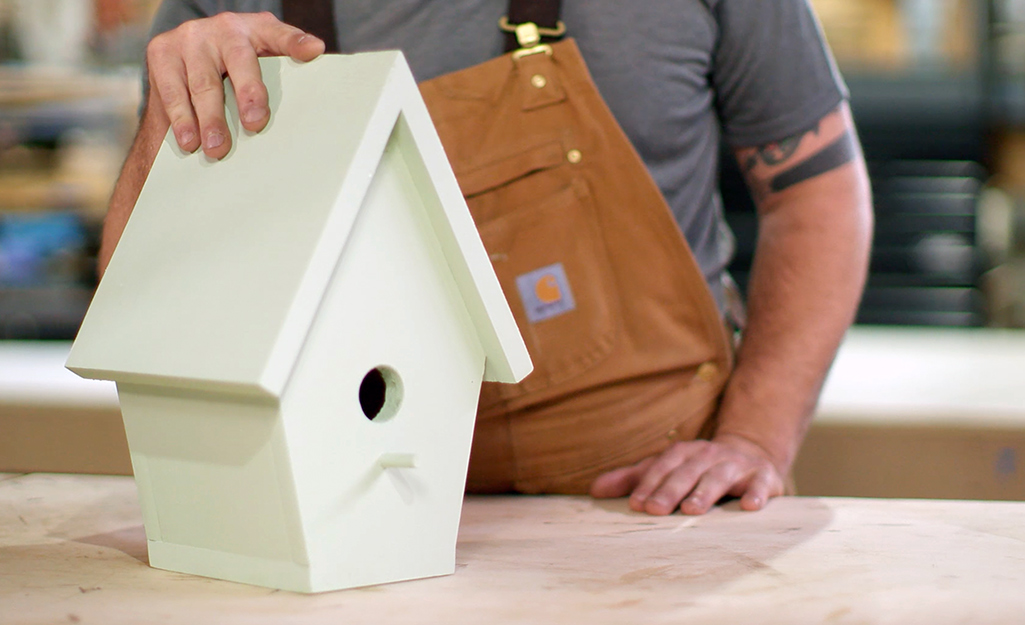
Step 4: Assemble the Birdhouse
- Attach the side panels to the front and back using screws or nails.
- Secure the bottom panel, ensuring proper fit.
- Install the roof last, either as a removable piece or fixed with nails.
- If desired, add small drainage holes at the bottom to allow excess moisture to escape.
Step 5: Add a Hinged Side or Bottom for Cleaning
Hinges make it easy to clean the birdhouse each season, preventing disease and pests. Some birds refuse to nest in dirty or infested spaces, so regular cleaning is crucial.
Step 6: Apply Non-Toxic Paint or Wood Stain
Choose light or natural colours to match the surroundings. Avoid dark colours since they can trap heat. Skip glossy finishes. They can make the birdhouse stand out to predators.
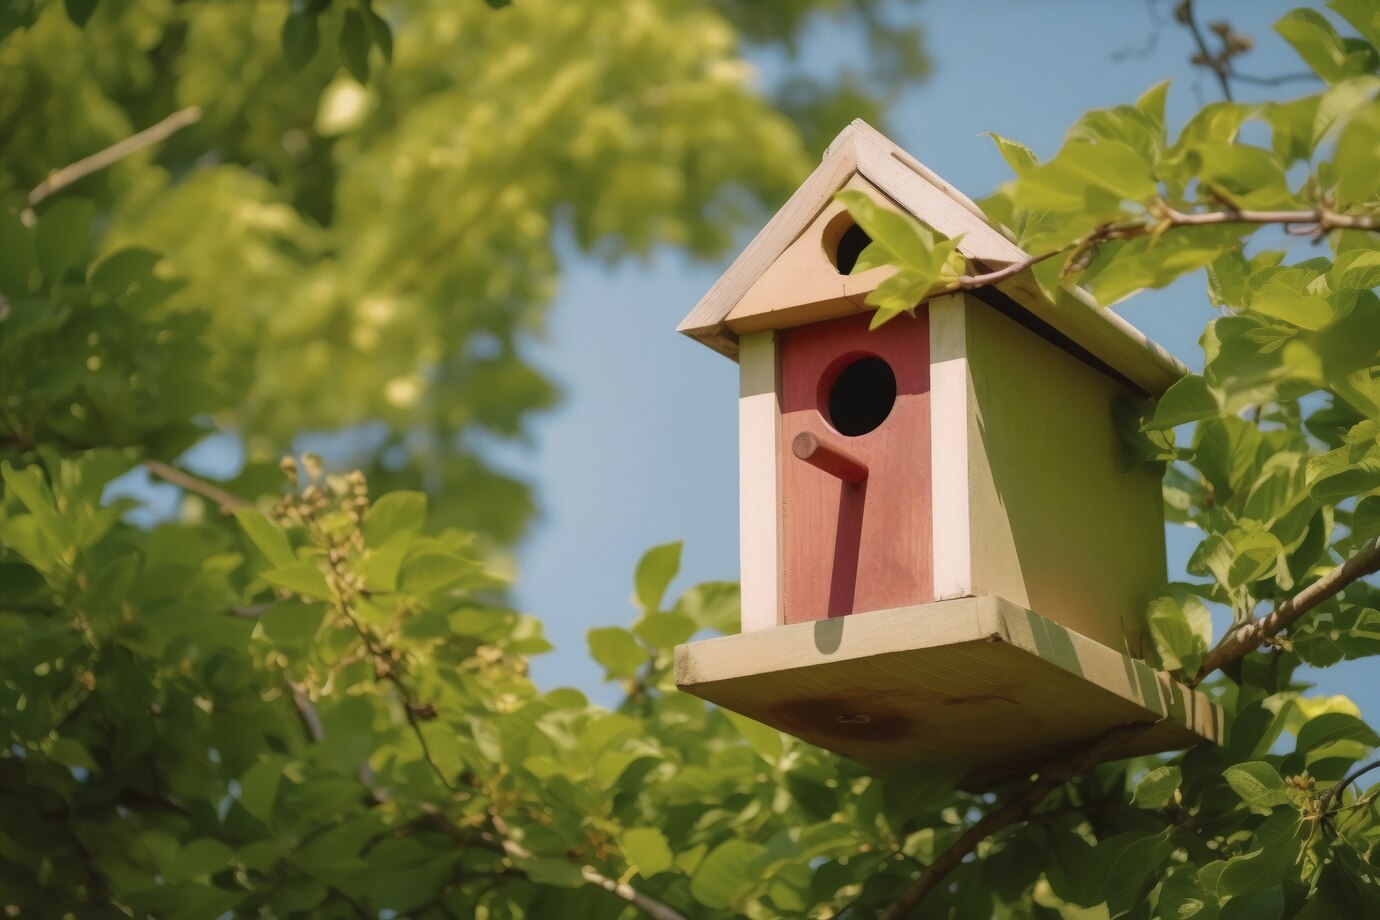
Step 7: Mount the Birdhouse
- Attach the birdhouse to a tree, post, or pole at least 6 feet off the ground.
- Face the entrance hole away from prevailing winds for added protection.
- If mounting to a post, use a metal baffle to prevent predators from climbing.
- Avoid placing birdhouses too close to each other, as many species are territorial.
Expert Tips for a Successful Birdhouse
- Use untreated wood to avoid harmful chemicals that can endanger birds.
- Ensure proper ventilation by drilling small holes near the top.
- Position in a shaded area to prevent excessive heat buildup.
- Clean the birdhouse annually to maintain a healthy habitat.
- Put predator guards around the entrance hole. This will stop larger birds and squirrels from taking over the nest.
- Avoid adding perches—many small birds don’t need them, and they can be used by predators.
Common Mistakes to Avoid
- Using overly large entry holes can allow predators inside.
- Skipping drainage holes can lead to water accumulation and mould growth.
- Painting with toxic finishes can be harmful to birds.
- Placing birdhouses too close together can increase competition and aggression between birds.
- Forgetting to clean the birdhouse annually can result in infestation and disease.
Enhancing the Birdhouse with Additional Features
If you want to go beyond a basic birdhouse, consider these enhancements:
- Multi-level birdhouses for communal birds like purple martins.
- Removable side panels for easier monitoring and cleaning.
- Integrated bird feeders or water trays to attract more birds.
- Roof overhangs to provide extra shade and rain protection.
Conclusion
Crafting a DIY wooden birdhouse is a rewarding venture for you and nature. With quality materials and meticulous construction, your feathered friends will flock home. This bird haven will stand strong, offering shelter and comfort for years ahead. From simple nesting boxes to elaborate multi-chambered designs, each step is a joy to behold, enriching your knowledge along the way. Start your DIY project at home today and enjoy the beauty of birds visiting your garden!


YOU MAY LIKE


