The DIY & Crafts Blog
How to Make Custom Wooden Signs for Home Decor
Custom wooden signs are a fantastic way to add a personalised touch to your home decor.
Unleash your creativity with DIY wood signs! Whether it’s a rustic welcome sign, an uplifting quote display, or a personalised nameplate, your imagination is the only limit.
In this all-encompassing guide, we’ll navigate the art of crafting wooden decor. Learn key carving techniques, the tools you’ll need, and expert tips to enhance your artwork. Explore artistic methods, finishing styles, and new ways to make this craft a successful small business. Let’s transform timber into treasures!
Why Make DIY Wooden Signs?

1. Personalisation
Custom wooden signs allow you to showcase names, quotes, and designs that reflect your personality or home style. You have full control over the fonts, colours, and shapes to match your unique aesthetic.
2. Cost-Effective
Creating your own wooden decor is much cheaper than purchasing pre-made signs. With a few materials and tools, you can craft multiple signs at a fraction of the cost of store-bought options.
3. Great for Gifts and Business
Handmade wooden signs make excellent gifts for weddings, birthdays, and holidays. Selling custom wooden signs can be a profitable small business. There’s a growing demand for personalised home decor, so this could be a great opportunity.
Tools and Materials Needed
Essential Tools:
- Jigsaw or scroll saw for cutting wood
- Sandpaper or orbital sander for smoothing surfaces
- Wood-burning tool or carving knife for engraving
- Paintbrushes for decorative finishes
- Clamps to hold the wood in place
- Ruler and pencil for precise measurements
Materials:
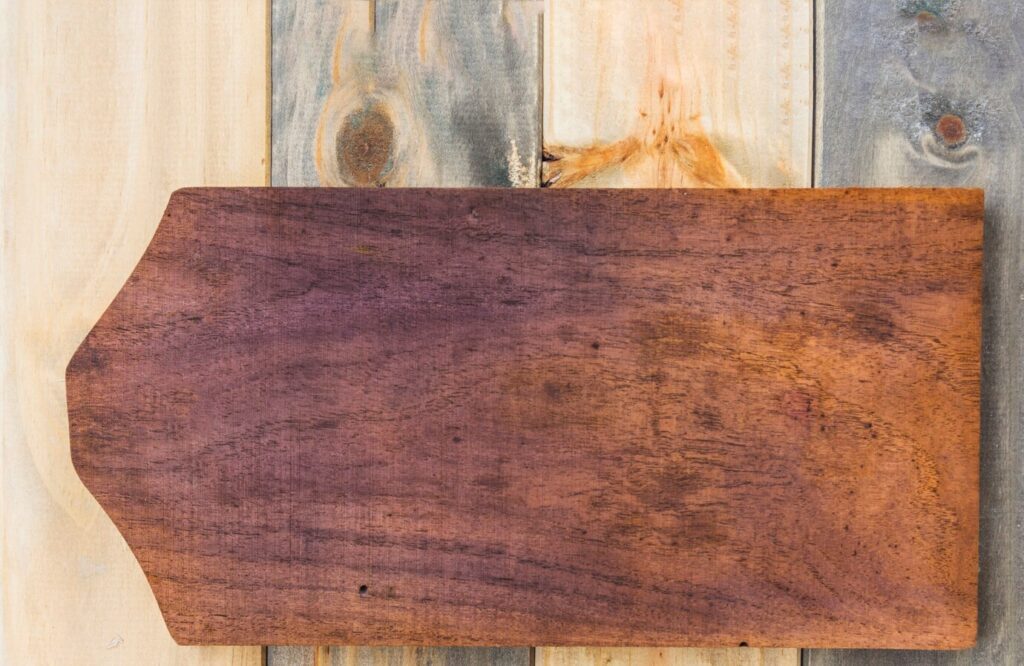
- Wooden board (pine, plywood, or reclaimed wood)
- Wood stain or paint (acrylic, chalk, or spray paint)
- Sealant or clear coat for durability
- Stencils or transfer paper for lettering and graphics
- Hanging hardware (hooks, twine, or sawtooth hangers)
Step-by-Step Guide to Making DIY Wooden Signs
Step 1: Choose Your Wood and Design
- Pick a wood type that suits your design preference (smooth plywood for a modern look, reclaimed wood for a rustic feel).
- Sketch your design on paper or use a digital program like Canva or Photoshop.
- Print out a stencil if needed for accuracy.
Step 2: Cut and Prepare the Wood
- Use a jigsaw or scroll saw to cut your wood to the desired shape.
- Sand the edges and surface for a smooth finish, preventing splinters and rough spots.
- Clean the wood surface with a damp cloth to remove dust and debris.
Step 3: Apply a Base Coat (Optional)
- If painting the sign, apply a base coat of paint or stain and let it dry completely.
- To achieve a rustic look, distress the wood. Use sandpaper or a wire brush after painting.
Step 4: Add Your Design
Option 1: Hand-Painting
- Use a pencil to lightly outline your design on the wood.
- Paint over the design using fine brushes, making slow, steady strokes.
- Allow layers to dry completely before adding details.
Option 2: Wood Burning (Pyrography)
- Use a wood-burning tool to carefully trace and engrave the design into the wood.
- Adjust heat settings for different shading effects.
- Work in a well-ventilated area, as wood burning can produce smoke.
Option 3: Stencil & Transfer Method
- Print your design and use carbon transfer paper to trace it onto the wood before painting.
- If using vinyl stencils, apply them carefully and ensure they adhere well before painting.
- Remove stencils slowly to avoid smudging.
Step 5: Adding Special Effects and Textures
- Use dry brushing techniques to add a weathered effect.
- Apply gold leaf or metallic paint for a glamorous touch.
- Add additional embellishments like twine, metal accents, or pressed flowers for extra charm.
Step 6: Seal and Finish the Sign
- Apply a clear coat or wood sealant to protect the design from wear and tear, dust, and humidity.
- Choose a matte, satin, or glossy finish based on your aesthetic preference.
- Let the sealant dry for 24 hours before handling the sign.
Step 7: Add Hanging Hardware
- Attach sawtooth hangers or drill holes for twine hanging.
- For large wooden signs, consider using French cleats for secure mounting.
- Ensure the hanging method aligns with the weight and size of the sign.
Turning Your Hobby into a Business
1. Setting Up an Online Store
You can sell handmade wooden signs on platforms like Etsy, Shopify, and Facebook Marketplace. They offer great opportunities for sellers.
2. Marketing Your Work
- Use social media platforms to showcase your creations with high-quality photos.
- Create engaging content, such as time-lapse videos of the making process.
- Offer custom orders to attract a larger customer base.
3. Pricing Your Signs
- Factor in material costs, labour, and design complexity.
- Research competitors to find a competitive price point.
- Offer discounts for bulk orders or seasonal promotions.
Common Mistakes to Avoid
- Not Sanding Properly – Uneven surfaces make painting and engraving difficult and can affect adhesion.
- Using Low-Quality Paint – Opt for acrylic or chalk paint for the best results and longevity.
- Rushing the Drying Process – Allow each coat to dry fully before adding another layer to prevent smudging.
- Skipping the Sealant – Without a protective coat, the design may fade or chip over time.
- Neglecting Alignment – Ensure your text and images are centred properly before finalising.
Advanced Techniques for Professional-Looking Signs
1. Layered Wooden Signs
Cut out letters or designs from a separate wood piece and attach them to the main sign for a 3D effect.
2. Resin Pouring for Extra Protection
Epoxy resin not only enhances the wood grain but also adds durability and a high-gloss finish.
3. LED-Lit Wooden Signs
Embedding LED lights in your sign creates a striking effect, perfect for night-time displays.
Conclusion

Crafting custom wooden signs is a delightful DIY adventure, blending creativity and craftsmanship. Each sign changes your space and shows off your style. You can personalize them in countless ways.
Whether decorating your home, gifting loved ones, or launching a business, this craft knows no bounds. With the right tools, techniques, and a sprinkle of passion, you’ll create breathtaking wooden decor that’s uniquely you.
Ready to dive in? Collect your materials and embark on your journey to creating your first custom wooden masterpiece today!


YOU MAY LIKE


