The DIY & Crafts Blog
How to Refinish and Stain Wood Like a Pro
Transforming tired wood into a stunning centrepiece is truly an art form. Refinishing and staining breathe new life into old furniture, highlighting the wood’s natural charm. Whether you’re sprucing up a cherished heirloom or tackling a fresh DIY project, the right techniques are key to a picture-perfect finish. This essential wood staining guide will lead you through every step, from meticulous prep work to choosing the best wood finishes. Get ready to unlock the wood’s enduring beauty and durability!
1. Understanding Wood Refinishing and Staining
Before you dive into the world of wood refinishing, a little knowledge goes a long way. Each type of wood drinks up stains in its own unique way. Meanwhile, the previous finish can dramatically influence the final masterpiece you create.
1.1 Why Refinish and Stain Wood?
- Restore and protect old furniture from wear and tear.
- Enhance the wood’s natural grain and beauty, making it a standout feature in any room.
- Change the colour to match your evolving decor style.
- Increase the durability and lifespan of wood surfaces, preventing damage from moisture and daily use.
- Preserve antique or sentimental pieces while maintaining their original charm.
1.2 Choosing the Right Stain and Finish
Selecting the correct stain and finish is crucial for achieving the desired look and longevity of your refinished piece. Here’s a breakdown of the different options:
Types of Wood Stains:
- Oil-Based Stains:Provide deep penetration and long-lasting colour. Best for high-traffic furniture like tables and chairs.
- Water-Based Stains: Dry quickly, have low VOCs (volatile organic compounds), and are ideal for indoor projects with minimal odour.
- Gel Stains: Thick consistency makes them great for vertical surfaces as they don’t drip or streak easily.
- Dye Stains: Offer vibrant colours and are best suited for non-porous hardwoods.
Best Wood Finishes:
- Polyurethane: Provides excellent durability, water resistance, and a glossy or satin finish.
- Lacquer: A fast-drying option that gives a sleek, high-gloss finish commonly used on furniture.
- Shellac: A natural, quick-drying finish that enhances the warmth of the wood’s colour.
- Wax: Offers a soft, low-sheen finish that enhances the wood’s natural beauty while providing mild protection.
2. Preparing the Wood for Refinishing
2.1 Removing the Old Finish
Before applying a new stain, it’s essential to remove any existing coatings to ensure proper adhesion. Here are three effective methods:
- Sanding: Start with medium-grit sandpaper (120-150) to strip away the old finish, then smooth with fine-grit (220). Use a sanding block for flat surfaces and an electric sander for large areas.
- Chemical Strippers: Apply a chemical stripping agent to remove paint, varnish, or polyurethane. Allow it to sit for the recommended time, then scrape off the residue with a putty knife.
- Heat Gun: A heat gun can soften old finishes, making them easier to scrape off. This method is best for thick layers of paint or varnish.
2.2 Cleaning the Surface
Once the old finish is removed, clean the surface thoroughly:
- Wipe the wood with a damp cloth or tack cloth to remove sanding dust.
- Use mineral spirits or a wood conditioner to ensure an even stain absorption.
- Allow the wood to dry completely before moving on to staining.
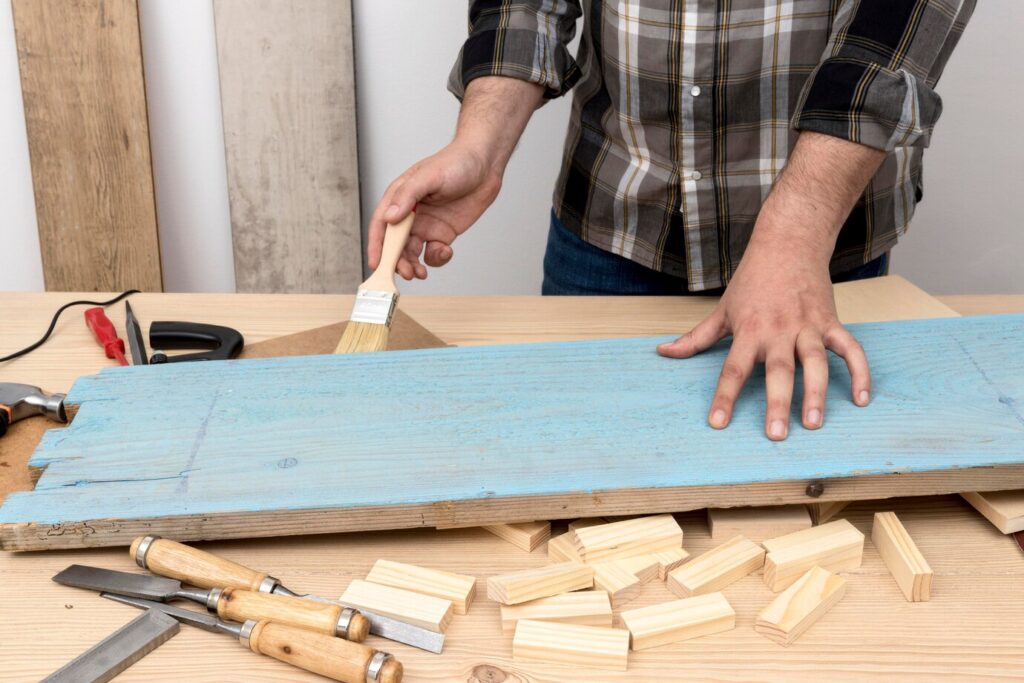
3. Applying the Stain Like a Pro
3.1 Choosing the Right Application Method
The method you choose can impact the final outcome of your wood staining project. Here’s what to consider:
- Brush or Sponge: Best for detailed work, allowing for precision and even distribution.
- Rag or Cloth: Provides a hand-rubbed, natural finish that highlights the wood grain.
- Spray Gun: Ideal for large surfaces, ensuring a smooth and even coat.
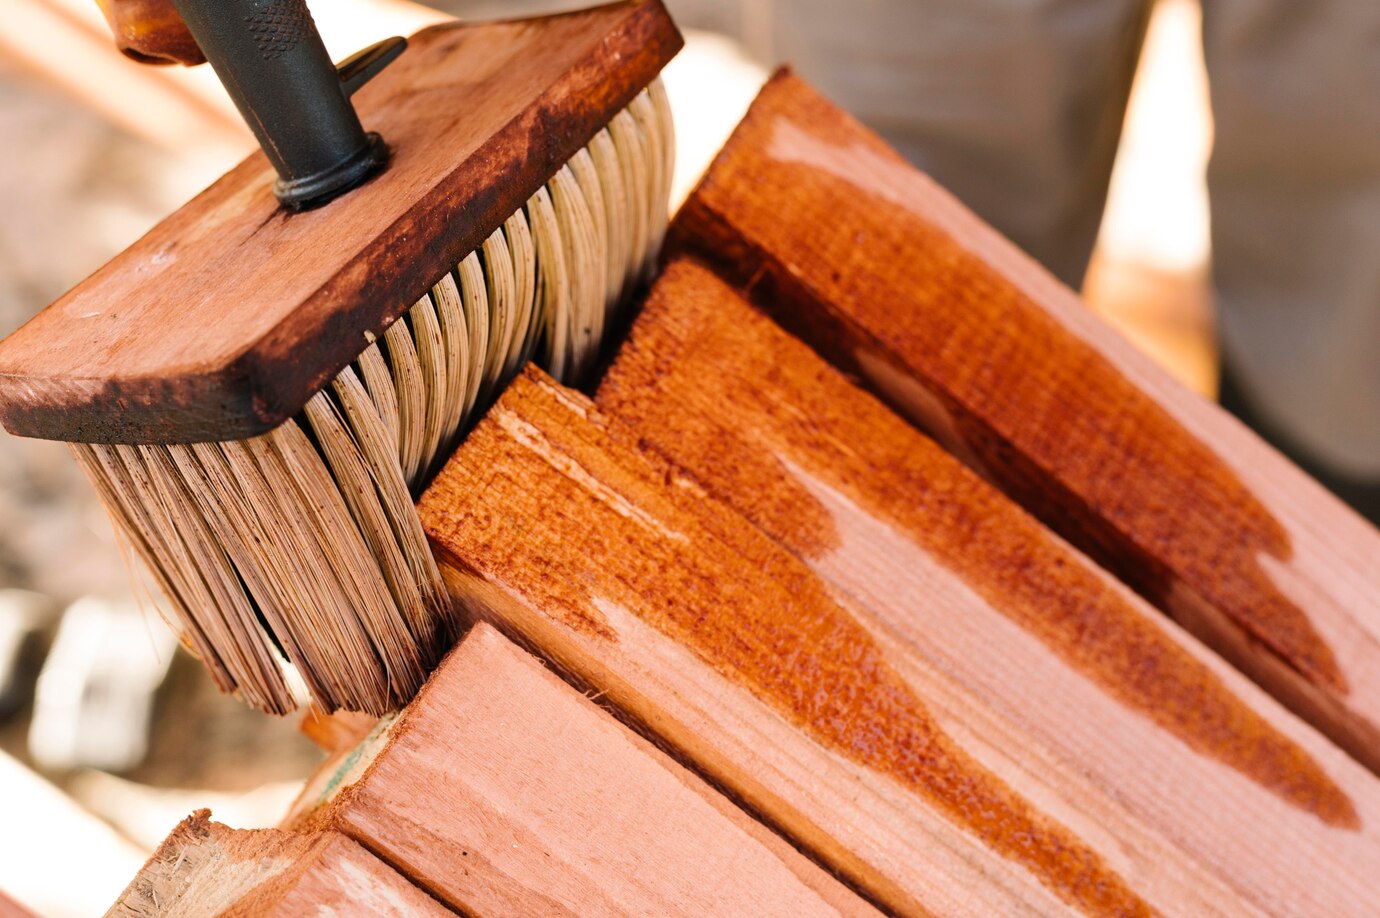
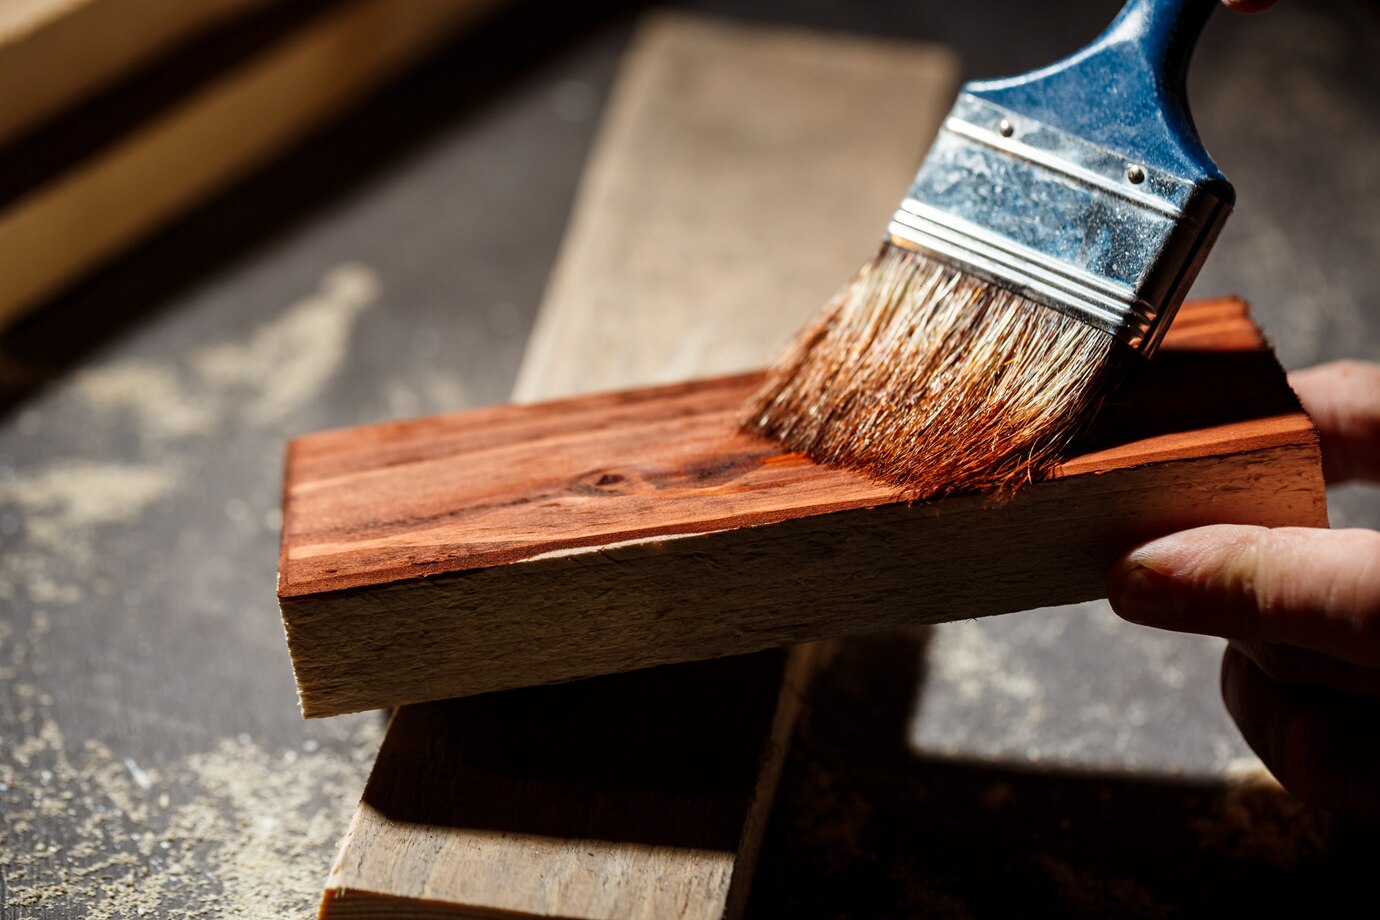
3.2 Staining the Wood
Follow these steps for a flawless finish:
- Apply the stain along the wood grain using a brush, sponge, or cloth.
- Let it sit for 5-15 minutes, depending on how deep you want the colour.
- Wipe off excess stains with a clean rag to prevent blotchy or uneven coverage.
- Allow the stain to dry for at least 8-24 hours before applying additional coats.
- Repeat the process for a darker finish, ensuring each coat dries completely before adding another layer.
4. Sealing and Protecting the Wood
4.1 Selecting the Best Wood Finishes
A robust finish fortifies your refinished wood, elevating its lifespan. Here’s how to select the perfect protection:
- For high-traffic areas like tables and floors: Choose polyurethane or lacquer for top-notch durability.
- For antique or decorative pieces: Go for shellac or wax, giving a soft, timeless charm.
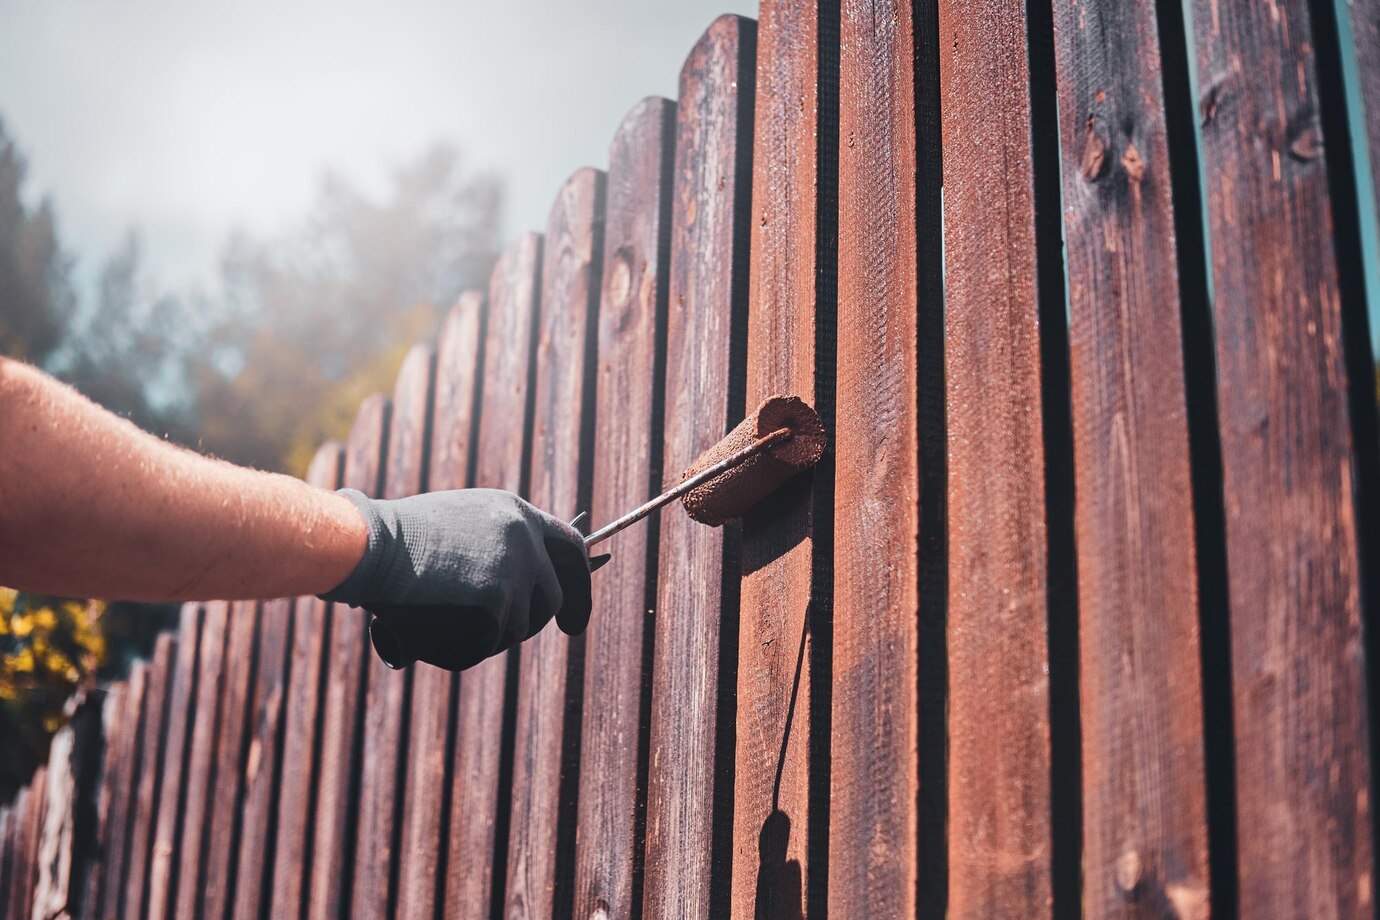
- For outdoor endeavours: Select exterior-grade polyurethane or spar varnish to combat UV rays and moisture.
4.2 Applying the Finish
- Grab a brush, cloth, or spray gun for flawless finesse.
- Apply thin, even coats; let each one dry completely before layering.
- Lightly sand between coats with fine-grit paper for a silky smoothness.
- Let that final coat cure for 24 to 48 hours before use.
5. Final Touches and Maintenance
To keep your refinished wood looking fabulous and strong, consider these tips:
- Buff and polish the surface with furniture wax for that radiant shine.
- Dust and clean regularly with a microfiber cloth to keep dirt at bay.
- Avoid excess moisture; too much can lead to premature wear on finishes.
- Reapply wax or polish every few months to rejuvenate the wood’s vibrant glow.
- Use felt pads or coasters to guard against scratches and pesky water rings.
Conclusion
Unlock the art of DIY wood refinishing with a masterful touch! With the right wood staining guide, your projects will boast a professional finish that dazzles. Whether it’s an antique table showing its age, kitchen cabinets in need of a facelift, or hardwood floors yearning for revival, choosing the best wood finishes will elevate beauty and longevity.
Preparation is key; when you carefully stain and seal your wood, stunning results follow. Each stroke reflects your dedication, ensuring your work endures through the ages. Now that you’re equipped with knowledge, pick up your tools and let the refinishing adventure begin!


YOU MAY LIKE


