The DIY & Crafts Blog
The Best DIY Wooden Pergola and Patio Covers
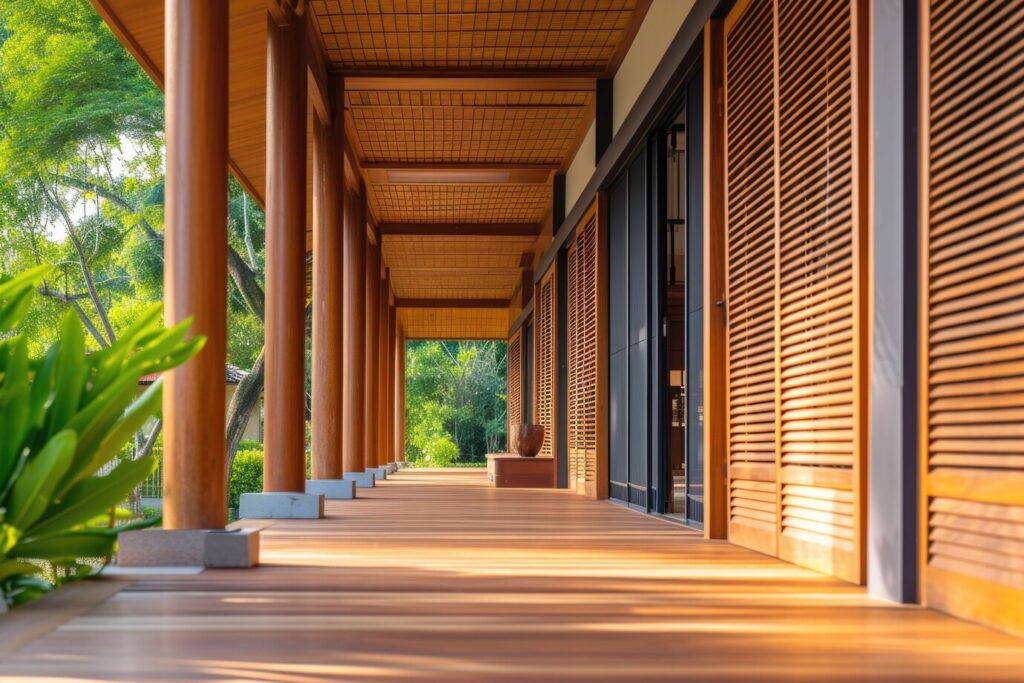
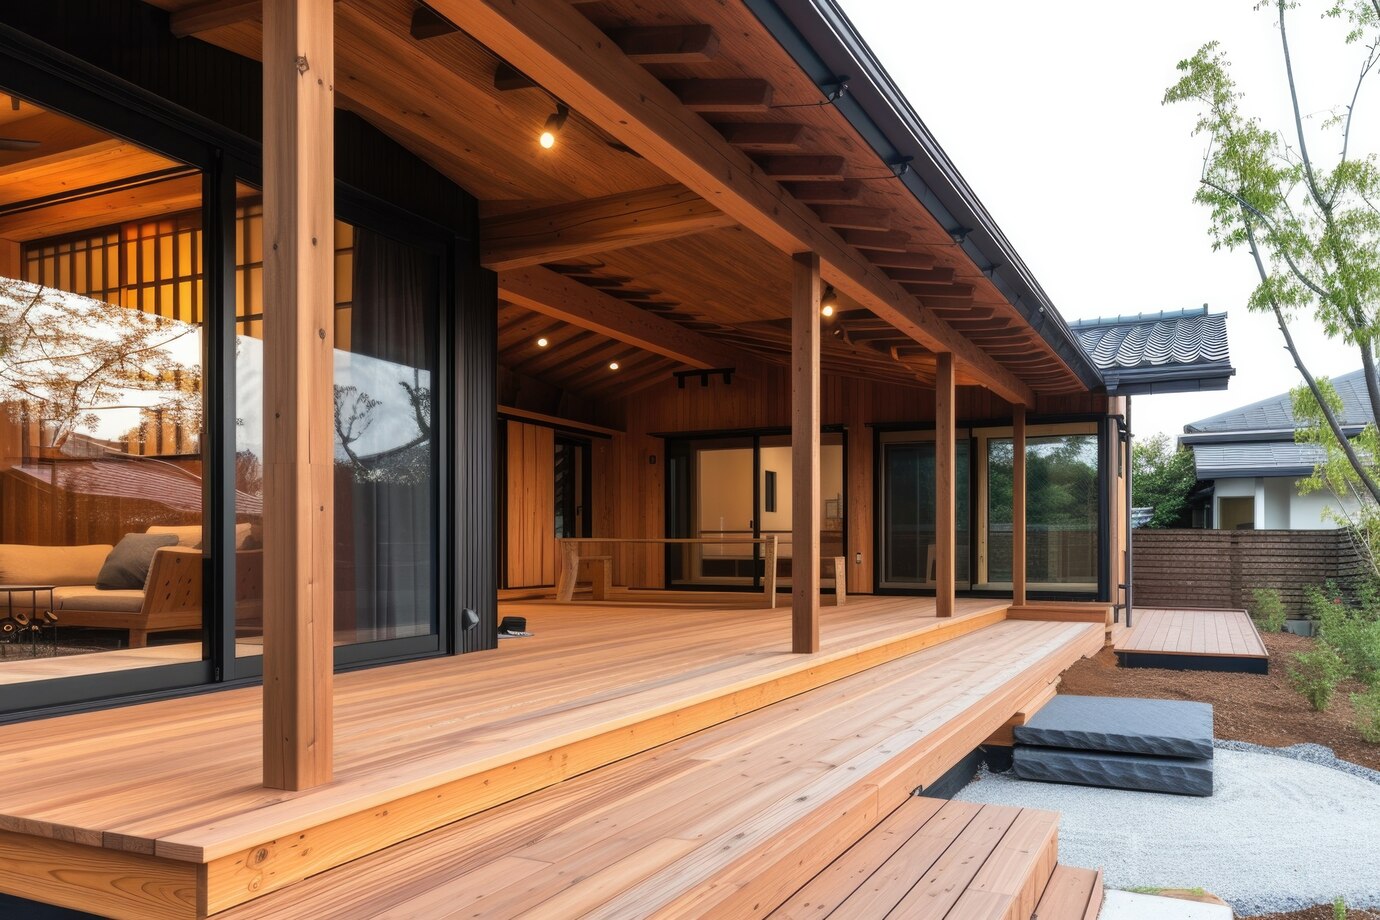
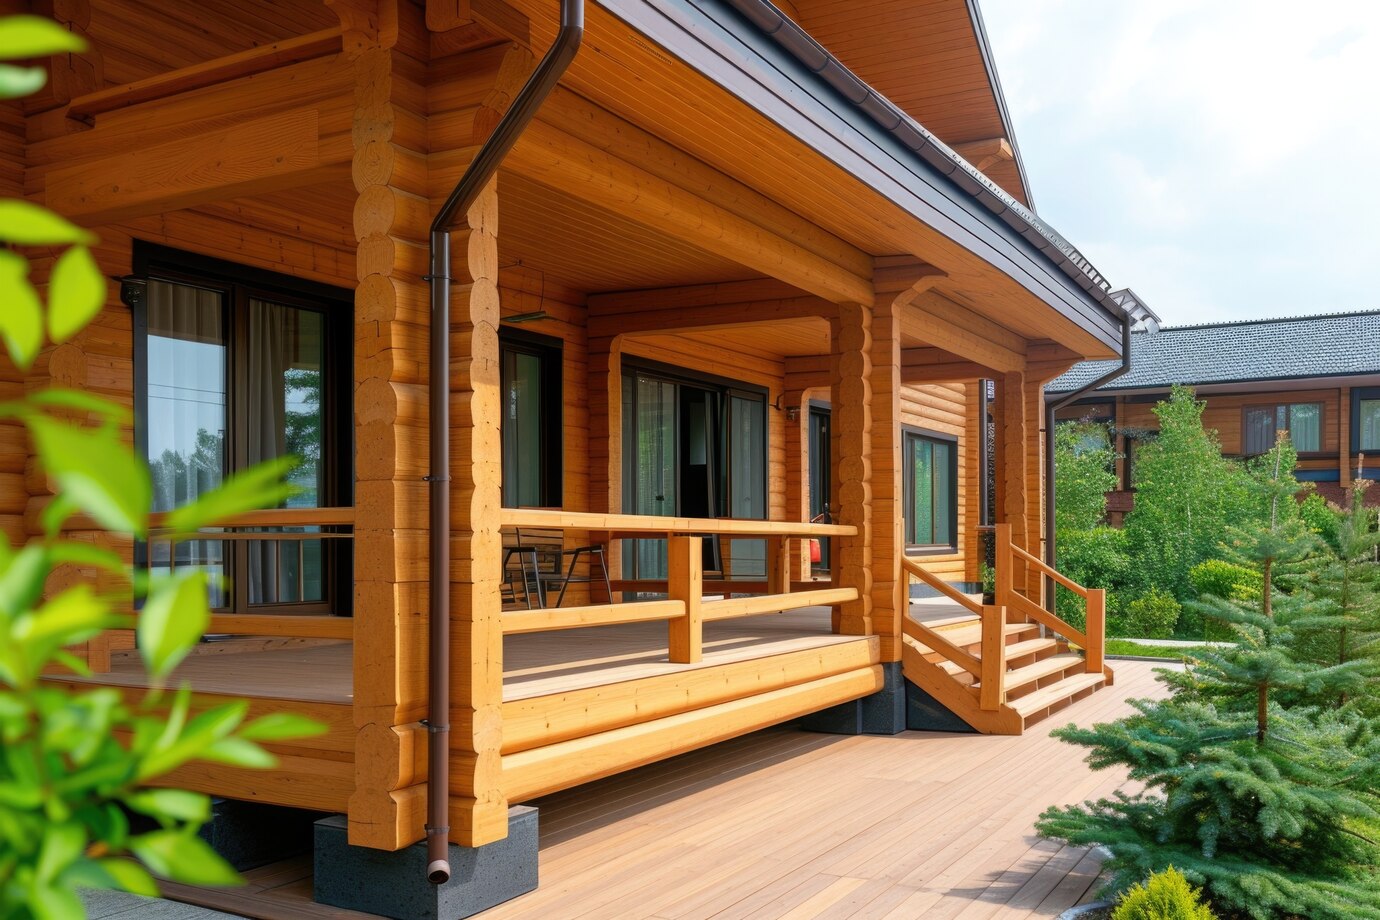
A beautifully crafted wooden pergola can elevate your outdoor oasis into a chic sanctuary. Building a DIY wooden pergolacan be fun and rewarding. Whether you want a shaded spot to relax, an elegant addition to your home, or a strong trellis for climbing plants, this project is for you. This structure is more than just a pretty feature. It boosts functionality and expands your outdoor space’s potential all year round.
This guide is your compass. It provides clear steps, key materials, and expert tips for making a lasting and enjoyable outdoor space. By the journey’s end, you’ll be equipped with the knowledge to design, construct, and care for a wooden pergola tailored perfectly to your desires.
Why Build a DIY Wooden Pergola or Patio Cover?
1. Enhancing Outdoor Living Space
A pergola extends your outdoor area, making it a comfortable and inviting space for entertaining or relaxation. It offers a nice outdoor space. You can use it for family gatherings, outdoor meals, or just relax with a book and a glass of wine.
2. Cost-Effective Customisation
Making your own pergola lets you choose the size, design, and materials you want. This way, you can save money compared to buying ready-made ones. Custom DIY pergolas can save you up to 50% compared to hiring professionals. This depends on the materials you choose.
3. Boosting Property Value
A beautifully crafted wooden pergola can increase your home’s curb appeal and overall market value. A good pergola can boost your property’s resale value by thousands. It also makes your backyard more appealing to buyers.
4. Providing Shade and Weather Protection
By adding a patio cover, you protect outdoor furniture from sun and rain, enhancing durability and comfort. This makes your pergola useful in any season. It works even better with retractable covers or waterproof canopies.
Materials and Tools Needed
Materials:
- Pressure-treated lumber or cedar (for durability)
- Galvanised screws and bolts (rust-resistant for longevity)
- Concrete mix (for securing posts)
- Post anchors (optional for added stability)
- Wood stain or weather-resistant paint (to protect from UV rays and moisture)
- Shade fabric, polycarbonate panels, or wooden slats (optional for additional coverage)
- Metal brackets (for additional support, if required)
Tools:
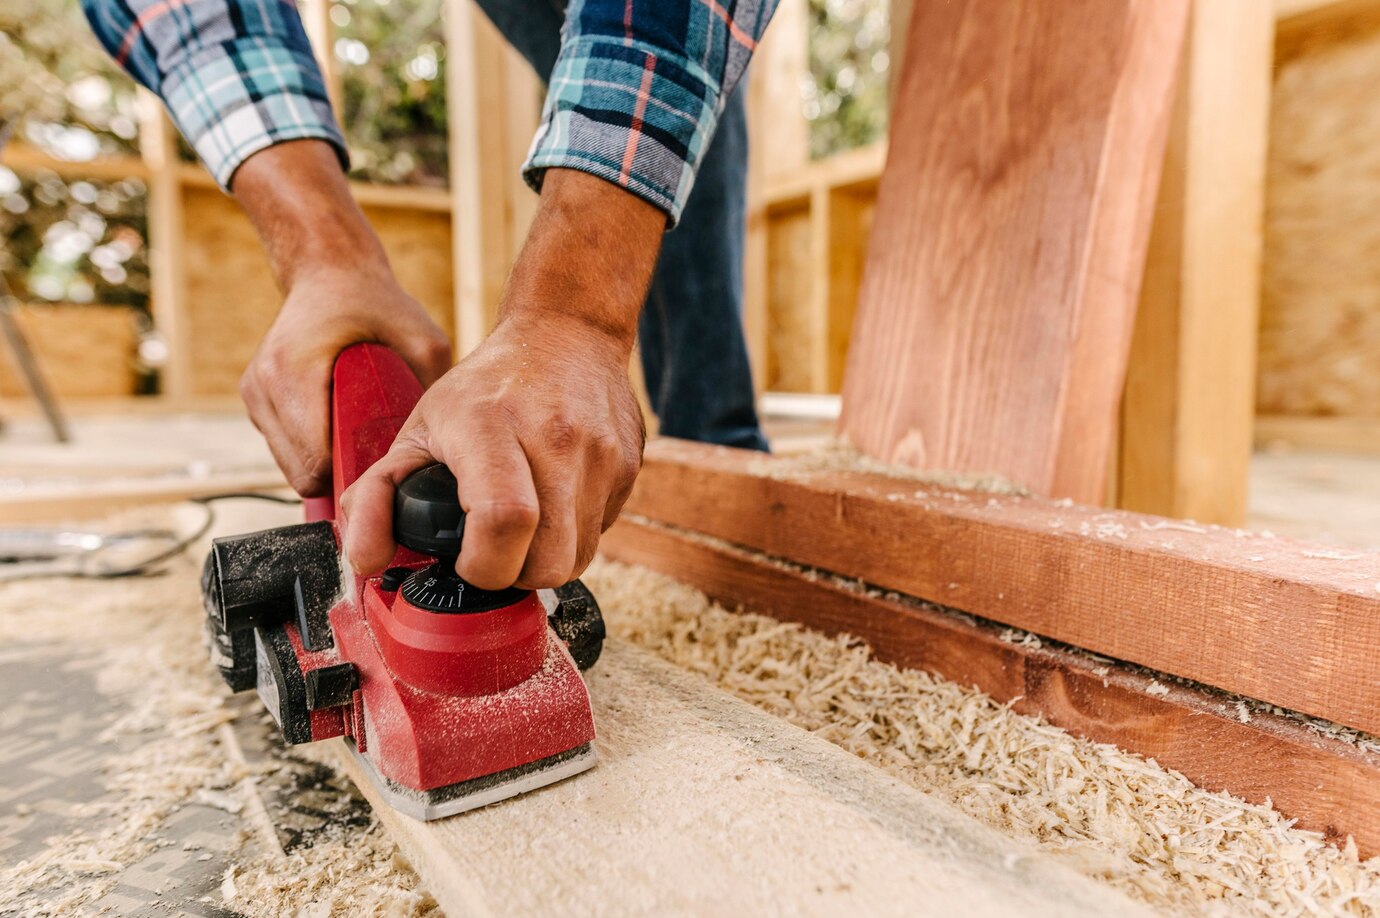
- Circular saw or hand saw
- Drill with various drill bits
- Measuring tape and ruler
- Level (to ensure straight posts and beams)
- Post hole digger or auger
- Clamps (for holding wood pieces in place)
- Ladder or scaffold (for assembling higher sections)
- Paintbrush or sprayer (for staining and sealing)
Step-by-Step Guide to Building a DIY Wooden Pergola
Step 1: Planning and Designing
Before you start, take the time to carefully plan and design your pergola. Consider the following:
- Size and Location: Measure your backyard space and determine the best spot for your pergola. Keep in mind factors such as sunlight exposure and proximity to existing structures.
- Purpose: Are you building a pergola for shade, aesthetics, or plant support? Your intended use will influence the materials and design.
- Permits and Regulations: Check local building codes to see if you need a permit before construction. Some regions have height and boundary restrictions for pergolas.
- Style and Aesthetics: Decide whether you want a rustic, modern, or classic pergola style to match your home’s exterior.
Step 2: Preparing the Site
- Mark the locations for your posts using stakes and string to ensure accurate alignment.
- Use a post-hole digger or auger to create holes at least 2 feet deep to secure your posts properly.
- Pour 6 inches of gravel into each hole to promote drainage and prevent wood rot.
- Mix and pour concrete into each hole, then set the posts in place. Use a level to ensure they are perfectly straight.
- Allow the concrete to cure for at least 24-48 hours before proceeding.
Step 3: Attaching Support Beams
- Cut support beams to the required length and secure them horizontally between the posts.
- Use galvanised bolts to attach beams securely.
- Ensure the beams are level and evenly spaced before tightening the bolts.
- For additional stability, reinforce the beams with metal brackets.
Step 4: Installing Rafters
- Place rafters evenly across the top of the pergola. Common spacing is 12-24 inches apart.
- Secure them using screws or brackets to ensure a firm hold.
- Rafters can be arranged in different styles—angled for more shade or spaced apart for an airy feel.
- If desired, you can carve decorative edges on the rafters to add aesthetic appeal.
Step 5: Adding a Patio Cover (Optional)
- Attach wooden slats, shade fabric, or polycarbonate panels for additional sun protection.
- If using slats, space them evenly across the rafters for a traditional pergola look.
- Secure polycarbonate panels with screws and brackets. This ensures they are durable and waterproof.
- Consider a retractable canopy for added flexibility in shade control.
Expert Tips for a Sturdy and Long-Lasting Pergola
- Use rot-resistant wood like cedar, redwood, or pressure-treated lumber.
- Seal and stain the wood annually to protect against sun damage and moisture.
- Secure posts deeply in concrete to withstand high winds and seasonal changes.
- Choose galvanised or stainless steel hardware to prevent rusting over time.
- Think about growing climbing plants, like wisteria, ivy, or grapevines. They can add beauty and create natural shade.
Common Mistakes to Avoid
- Incorrect post spacing can lead to an unstable structure. Always measure and align properly before setting posts.
- Skipping concrete anchoring may cause the pergola to shift, lean, or collapse over time.
- Using untreated wood can result in premature deterioration and insect infestations.
- Not allowing proper curing time for concrete before proceeding can compromise structural integrity.
- Not thinking about drainage can let water gather at the base. This can cause the wood to rot.
Maintenance and Longevity Tips
A pergola requires some upkeep to remain in excellent condition. Here’s what you need to do:
- Regularly inspect for cracks or damage. Fix minor issues before they escalate.
- Reapply stain or sealant every 1-2 years to protect against weather damage.
- Keep climbing plants trimmed to prevent excessive weight from damaging the structure.
- Check bolts and screws annually to ensure structural stability.
- Clean with mild soap and water to remove dirt, debris, and mildew buildup.
Conclusion
Transform your outdoor space with a DIY wooden pergola, blending style and utility. Whether you envision a cosy garden escape, an alfresco dining haven, or a tranquil lounging area, a well-crafted pergola delivers timeless allure. By following our step-by-step guide, you’ll build a sturdy structure that meets your vision. Dive into your project today and savour the charm and flexibility of a custom pergola in your garden!


YOU MAY LIKE


