The DIY & Crafts Blog
The Best Techniques for Restoring Old Wooden Furniture
Reviving old wooden furniture is a gratifying and budget-friendly endeavour. It breathes fresh air into antique or worn-out treasures. Whether refinishing surfaces to unveil their innate elegance or mending historic heirlooms to cherish their story, technique matters. This guide will illuminate the finest practices in wood furniture restoration. You’ll create pieces that are as functional as they are breathtaking for generations to admire.
1. Assessing the Condition of Your Furniture
Before starting the restoration process, it’s crucial to evaluate the condition of the furniture. Consider the following:
- Structural Integrity: Check for loose joints, broken legs, warped wood, or missing parts. Furniture that wobbles may need reinforcement.
- Surface Damage: Look for scratches, dents, water stains, or paint chipping. Deep scratches might need sanding. Minor flaws can usually be hidden with a wood marker or polish.
- Wood Type: Understanding the type of wood helps determine the best restoration approach. Hardwoods like oak and mahogany require different treatments compared to softwoods like pine.
If the furniture is a valuable antique, look into its history. This way, your restoration won’t lower its value. Over-restoring can sometimes decrease the worth of historically significant pieces.
2. Cleaning and Preparing the Surface
2.1 Cleaning the Furniture
Before refinishing wood surfaces, you must first remove years of dust, dirt, and grime.
- Use a mild soap solution and a soft cloth to wipe down the surface.
- For stubborn grime, apply mineral spirits or a specialised wood cleaner using a microfiber cloth.
- Avoid using excessive water, as moisture can cause warping or damage to the wood fibres.
- For intricate carvings, use an old toothbrush or cotton swabs to get into crevices.
2.2 Stripping Old Finish
If the furniture has layers of old varnish, paint, or stain that needs removal, follow these steps:
- Apply a chemical stripper evenly with a brush, following the manufacturer’s instructions.
- Let it sit for the recommended time to soften the finish, then use a plastic scraper to gently remove layers.
- For stubborn areas, use fine steel wool and mineral spirits to break down residue.
- If you prefer a more eco-friendly approach, sanding or using a heat gun can strip old finishes without chemicals.
3. Repairing Antique Furniture
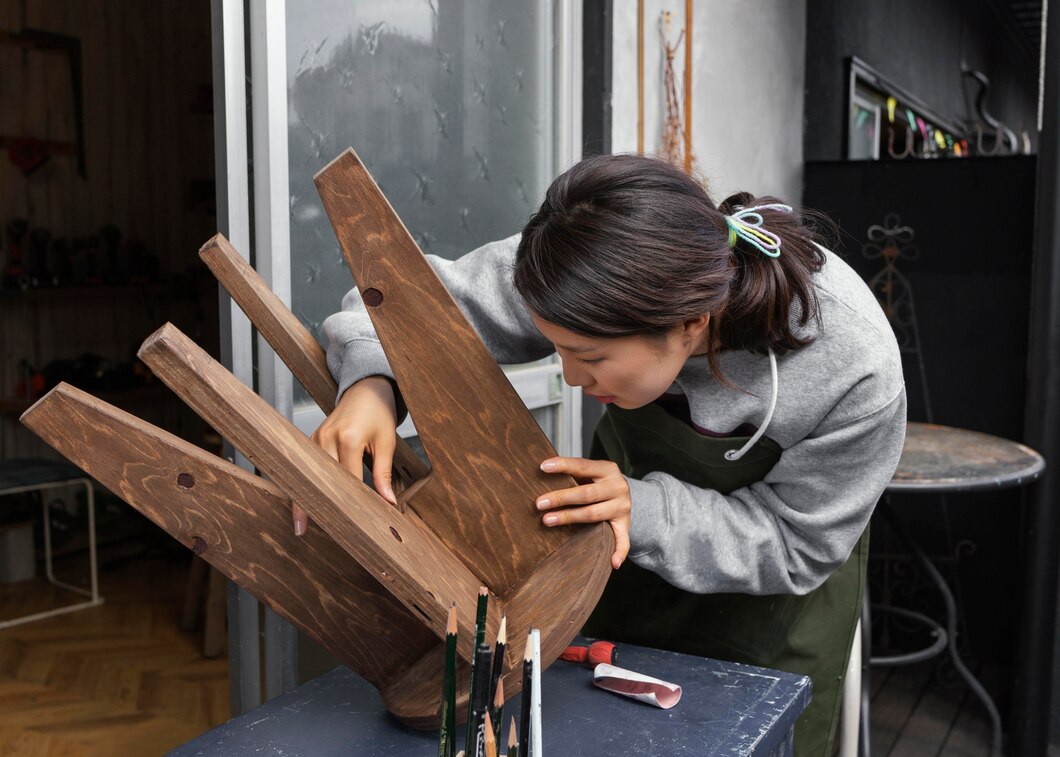
3.1 Fixing Loose Joints and Cracks
A solid foundation is key to long-lasting wood furniture restoration. Here’s how to reinforce loose joints:
- Disassemble any loose parts and scrape away old glue with a chisel or sandpaper.
- Apply wood glue into the joints, ensuring full coverage.
- Use clamps to hold pieces together tightly while drying. Leave for at least 24 hours for a secure bond.
- For small cracks, apply wood filler, let it dry completely, and then sand smooth before refinishing.
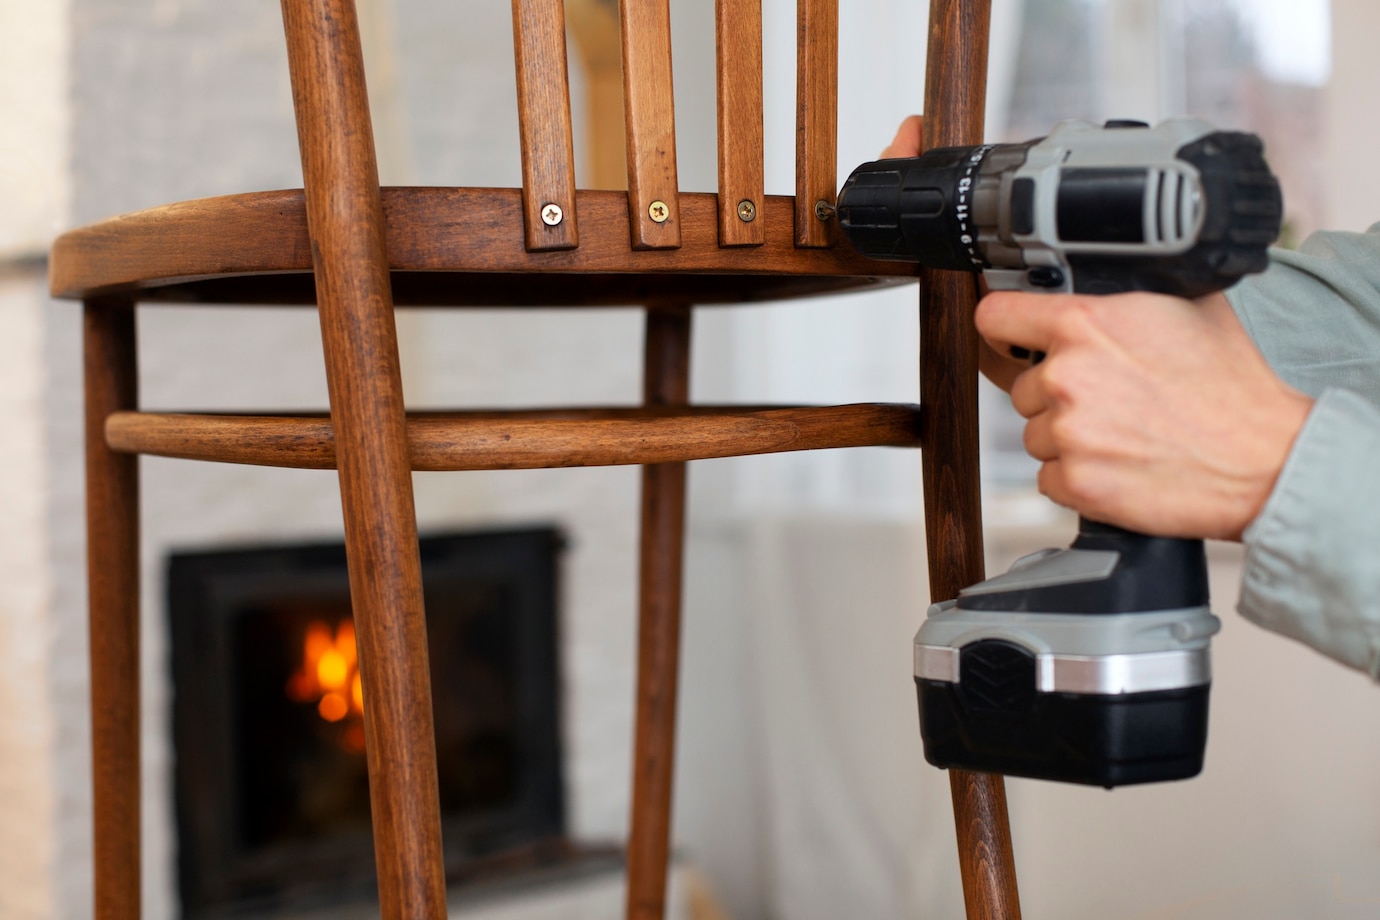
3.2 Replacing Missing or Broken Parts
Sometimes, furniture restoration requires replacing missing or damaged components:
- Identify the original wood type to match replacement parts.
- Carve or cut new pieces to fit, ensuring they blend seamlessly.
- Use wood dowels or epoxy resin to attach new parts securely, reinforcing with screws if necessary.
- If you can’t carve replacement parts, take the piece to a pro woodworker for help.
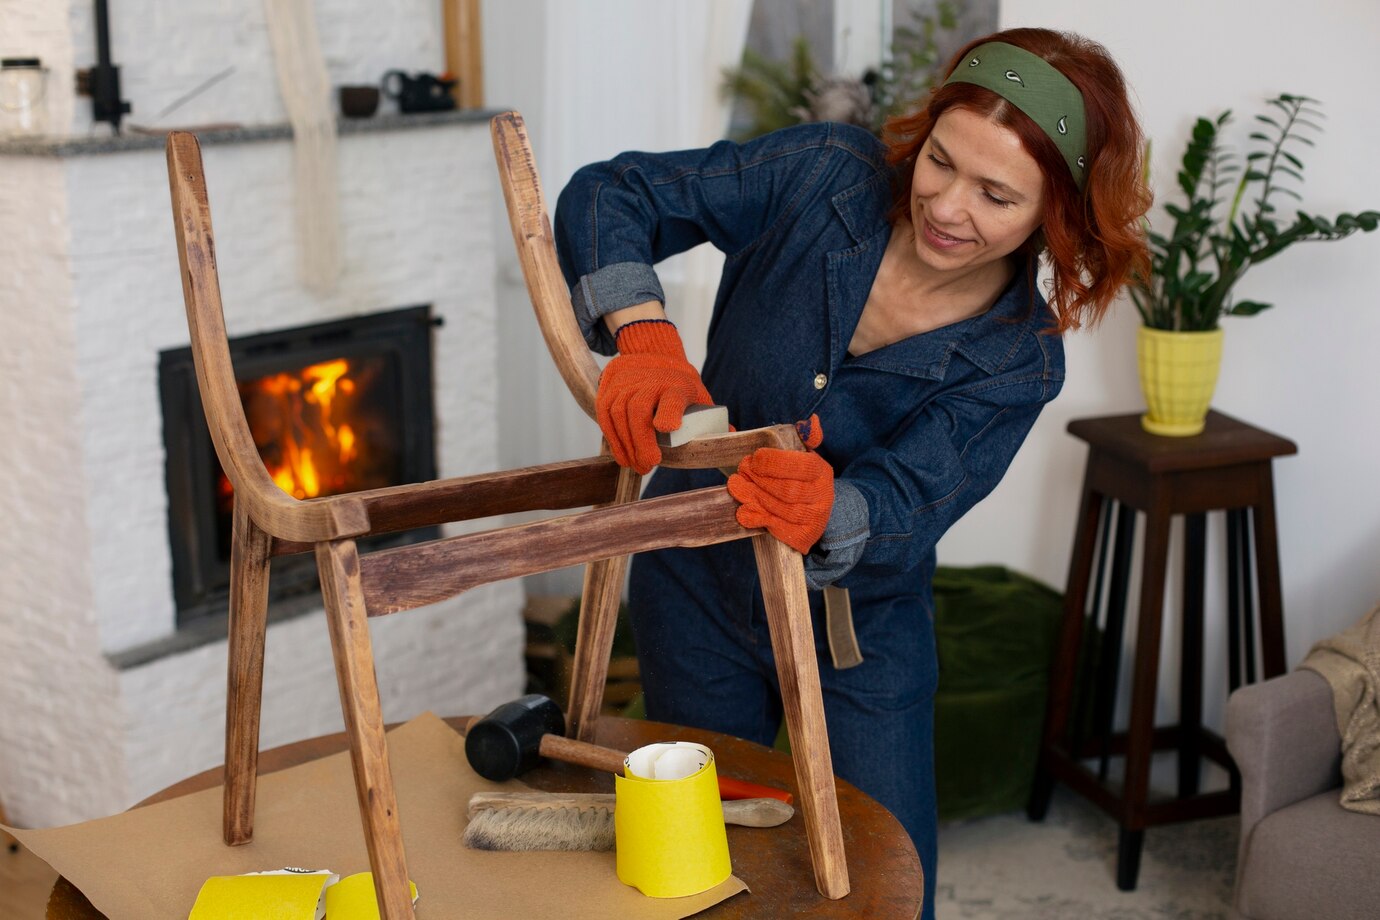
3.3 Removing Scratches and Dents
Minor surface damage can often be repaired with simple techniques:
- For shallow scratches, apply a walnut, wood marker, or a blend of vinegar and olive oil to darken the scratch.
- For deeper scratches, lightly sand the area and apply a matching wood stain.
- To remove dents, place a damp cloth over the dent and apply heat with an iron. The steam will cause the wood fibers to expand and reduce the dent.
4. Refinishing Wood Surfaces
4.1 Sanding the Furniture
Sanding is a crucial step in preparing wood furniture for a new finish:
- Start with medium-grit (120-150) sandpaper to remove imperfections.
- Progress to fine-grit (220) for a silky-smooth finish.
- Always sand along the wood grain to avoid scratches that may be visible after staining.
- Use a tack cloth or vacuum to remove all dust before moving to the next step.
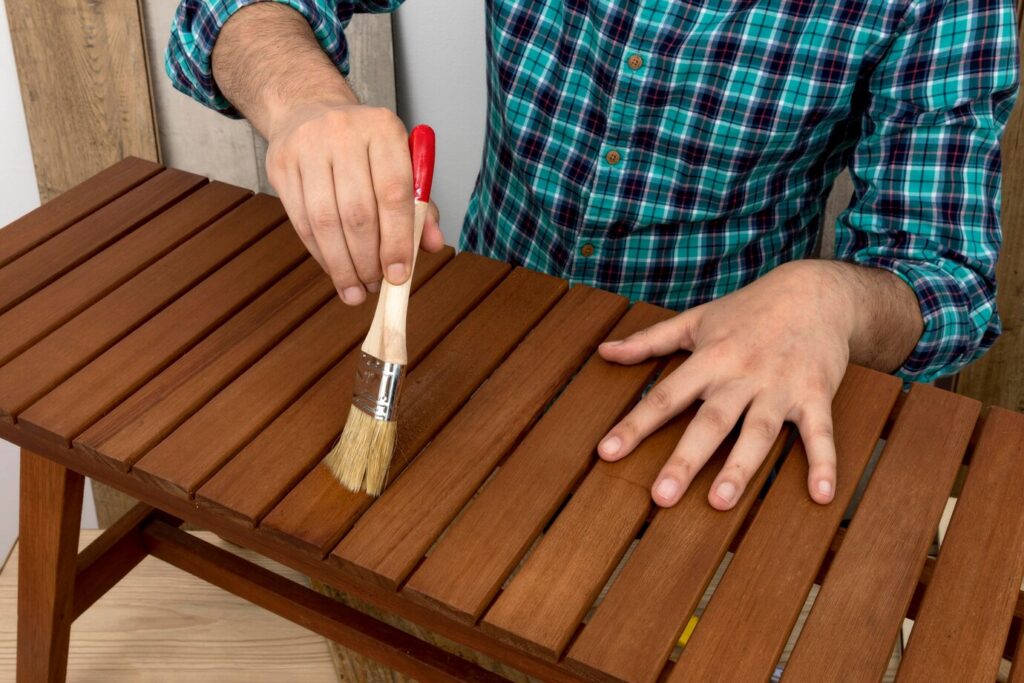
4.2 Applying Stain or Paint
Refinishing wood surfaces with the right stain or paint can transform the look of your furniture:
- Choose a stain that enhances the natural grain of the wood.
- Apply the stain with a lint-free cloth or brush, working in thin layers to avoid blotchiness.
- If painting, apply a primer first to ensure an even coat, followed by two layers of high-quality paint.
- Allow each coat to dry thoroughly before applying the next to prevent streaks or uneven coverage.
4.3 Sealing and Protecting
Once stained or painted, the final step in wood furniture restoration is protecting the surface:
- Apply a polyurethane, shellac, or wax finish depending on the desired sheen and durability.
- Use a foam brush or lint-free cloth for an even application.
- Let the sealant cure for at least 24-48 hours before using the furniture.
- Apply beeswax and buff with a clean cloth for a softer, natural finish.
5. Final Touches and Maintenance
Restored wooden furniture requires ongoing care to maintain its beauty:
- Buff and polish the surface regularly with beeswax or a commercial wood polish.
- Avoid direct sunlight and heat sources, as they can cause wood to fade or crack.
- Use felt pads under furniture legs to prevent scratching floors and reduce wear.
- Dust frequently with a soft cloth to prevent buildup that can dull the finish.
- For antique pieces, consider using a furniture conditioner to keep the wood from drying out over time.
Conclusion
Wood furniture restoration is a cherished craft that breathes life into antiques. It’s like giving history a second chance while enhancing functionality. Expert refinishing and skilled repairs bring treasures back to life. They return to their former splendour.
Whether it’s a family heirloom or a vintage market gem, each restoration is a journey. These techniques guarantee that your wooden wonders remain gorgeous and sturdy for generations.
With the right tools, some patience, and a bit of effort, you can transform old furniture into a stunning, useful piece. Let your creativity shine, and watch your cherished pieces reclaim their rightful place in the spotlight!
So why wait? Gather your supplies and start your next restoration project today!


YOU MAY LIKE


